Machine Learning Models Tutorial
In this tutorial, we will show you how to use Machine Learning Model Deployment.
Public Beta Warning
Machine Learning (ML) Model Deployment is currently in public beta. Some features may not work as expected. Please bear with us and provide feedback using the feedback button directly in the platform or through the feedback portal.
Deployment Options
In the next steps, we will walk you through the process of deploying a model in your project. The model is deployed through an integration with the MLflow platform. You can encounter two situations, depending on whether you need to create and register a new model, or whether you already have an existing model you can use.
New ML Model
Let’s assume that you have just started exploring this feature and your ML/AI section and that no model has been created yet. You will see this empty screen.
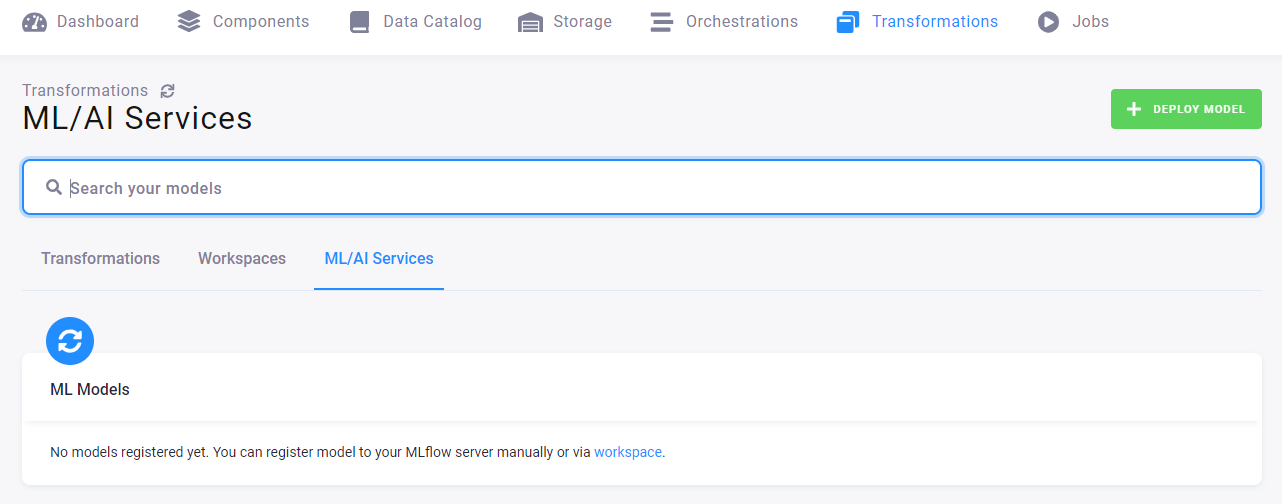
This means that you must create an MLflow workspace; continue on to the tab Workspaces.
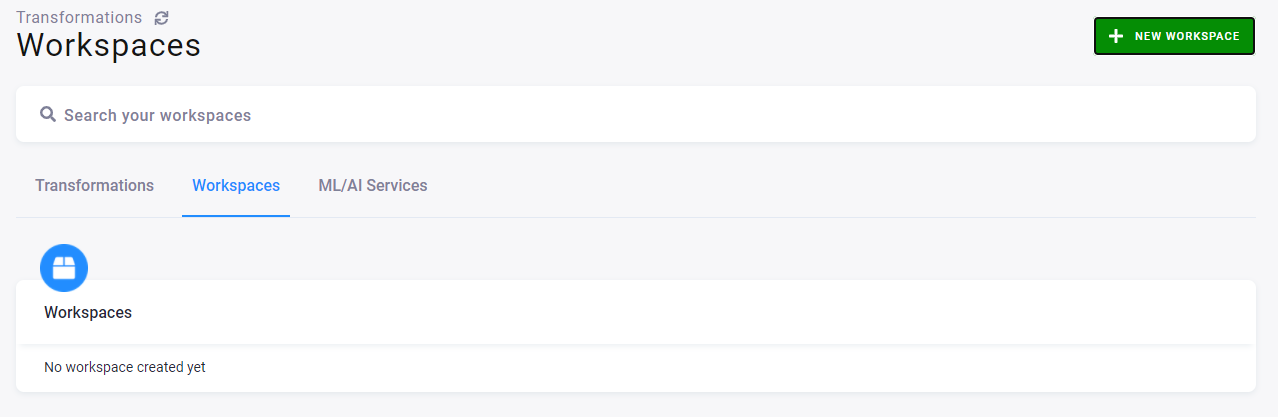
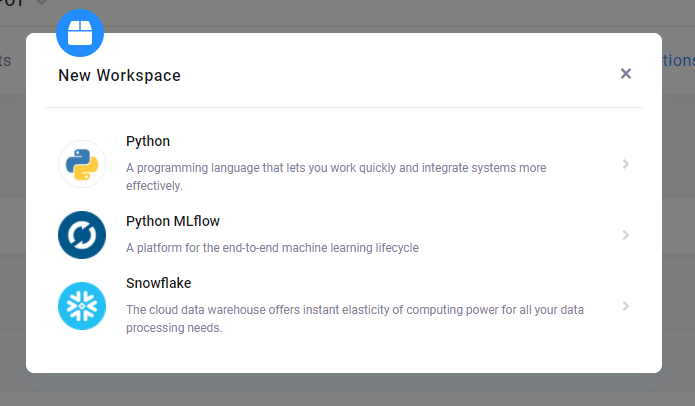
Here you can create a new workspace. Click the green button New Workspace on the right, and select the Python MLflow workspace.
Name it, e.g., My test workspace, and select its backend power: small/medium/large. Then click the button Create Workspace.
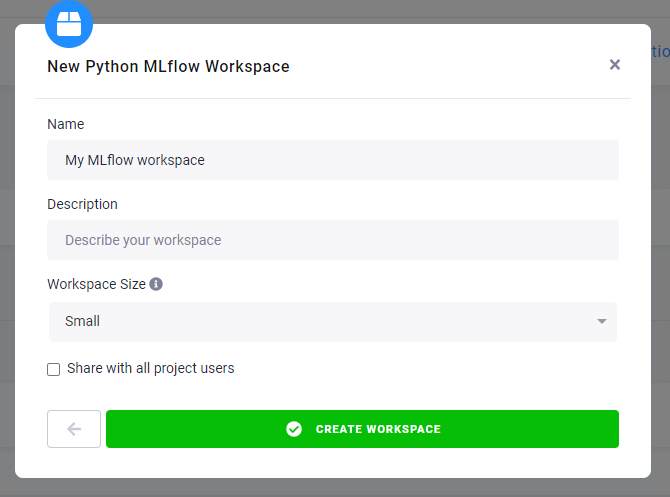
After a while a workspace is created. You can connect to it using the generated credentials. JupyterLab will open, and you should find an empty Jupyter notebook, where you can place your code to use the MLflow server for training and registering the model.
Sample code
The following code uses the MLflow Python API to fit an ElasticNet regression model using scikit-learn. At the end of the sample code, the model is registered to the MLflow server.
Please note that due to the beta status of the feature, we are currently supporting only MLflow version 1.24. We have recently
encountered some incompatibilities with newer libraries. To ensure full compatibility, use mlflow==1.24 and
numpy==1.23.4 when training models.
# The data set used in this example is from http://archive.ics.uci.edu/ml/datasets/Wine+Quality
# P. Cortez, A. Cerdeira, F. Almeida, T. Matos and J. Reis.
# Modeling wine preferences by data mining from physicochemical properties. In Decision Support Systems, Elsevier, 2009.

import os
import warnings
import sys

import pandas as pd
import numpy as np
from sklearn.metrics import mean_squared_error, mean_absolute_error, r2_score
from sklearn.model_selection import train_test_split
from sklearn.linear_model import ElasticNet
from urllib.parse import urlparse
import mlflow
import mlflow.sklearn
import logging

logging.basicConfig(level=logging.WARN)
logger = logging.getLogger(__name__)

def eval_metrics(actual, pred):
    rmse = np.sqrt(mean_squared_error(actual, pred))
    mae = mean_absolute_error(actual, pred)
    r2 = r2_score(actual, pred)
    return rmse, mae, r2

mlflow.set_experiment('myMlflowTest')

if __name__ == "__main__":
    warnings.filterwarnings("ignore")
    np.random.seed(40)

    # Read the wine-quality csv file from the URL
    csv_url = (
        "http://archive.ics.uci.edu/ml/machine-learning-databases/wine-quality/winequality-red.csv"
    )
    try:
        data = pd.read_csv(csv_url, sep=";")
    except Exception as e:
        logger.exception(
            "Unable to download training & test CSV, check your internet connection. Error: %s", e
        )

    # Split the data into training and test sets. (0.75, 0.25) split.
    train, test = train_test_split(data)

    # The predicted column is "quality" which is a scalar from [3, 9]
    train_x = train.drop(["quality"], axis=1)
    test_x = test.drop(["quality"], axis=1)
    train_y = train[["quality"]]
    test_y = test[["quality"]]

    alpha = 0.5
    l1_ratio = 0.5

    with mlflow.start_run():
        lr = ElasticNet(alpha=alpha, l1_ratio=l1_ratio, random_state=42)
        lr.fit(train_x, train_y)

        predicted_qualities = lr.predict(test_x)

        (rmse, mae, r2) = eval_metrics(test_y, predicted_qualities)

        print("Elasticnet model (alpha=%f, l1_ratio=%f):" % (alpha, l1_ratio))
        print("  RMSE: %s" % rmse)
        print("  MAE: %s" % mae)
        print("  R2: %s" % r2)

        mlflow.log_param("alpha", alpha)
        mlflow.log_param("l1_ratio", l1_ratio)
        mlflow.log_metric("rmse", rmse)
        mlflow.log_metric("r2", r2)
        mlflow.log_metric("mae", mae)

        tracking_url_type_store = urlparse(mlflow.get_tracking_uri()).scheme

        # Model registry does not work with file store
        if tracking_url_type_store != "file":

            # Register the model
            # There are other ways to use the Model Registry, which depends on the use case,
            # please refer to the doc for more information:
            # https://mlflow.org/docs/latest/model-registry.html#api-workflow
            mlflow.sklearn.log_model(lr, "model", registered_model_name="ElasticnetWineModel")
        else:
            mlflow.sklearn.log_model(lr, "model")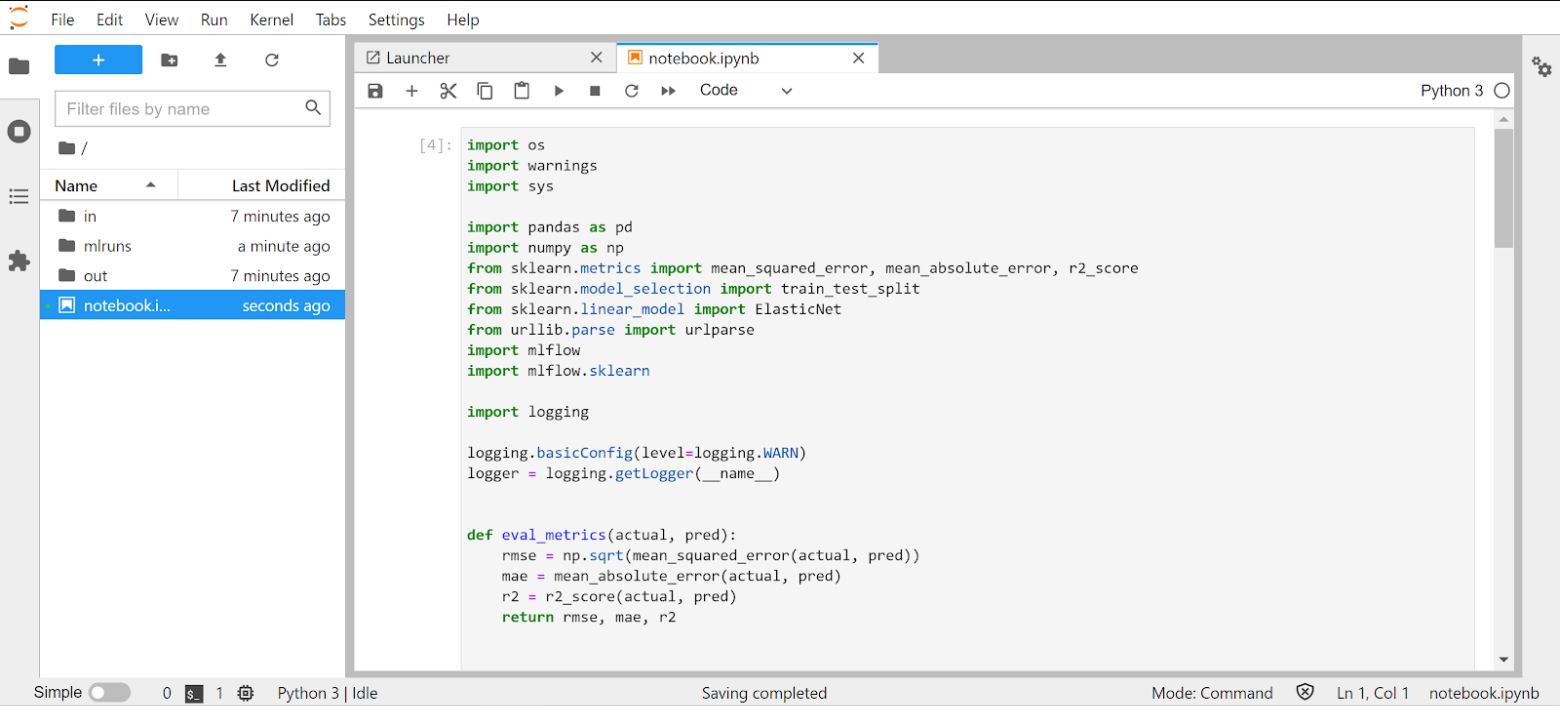
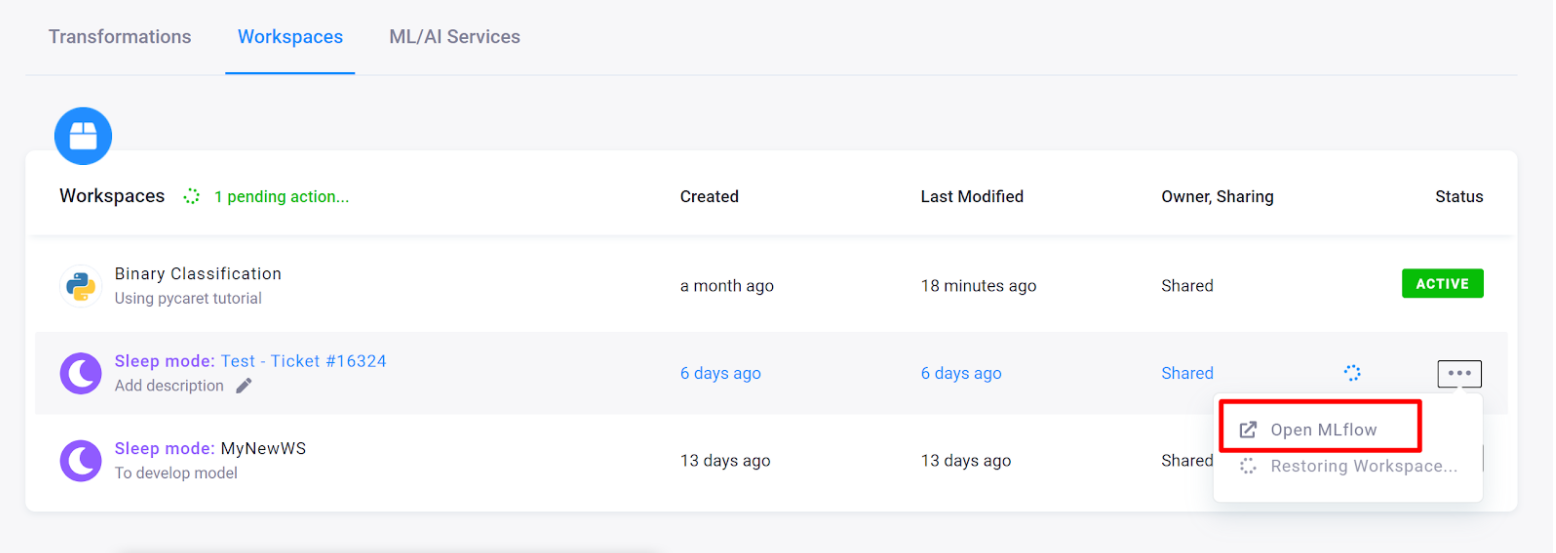
Once you train your model and run the first experiment, you can go back to the Keboola UI, open the MLflow UI from there, and check the results.
If you are satisfied, you can use a registered model for deployment. You can set the stage. MLflow provides predefined stages for common use cases such as Staging, Production, or Archived. You can transition a model version from one stage to another stage.
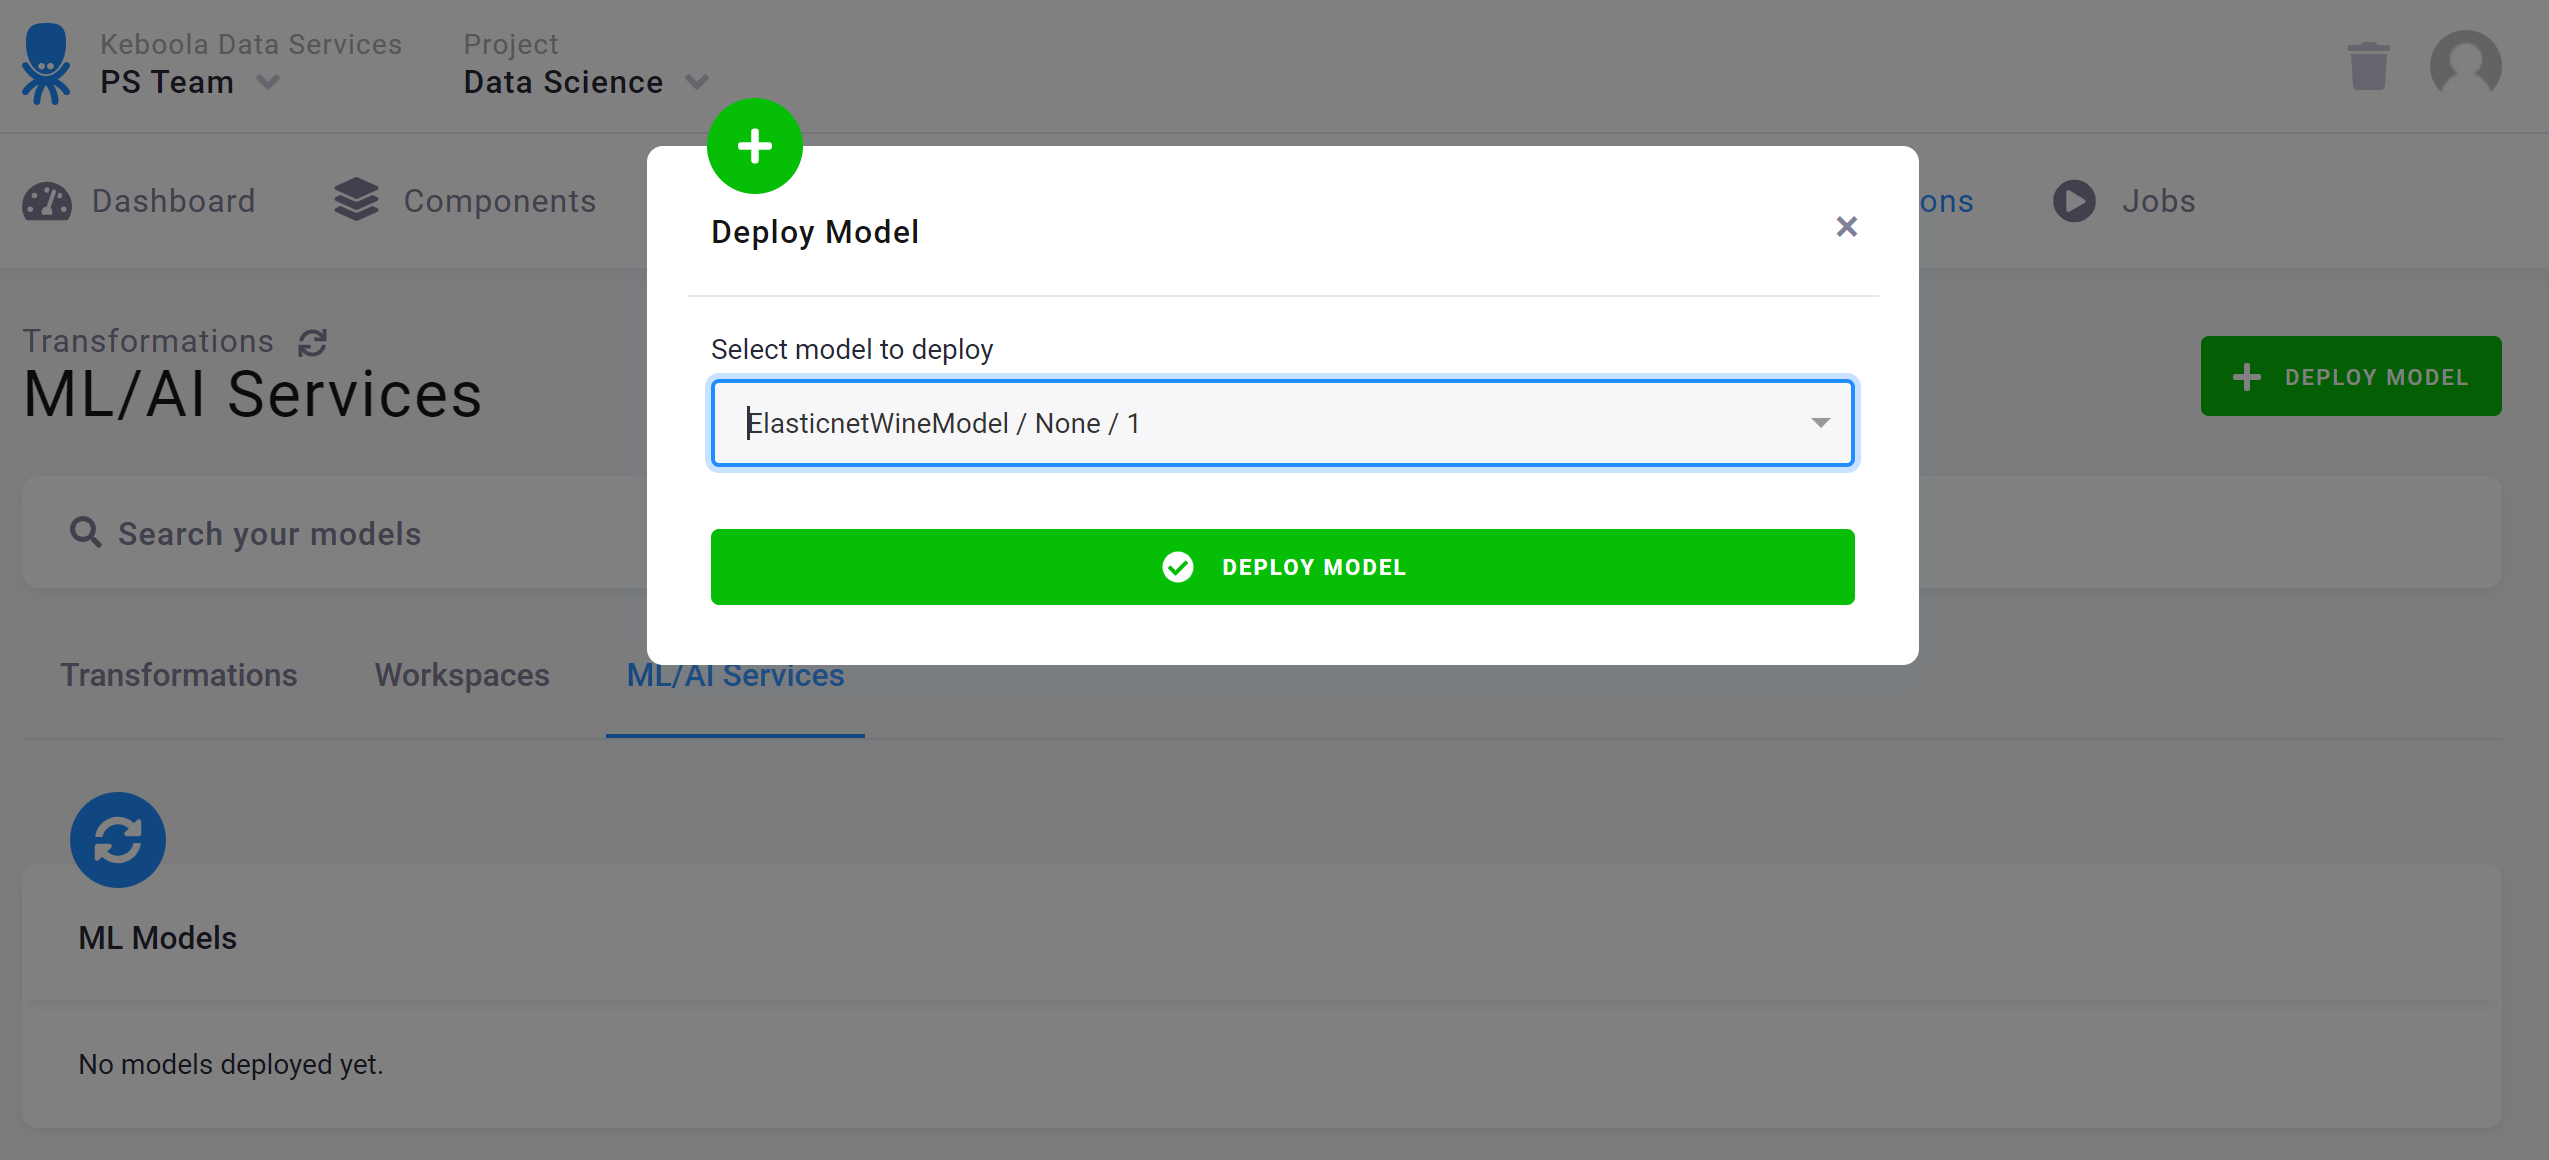
Once ready, go back to the tab ML/AI services in the Keboola UI and deploy the model.
Existing ML Model
If there are already any models available (perhaps created by someone else before you), simply go to the tab ML/AI Services, click the button Deploy Model, select one of the already created models, and use it.
The model will be deployed, and a unique endpoint URL, which you can use for sending requests, will be generated.
A successfully deployed model should look like this:
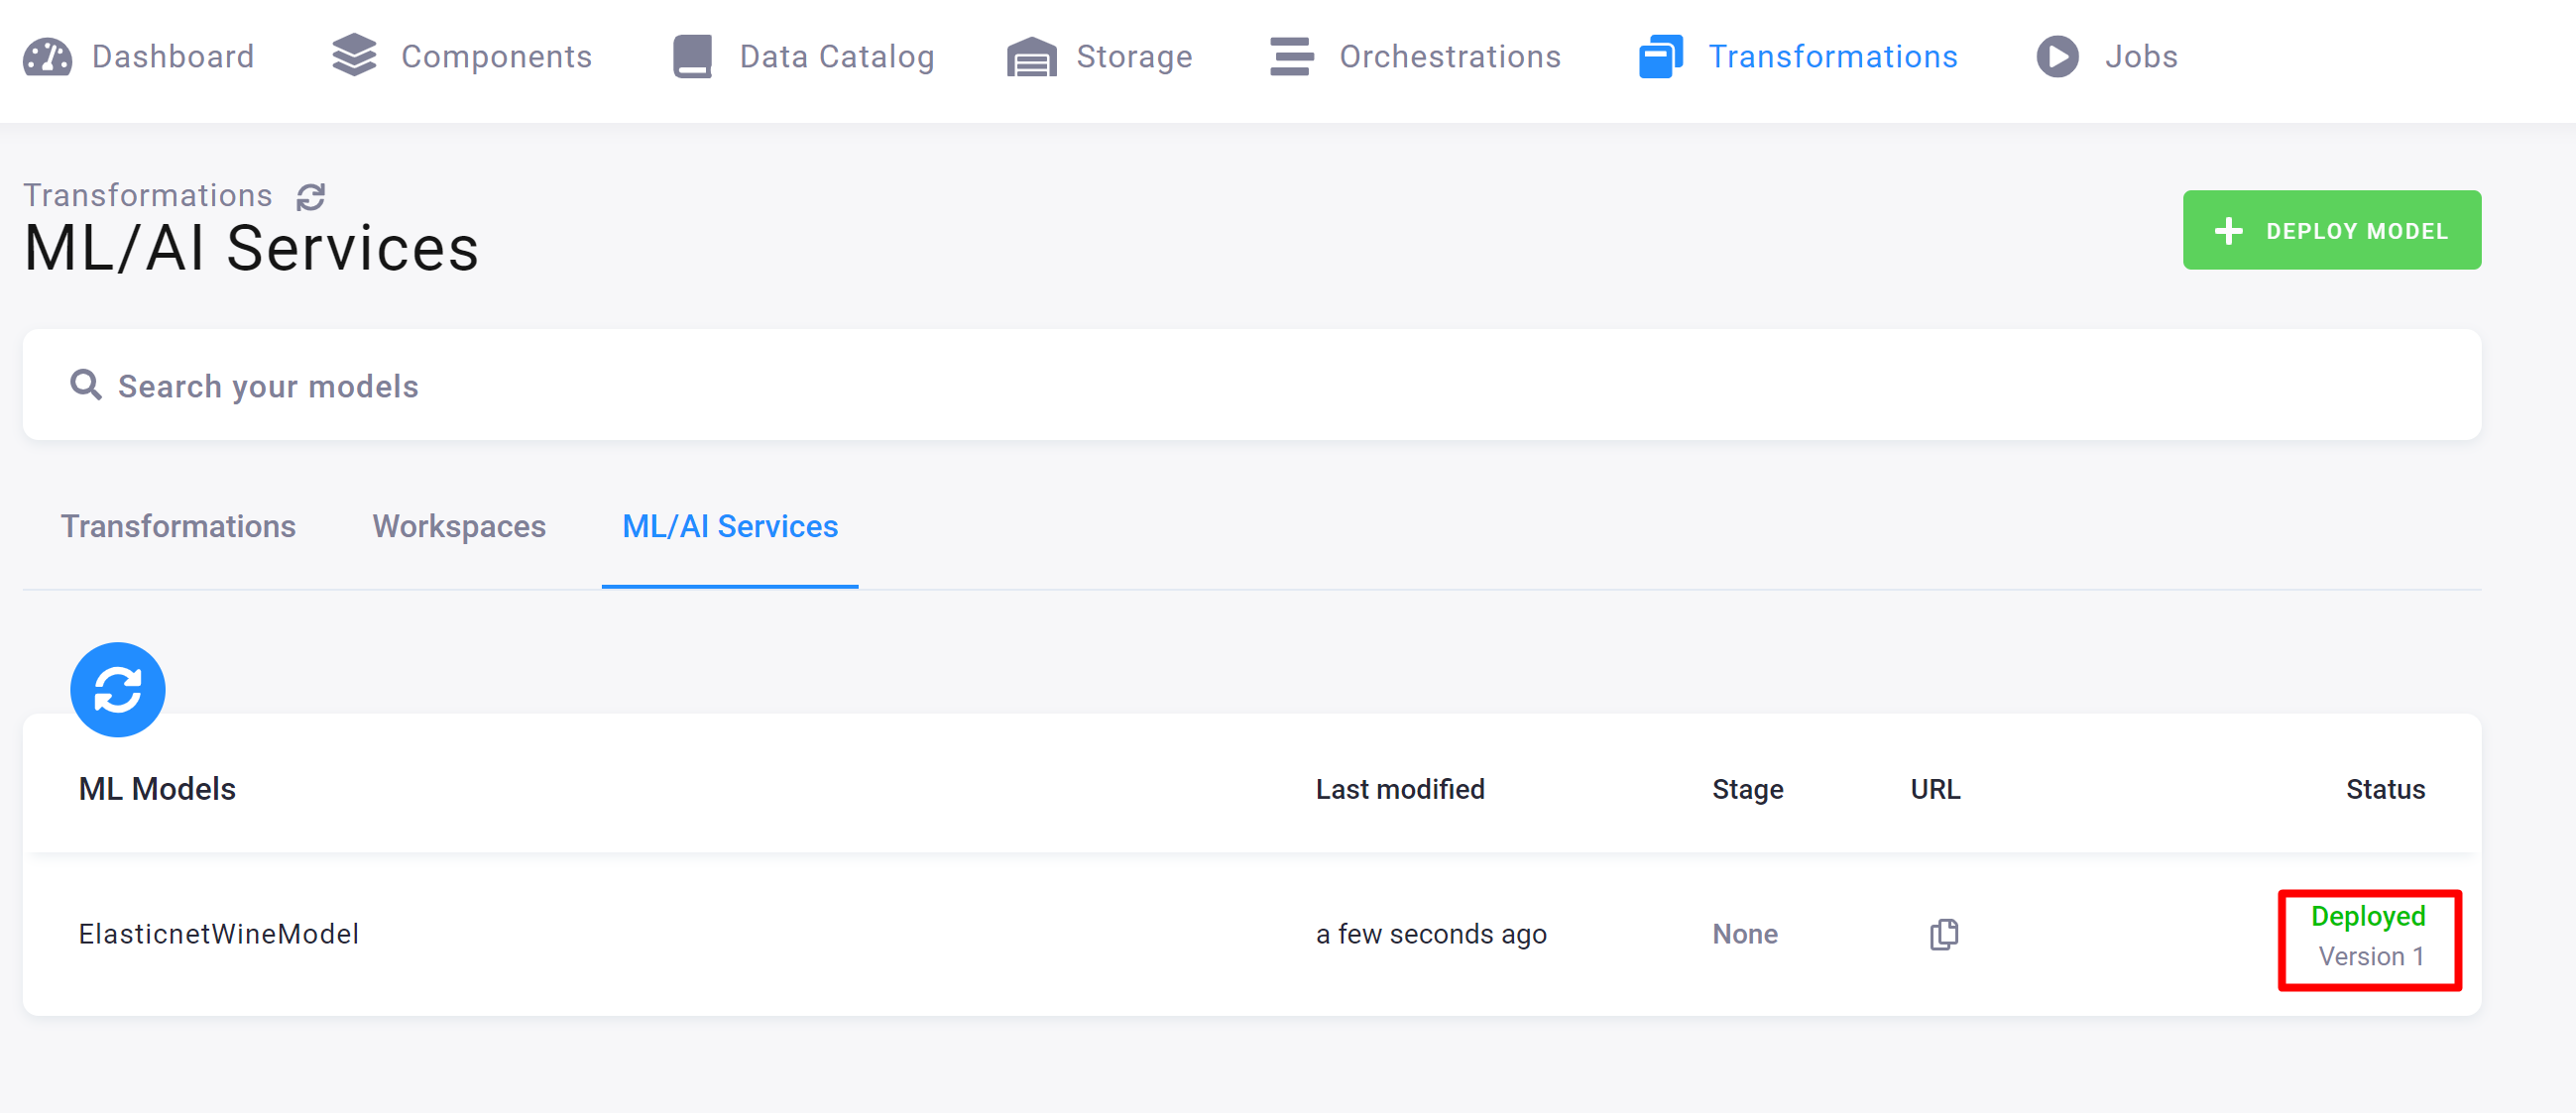
Happy experimenting!