SFTP
This data destination connector allows you to write tables and files to a remote SFTP server.
Configuration
Section titled “Configuration”Create a new configuration of the SFTP data destination connector. Then provide the target SFTP server URL, port (default is 22), and authentication, either via a username and a password, or with a private key.

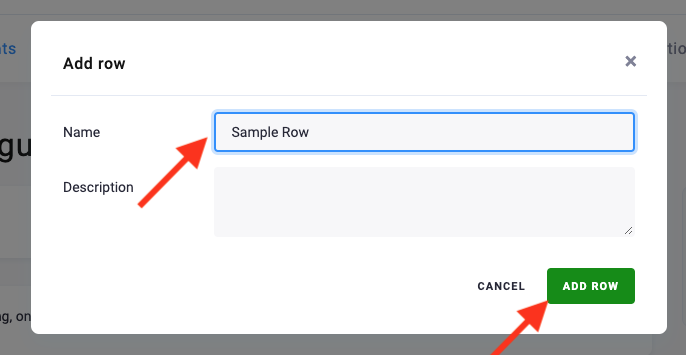
Save the SFTP parameters and continue to the configuration rows by clicking the Add Row button, which will prompt you to create a new row configuration.
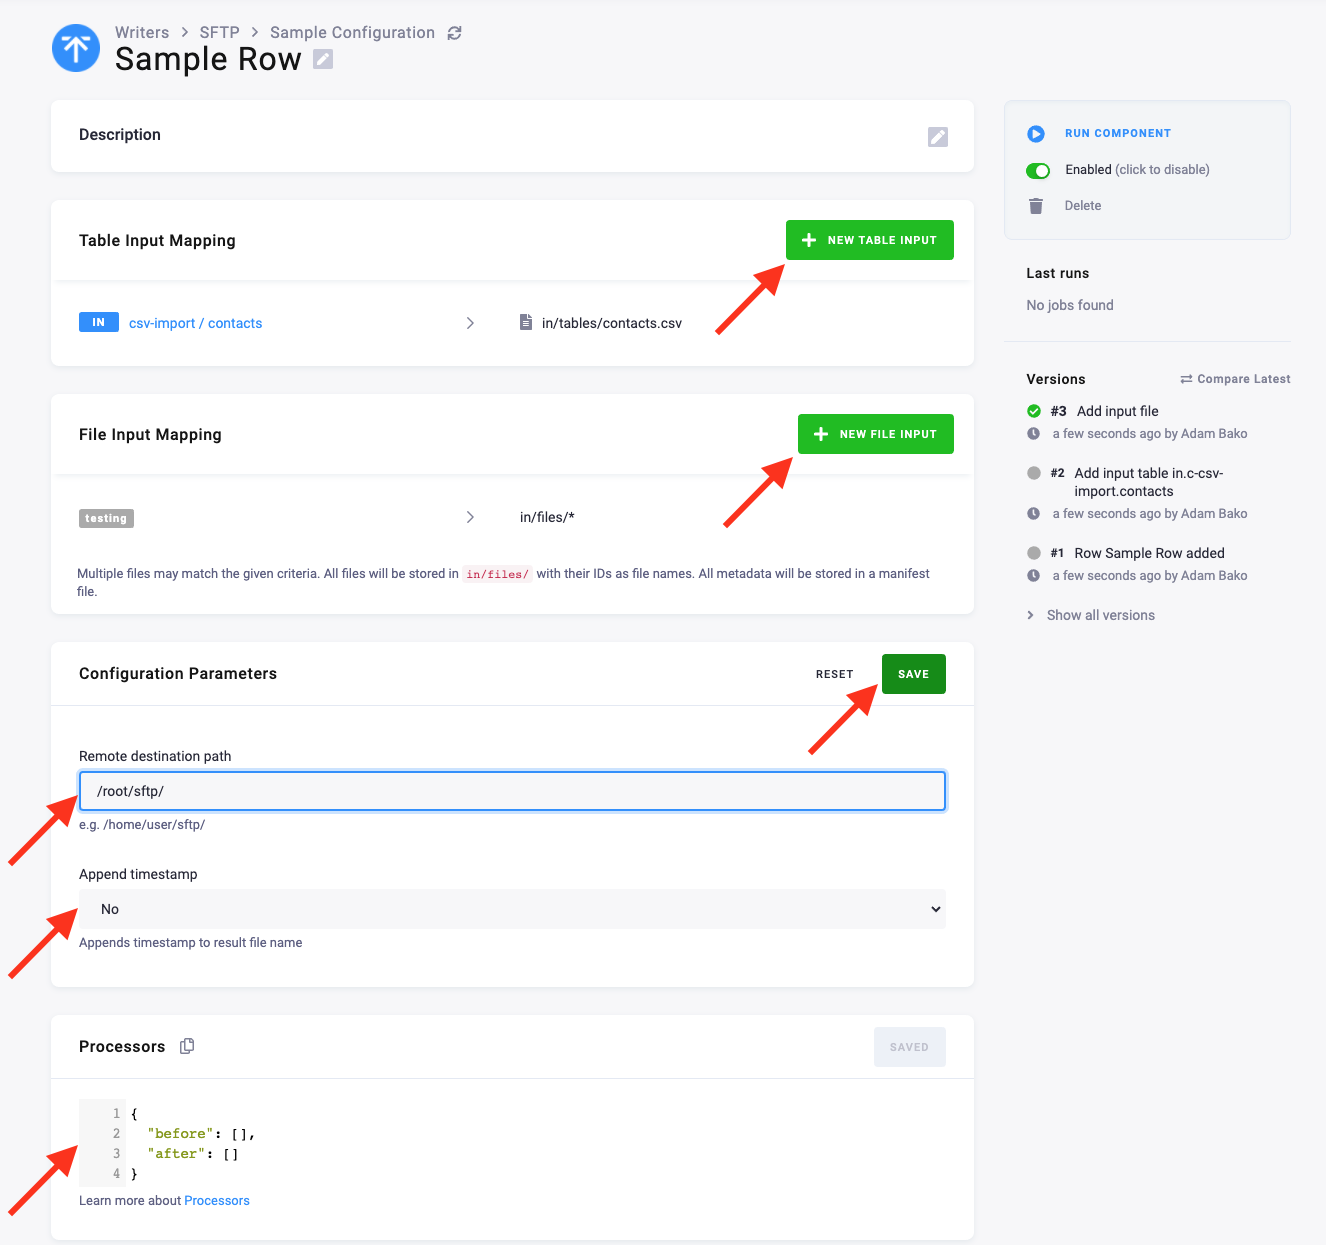
Add the new row and fill in the tables and files you want to write to the SFTP server. Add new tables with the New Table Input button. Once added, the tables will show up in the Table Input Mapping. Add new files with the New File Input button. You can add files using file tags.
Next, configure the parameters by adding the remote destination path in the SFTP server. Make sure the remote destination path exists on the server.
Then configure the append timestamp parameter. This will append the current timestamp to the filename. If you are uploading the same tables and want to have historical records, this would be your solution.
When these parameters are set, save the configuration.
If you want to add processors to the files or tables before the input, you can specify these in the processor configuration window.