AWS S3
This data destination connector allows you to write CSV files into a single AWS S3 bucket. After creating a new configuration, select the files you want to write to AWS S3. You also need to set up the proper permissions on AWS. You can set up AWS credentials or create an AWS role. The connector supports additional processor configuration via the JSON editor.
Obtain AWS Credentials
Section titled “Obtain AWS Credentials”We strongly recommend that you create a dedicated user for the connector. To do so, create a new user in AWS IAM and enable programmatic access:
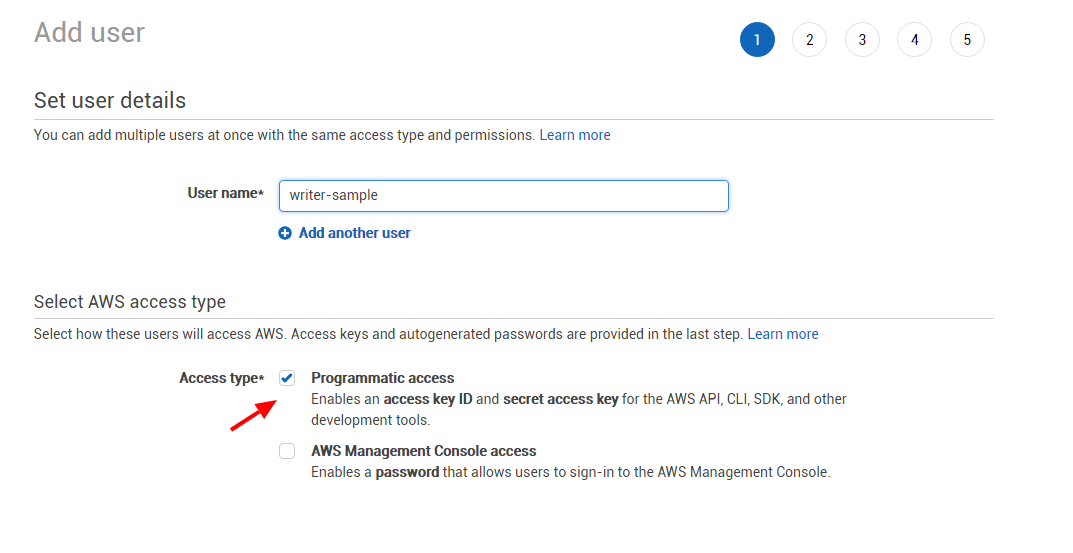
Create a new permission policy with the s3:PutObject and s3:GetBucketLocation permissions to the target bucket.
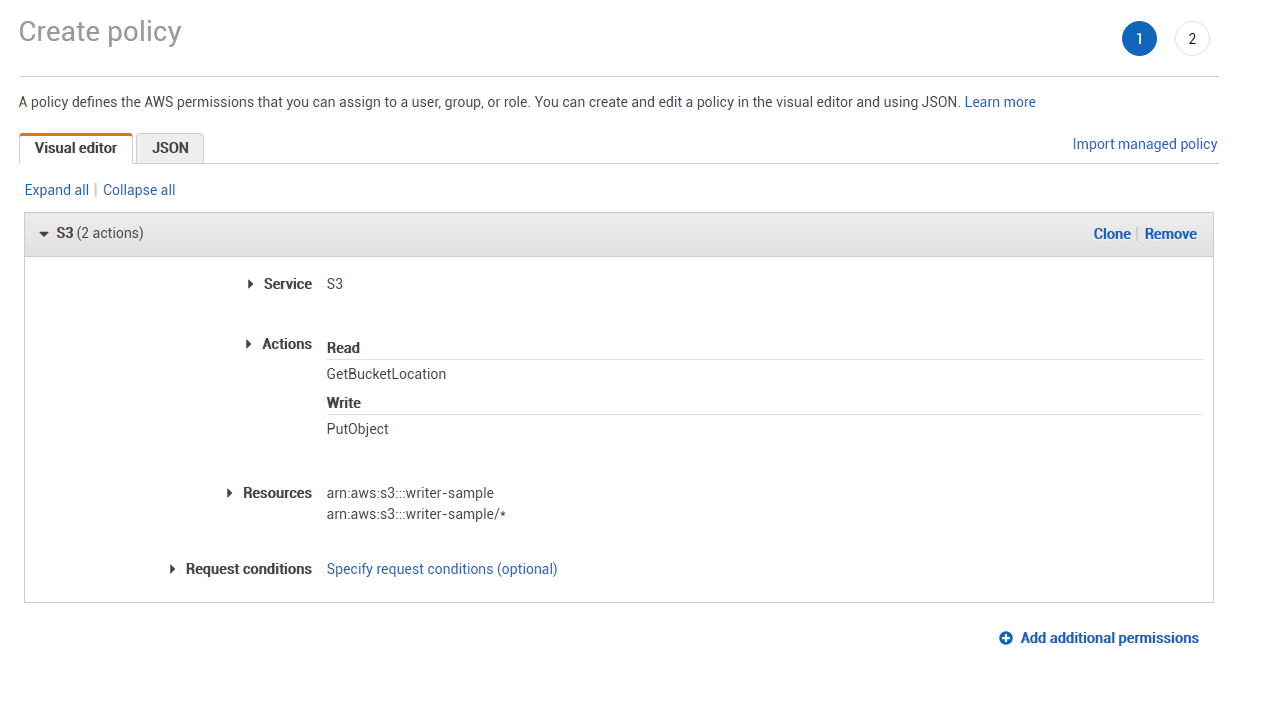
Or, if you prefer configuration via JSON:
{ "Version": "2012-10-17", "Statement": [ { "Sid": "BucketWrite", "Effect": "Allow", "Action": [ "s3:PutObject", "s3:GetBucketLocation" ], "Resource": [ "arn:aws:s3:::writer-sample/*", "arn:aws:s3:::writer-sample" ] } ]}When you finish creating the user, you’ll obtain the Access key ID and Secret access key.
Authentication with AWS role
Section titled “Authentication with AWS role”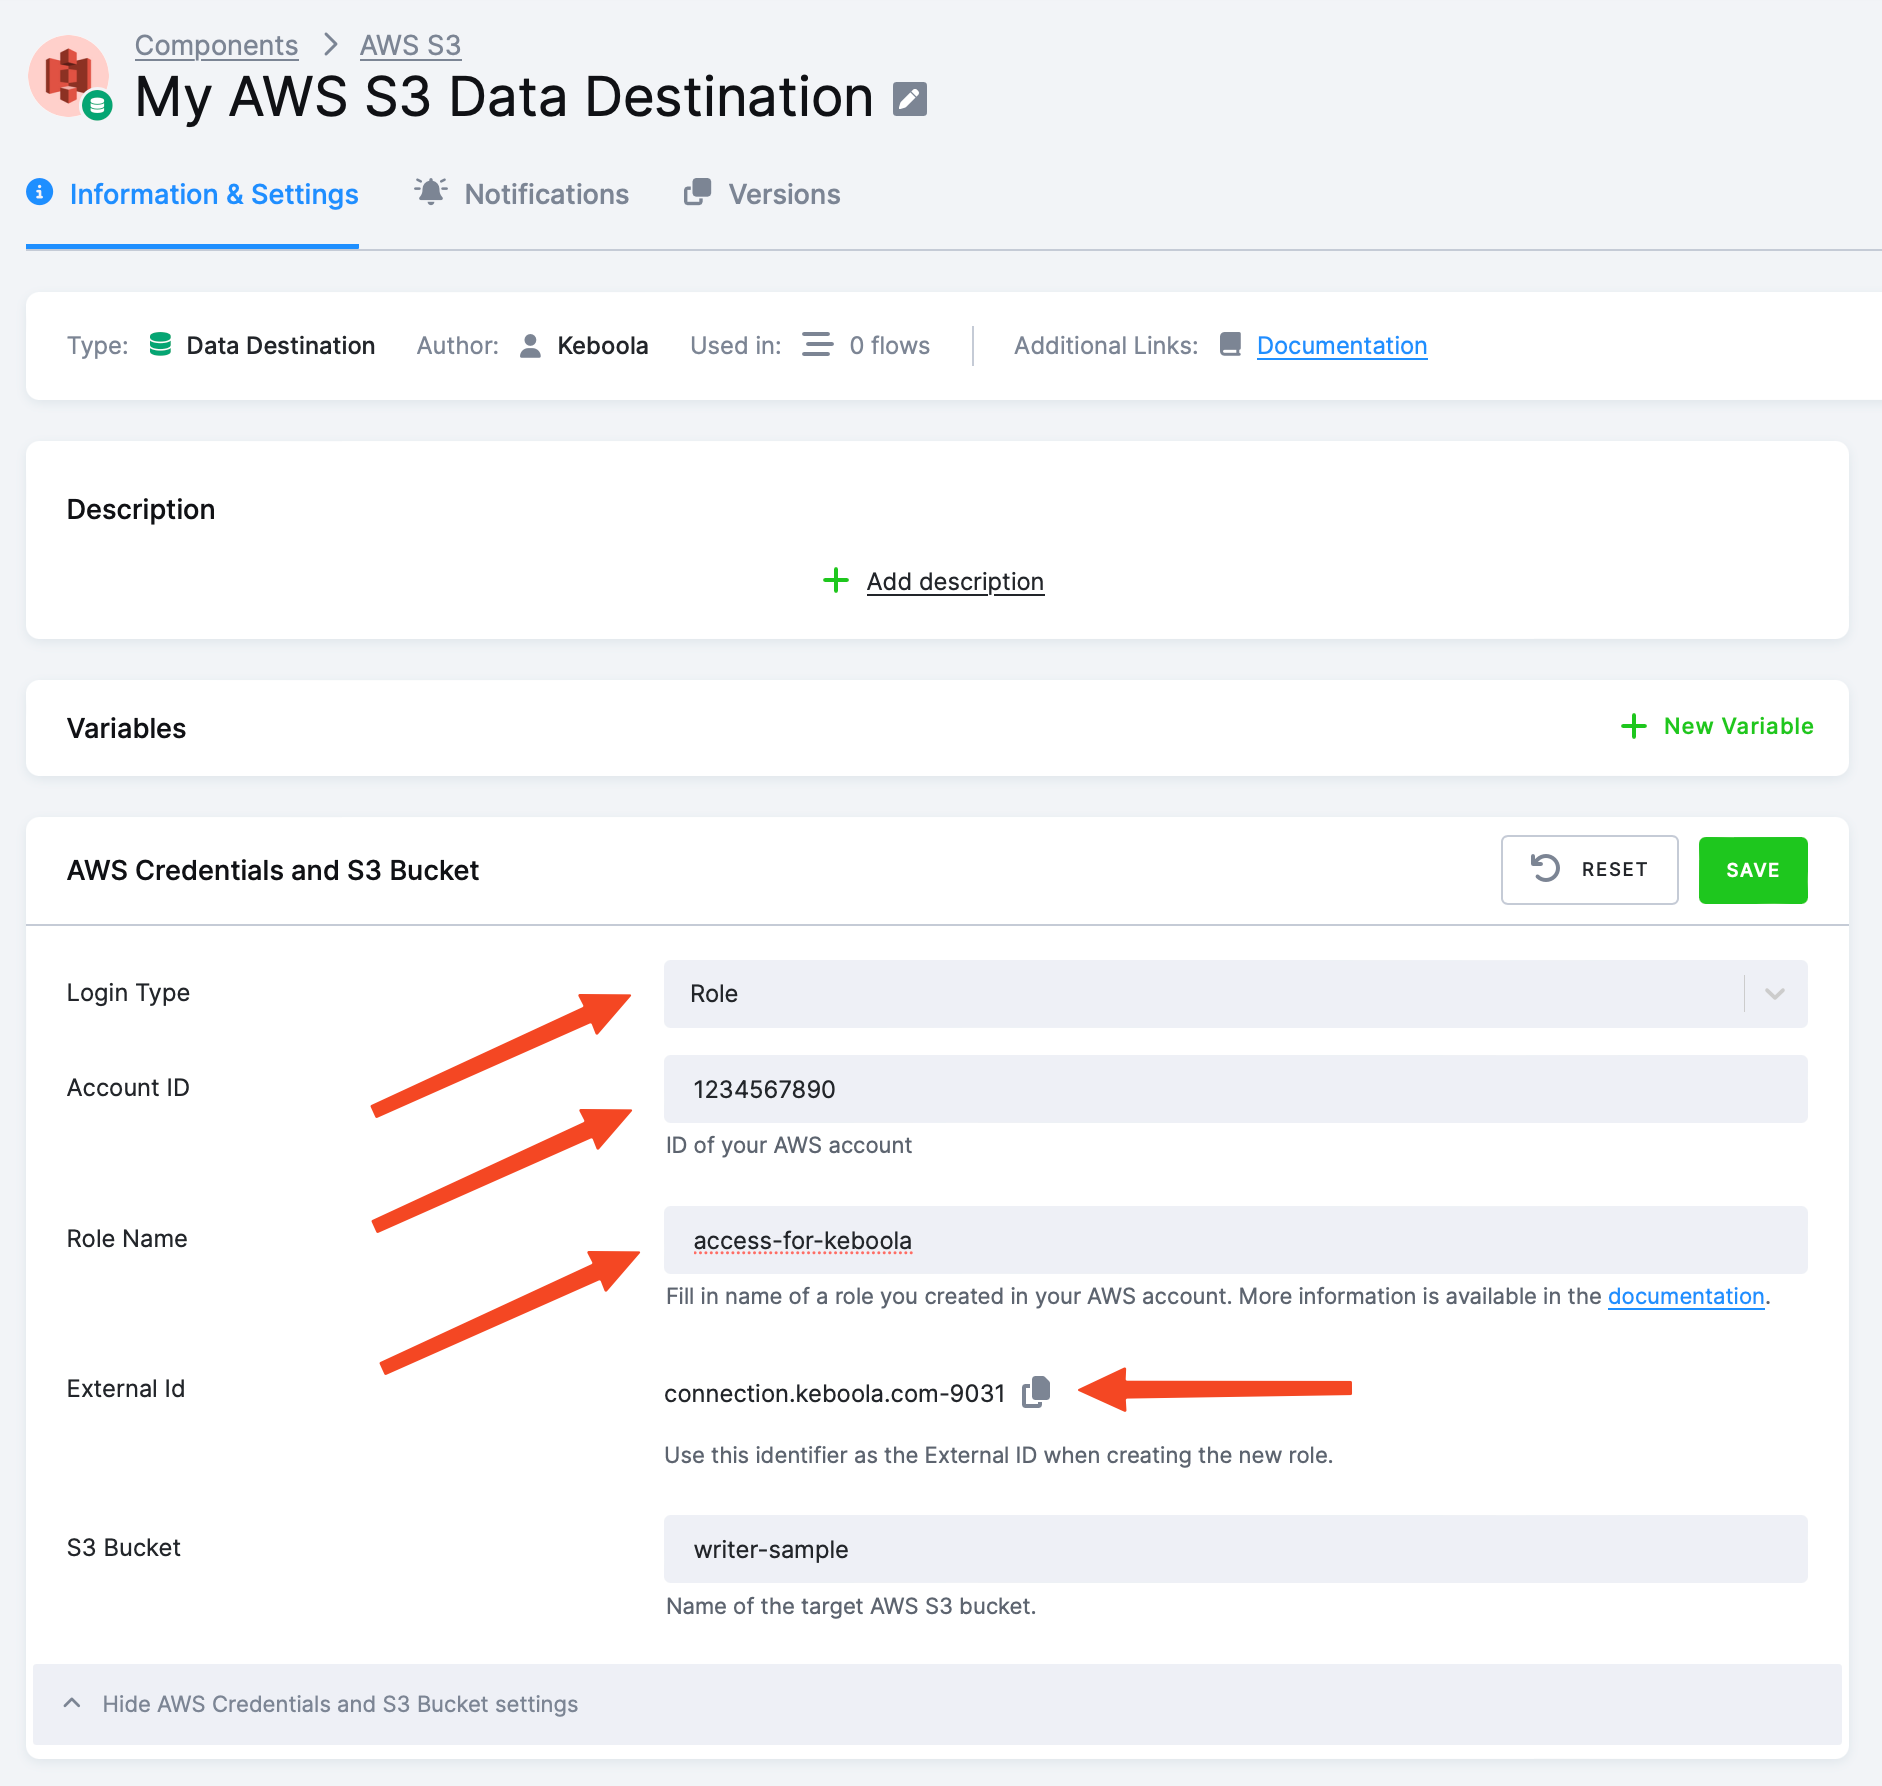
Select Role as the Login Type. Create a role in your AWS account using the following steps:
- Go to the IAM Console and click Create role. Then click Another AWS account.
- For Account ID, enter
206948715642. - For External ID, enter the value from your project.
- Do not enable the setting to Require MFA (multi-factor authentication).
- On the next page, attach the policy:
s3:PutObjectfor desired S3 bucket(s) and pathss3:GetBucketLocationto determine the region of the S3 bucket(s)
- Or, you can create a new inline policy:
{ "Version": "2012-10-17", "Statement": [ { "Sid": "BucketWrite", "Effect": "Allow", "Action": [ "s3:PutObject", "s3:GetBucketLocation" ], "Resource": [ "arn:aws:s3:::writer-sample/*", "arn:aws:s3:::writer-sample" ] } ]}- On the last page, set the Role name and click Create role.
In your project, fill in your Account ID and Role Name.
Configuration
Section titled “Configuration”Create a new configuration of the AWS S3 connector. In the next step, provide the target S3 bucket and AWS credentials with write permissions to it.
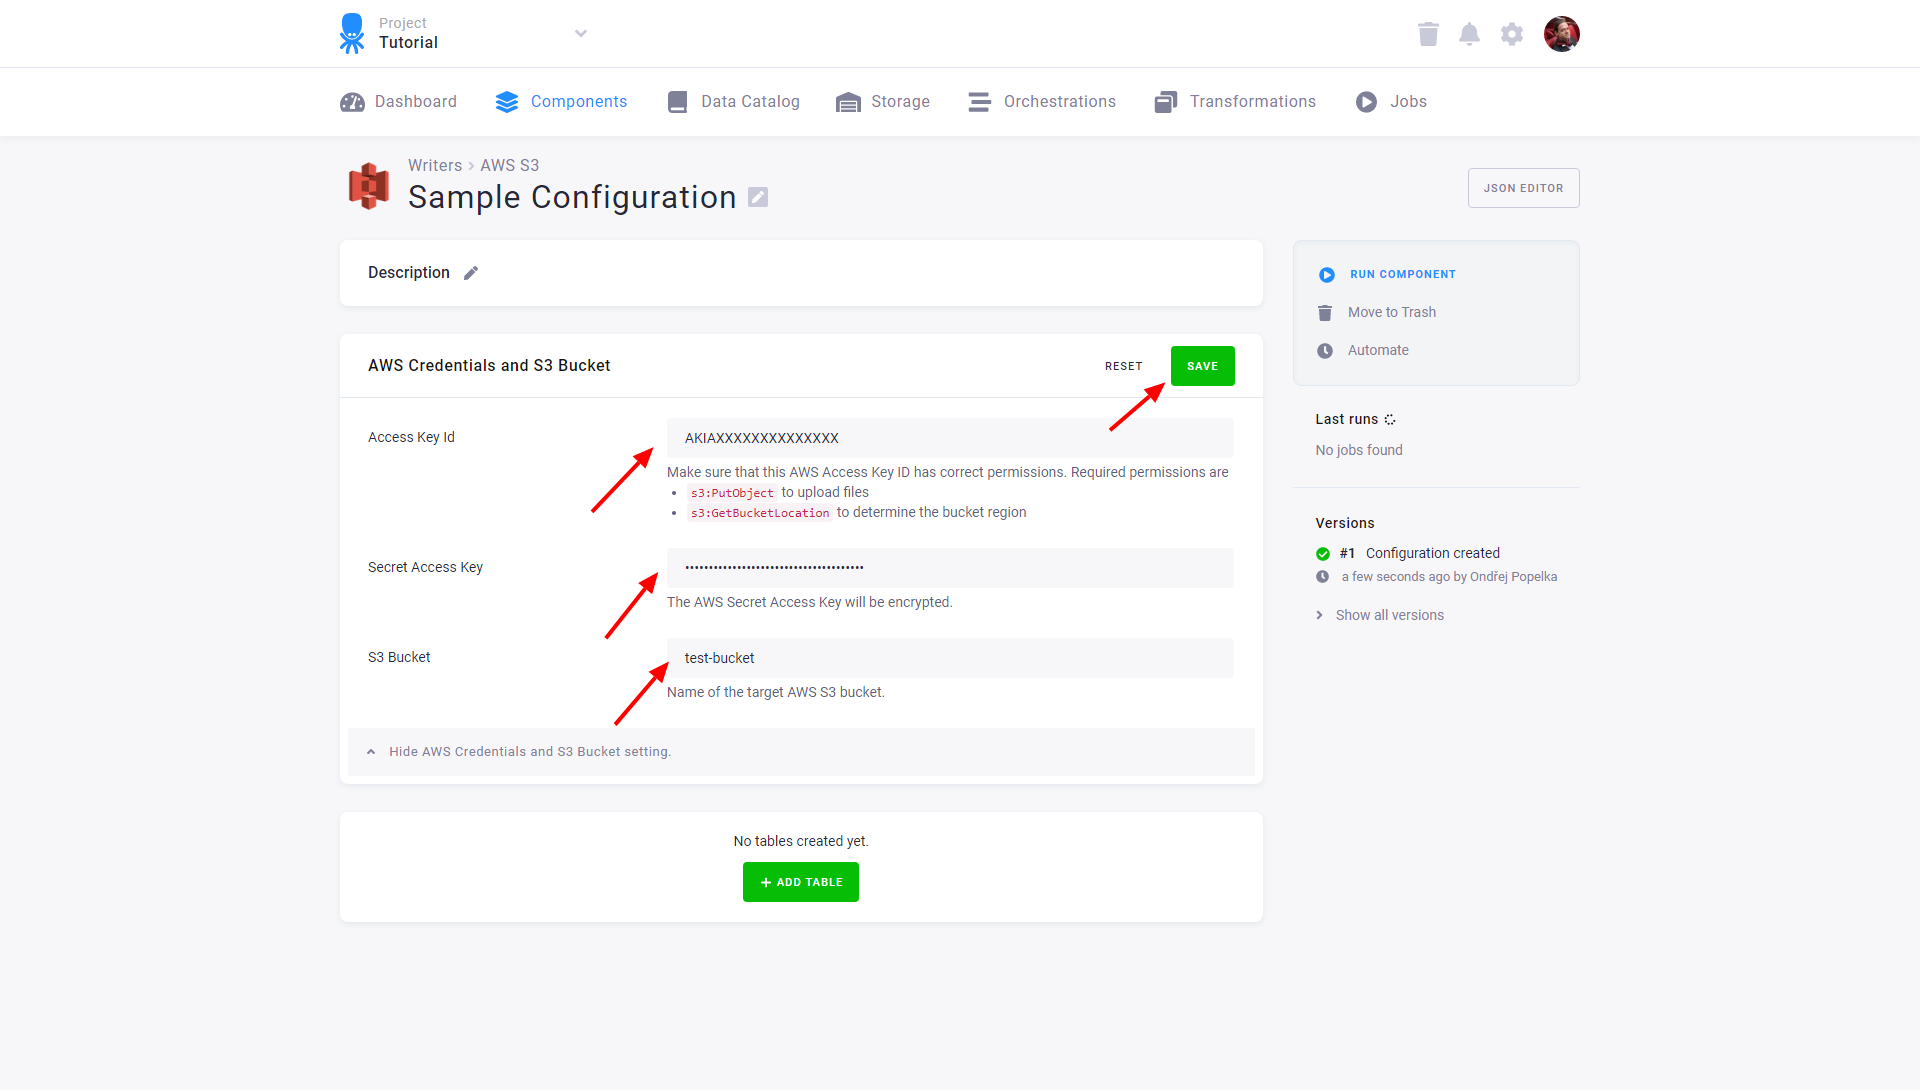
Save the credentials and configure tables by clicking the Add Table button and search for the table you want to upload:
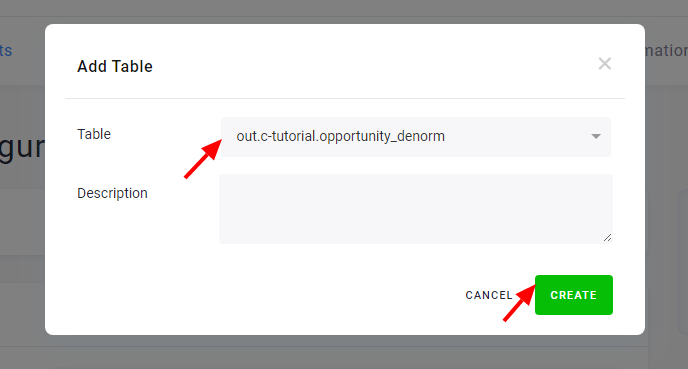
Then you can modify the table destination path, write the table, or go back to the configuration to add additional tables to the connector. Configured tables are stored as configuration rows.