Part 3: Writing Data
This section of our tutorial will walk you through the process of writing data from Keboola to a destination. This step is commonly referred to as reverse ETL.
Having already learned how to manipulate data in Keboola using SQL, you now have a denormalized table called opportunity_denorm
ready in Storage.
In this tutorial, we will push this table to a Google Sheets destination. It’s important to note that other typical destinations can include BI tools, databases, or even applications/APIs, such as CRM systems, and more.
- Navigate to Components, click the Add Component button and use the search bar to find Sheets.
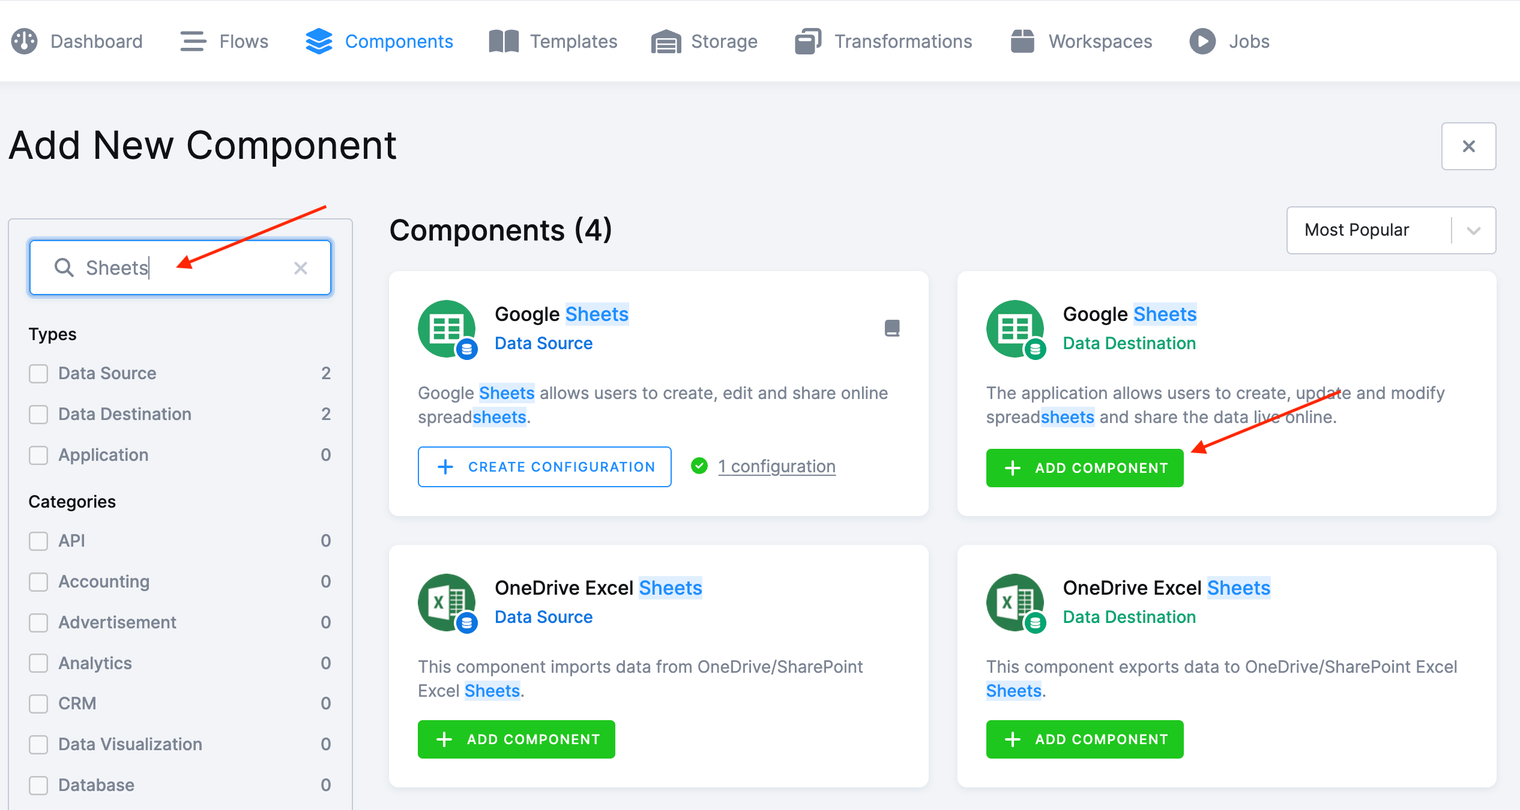
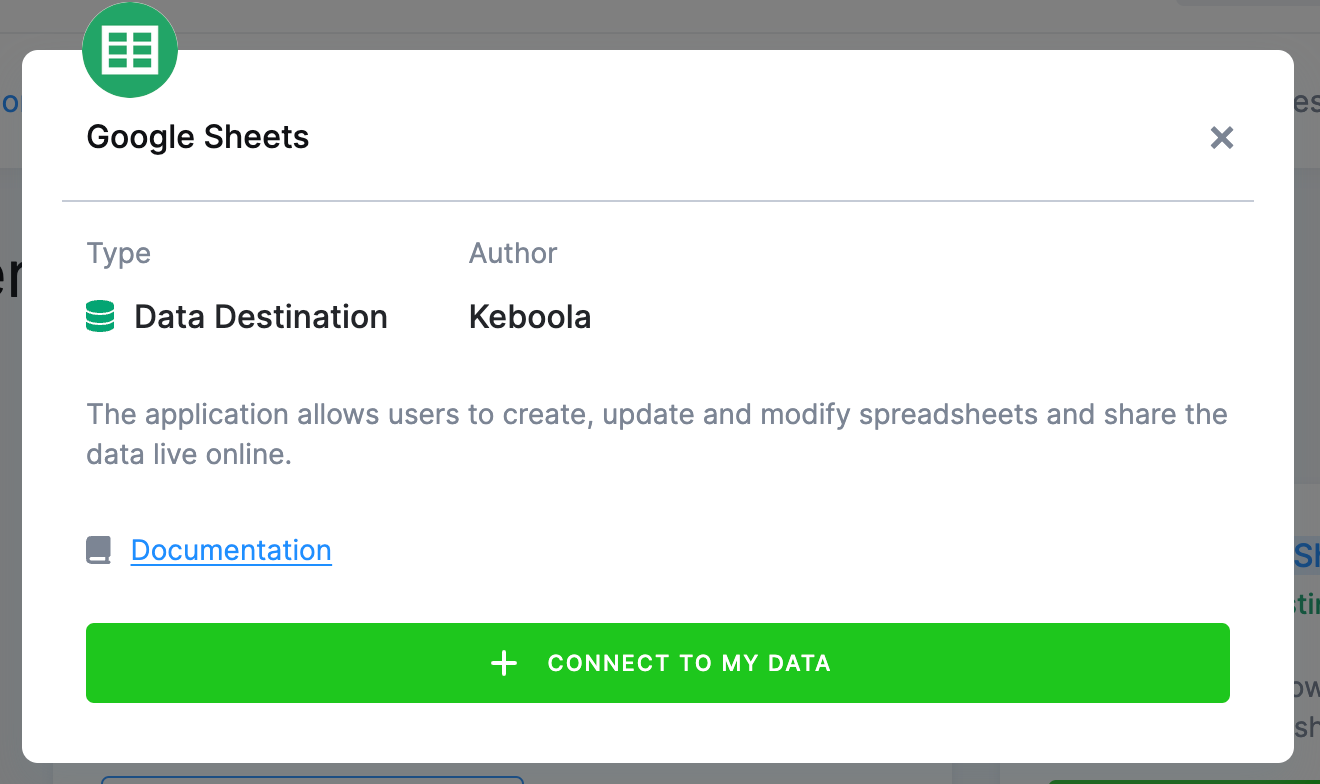
- Click Add Component and then click Connect To My Data.
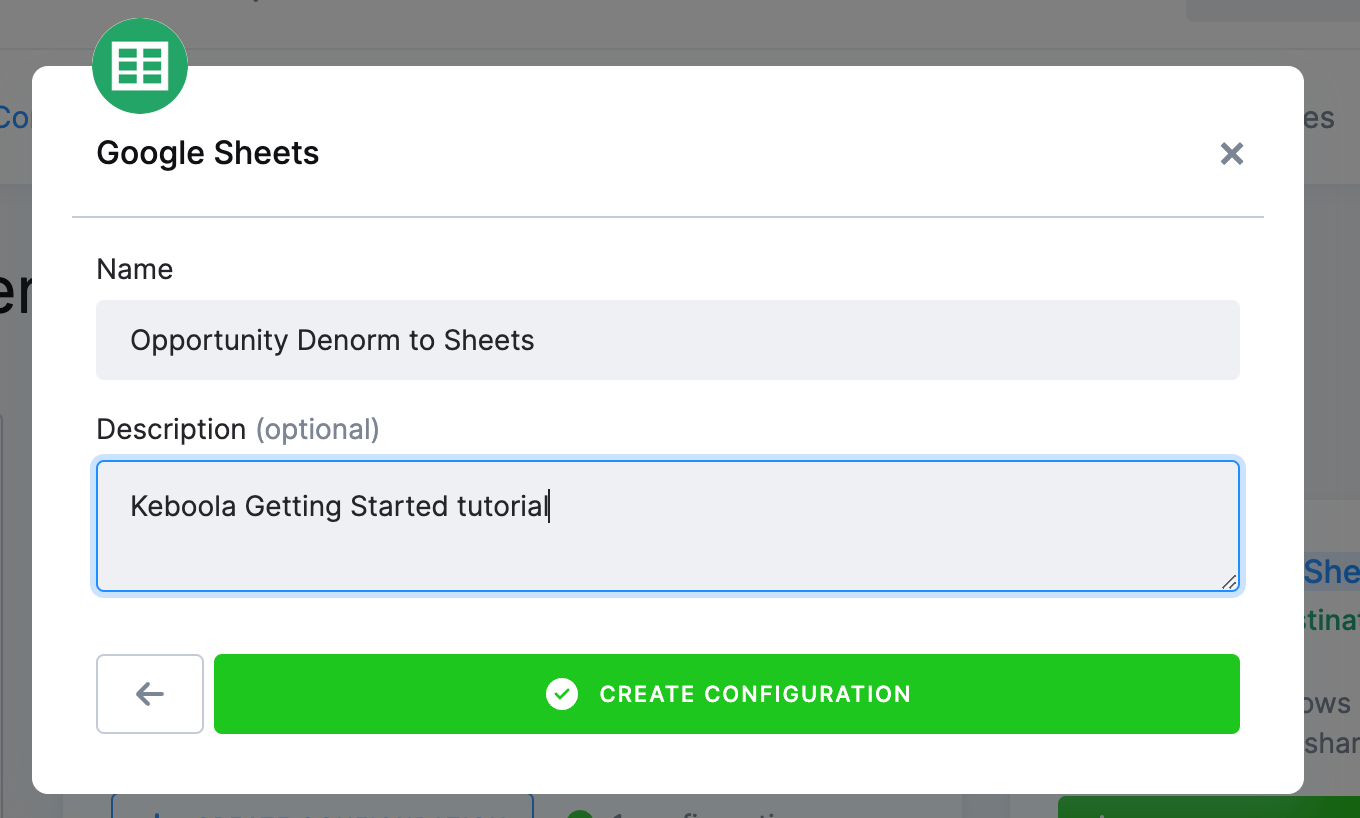
- Enter a Name and Description and click Create Configuration.
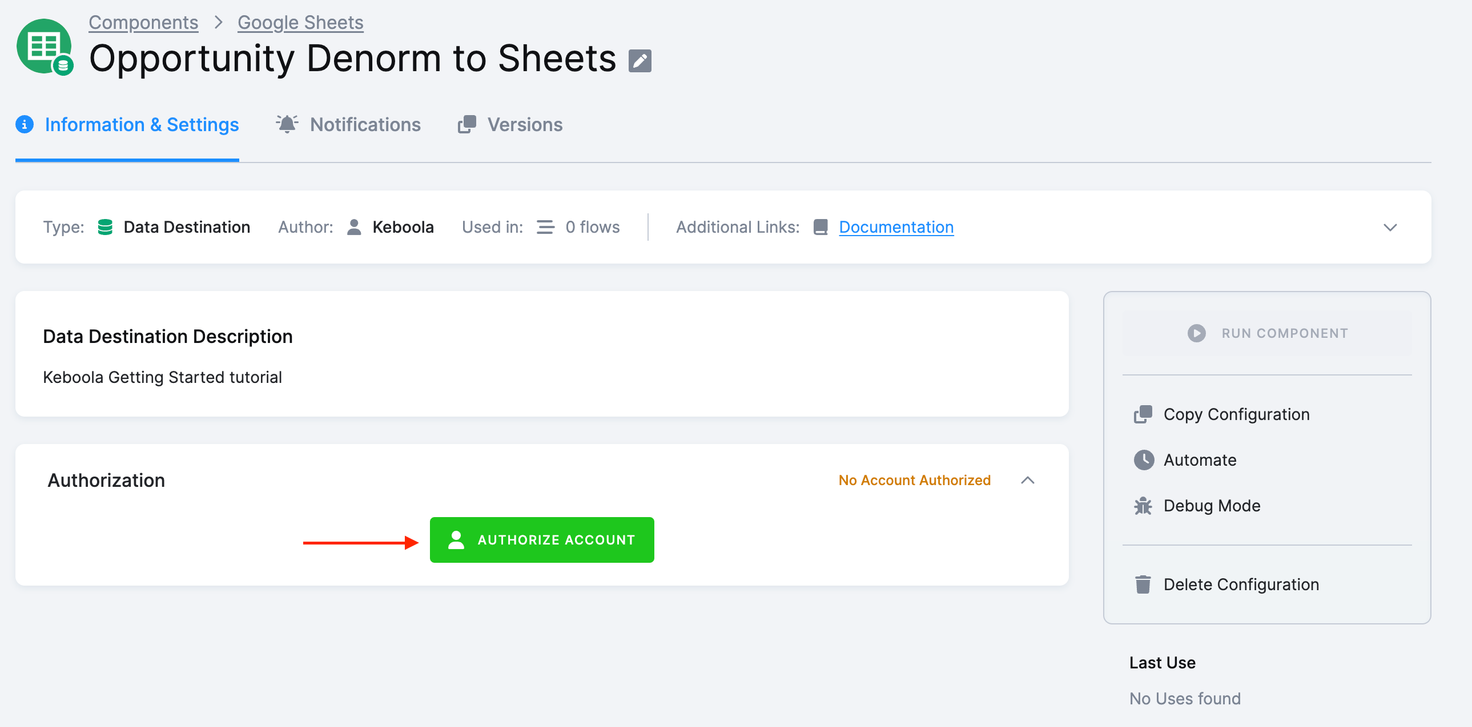
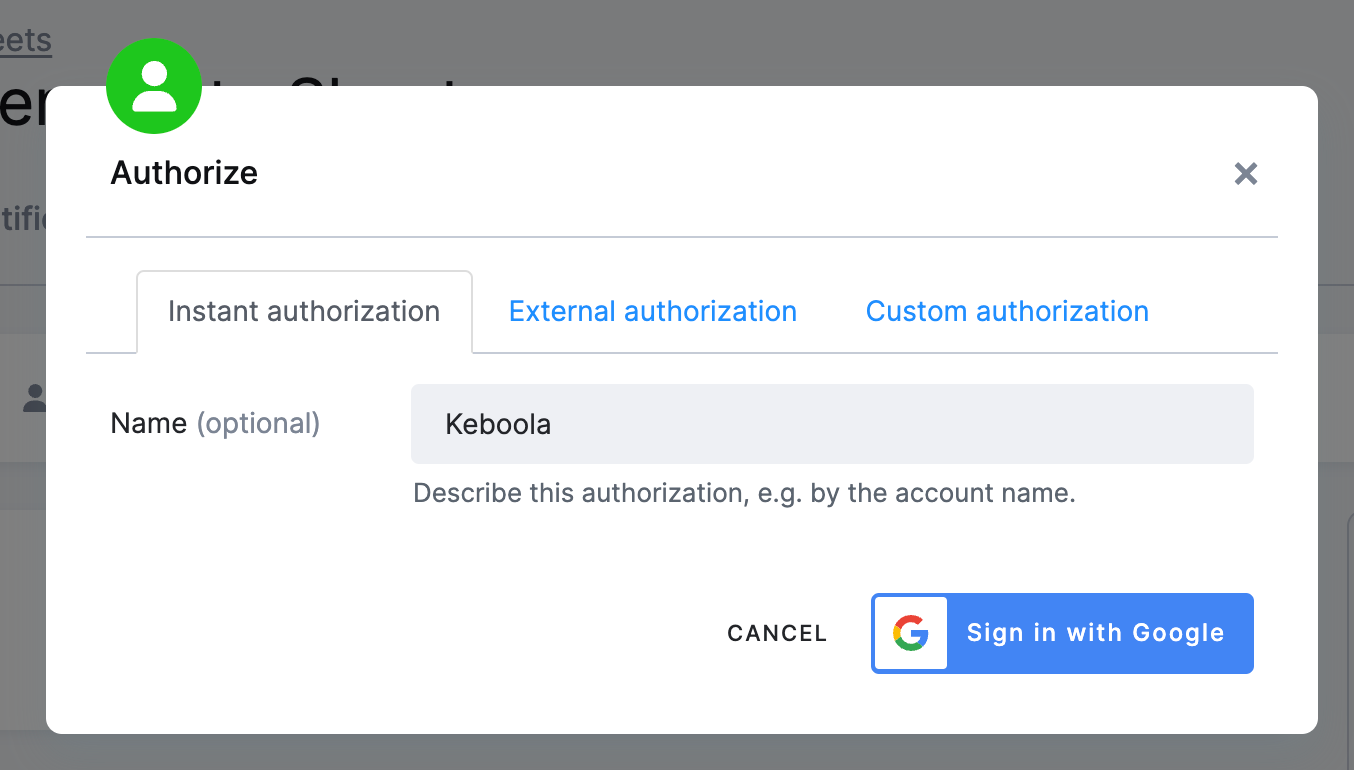
- Now, we need to authorize the Google account to which we want to write the data. This process is similar to what we’ve done in the Loading data from Google Sheets data source step of this tutorial.
- Enter a name for your connection and click Sign in with Google. You can also utilize external authorization if you need your colleagues to authorize their accounts. Please note that this authorization will only allow you to write data into a Google Spreadsheet.
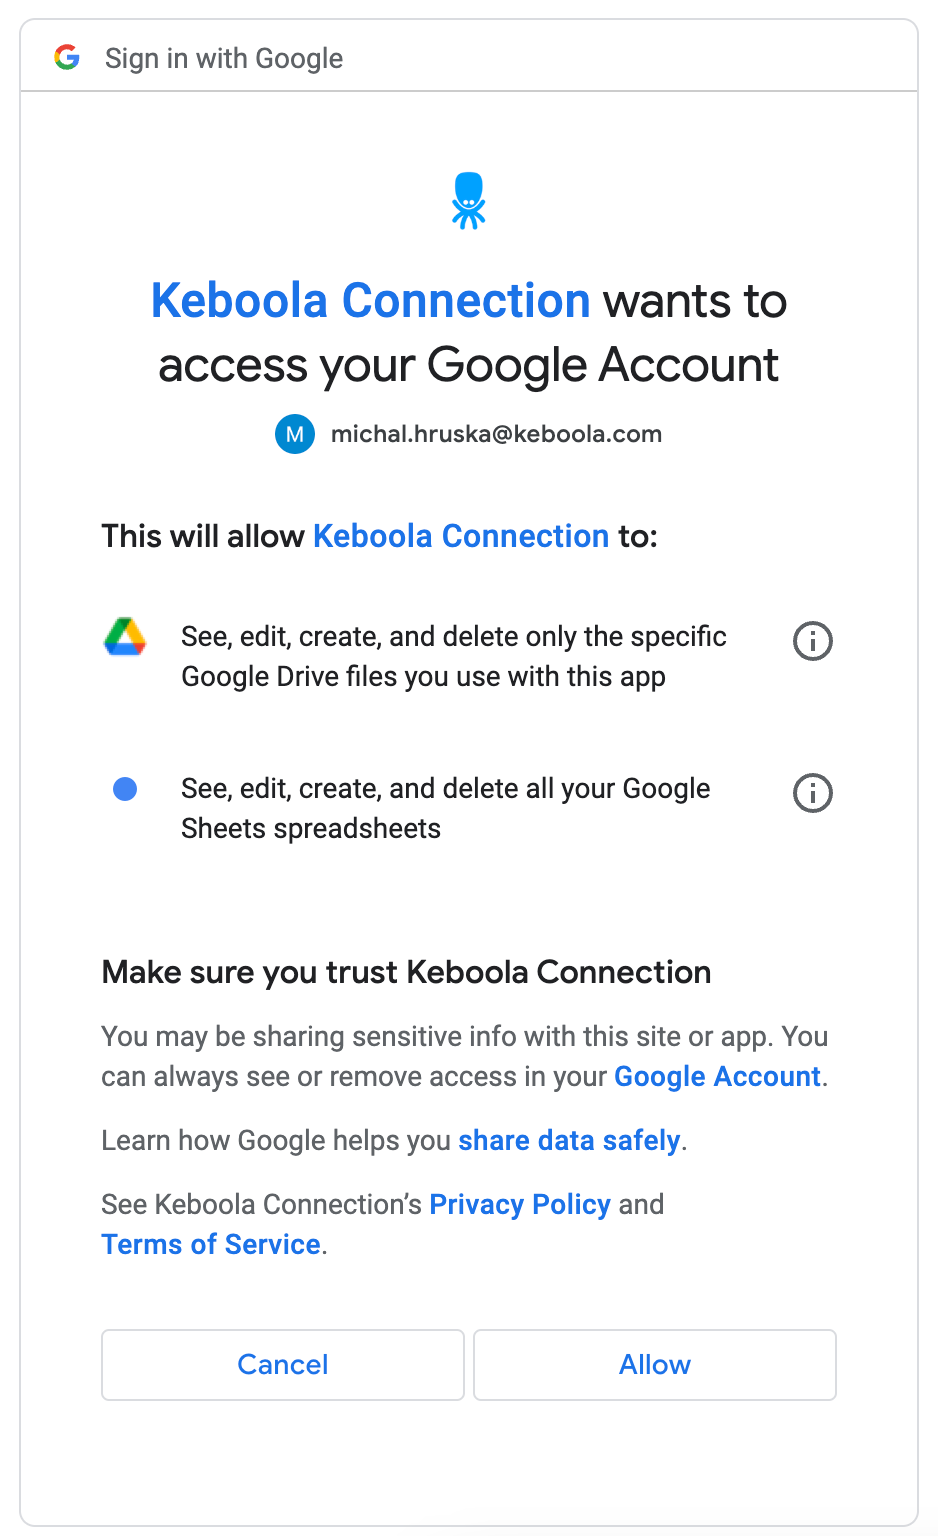
- Click Allow.
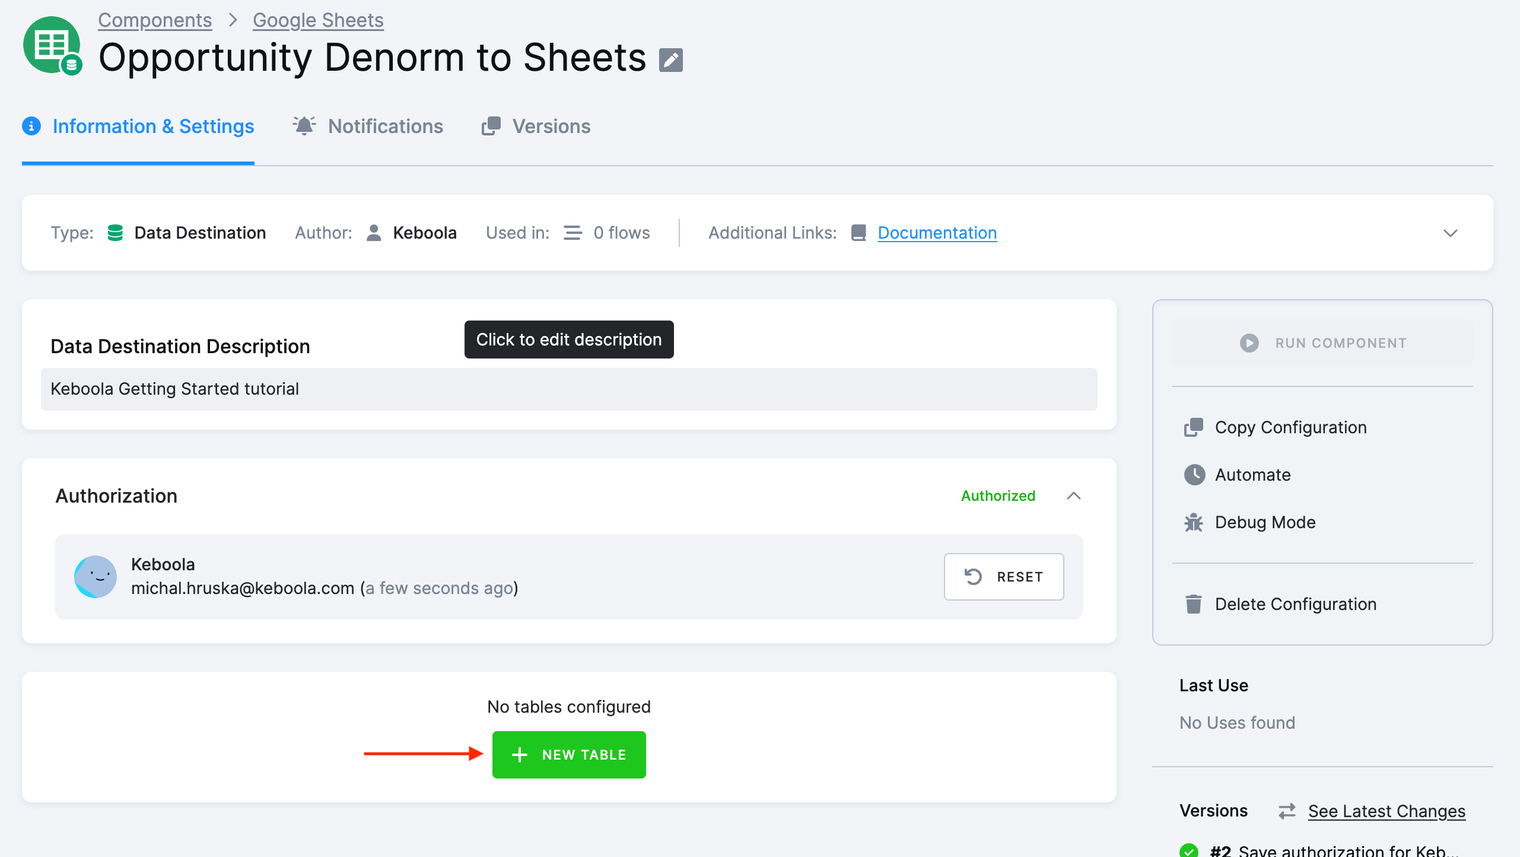
- Click New Table now to select the
opportunity_denormtable from your Storage.
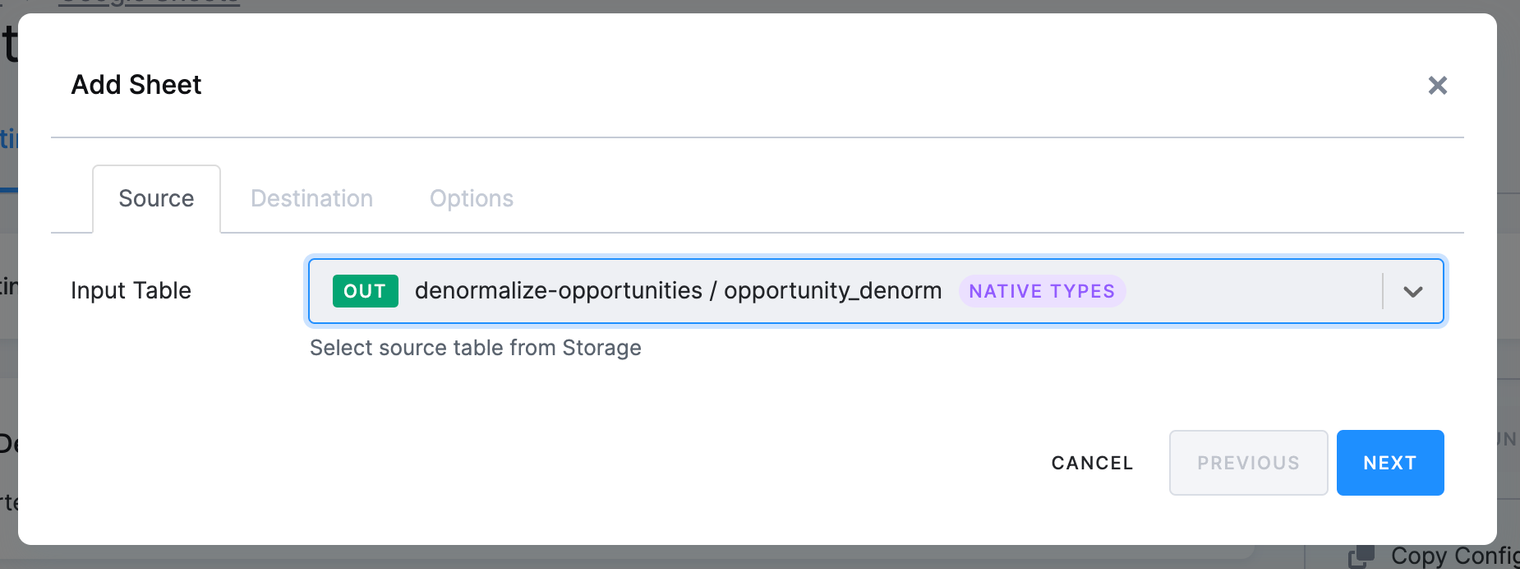
- Select the table and click Next.
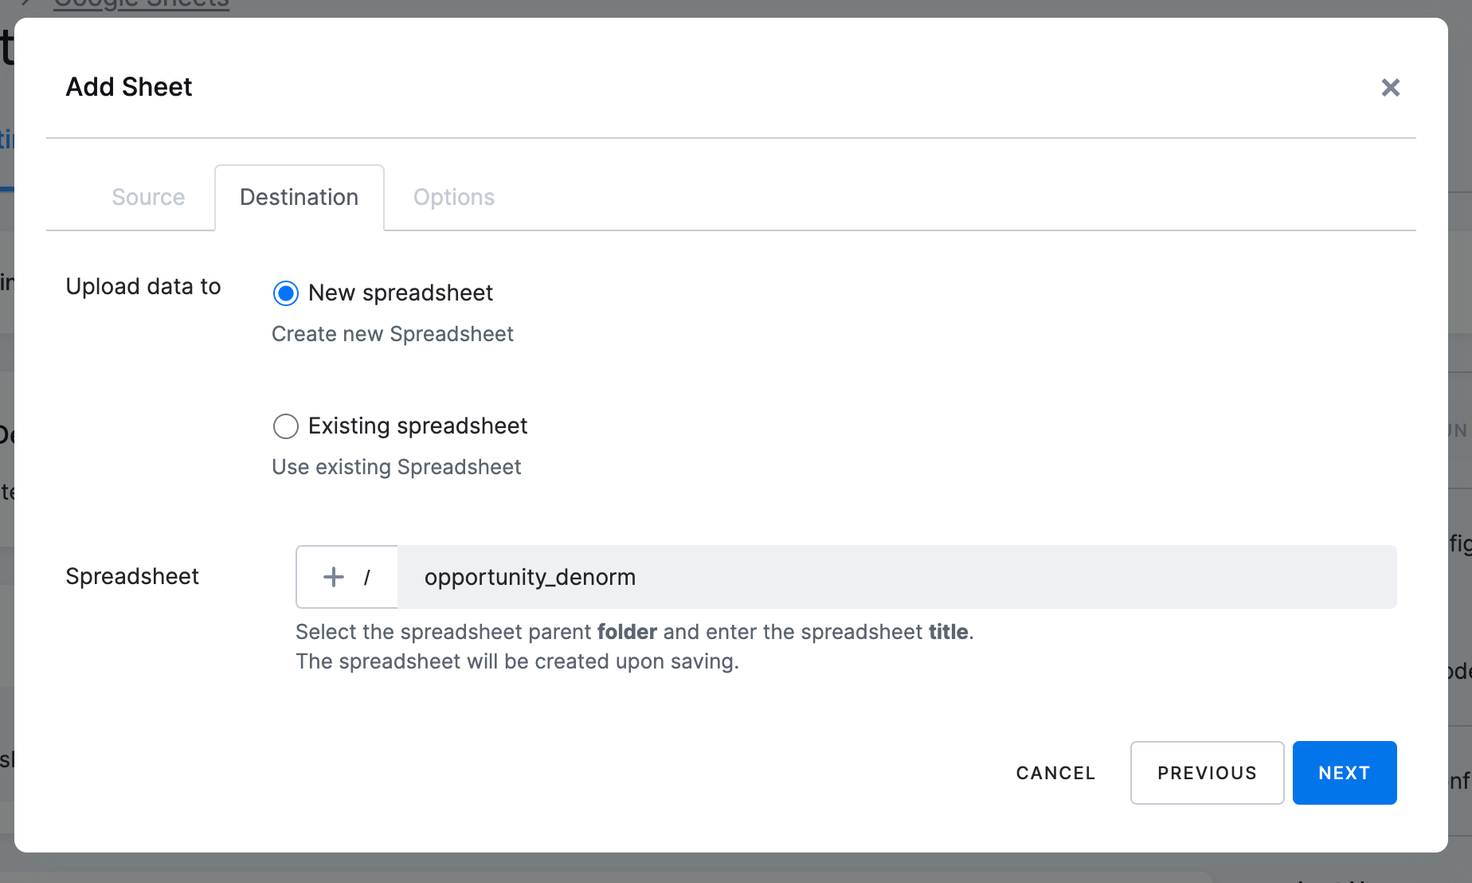
- You can either create a new spreadsheet or load data to an existing spreadsheet. Click New spreadsheet now and then click Next.
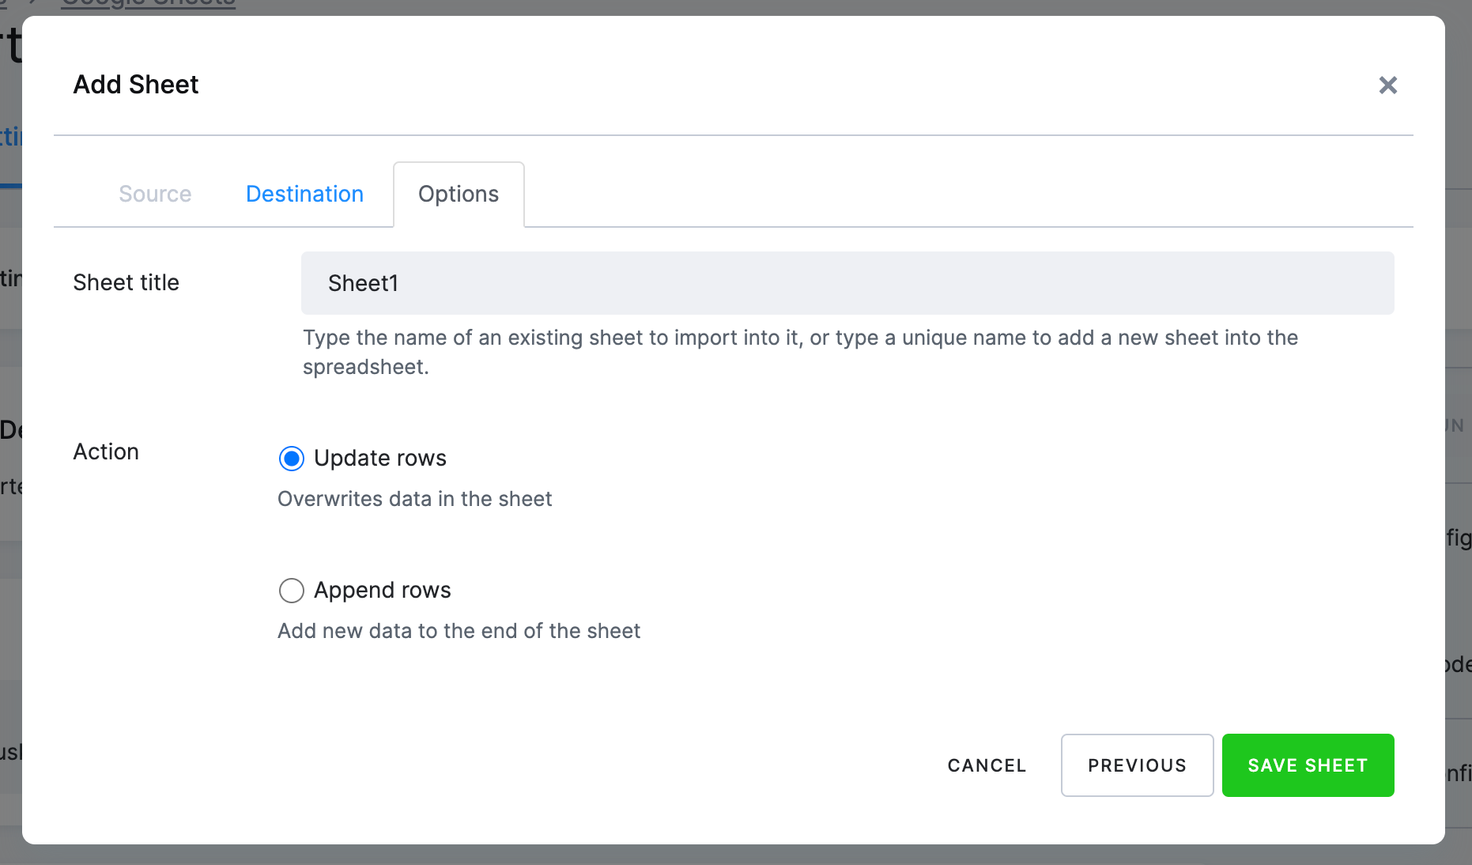
- Enter a name of your sheet, select Update rows and click Save Sheet. This will create a new empty spreadsheet under the authorized account.
-
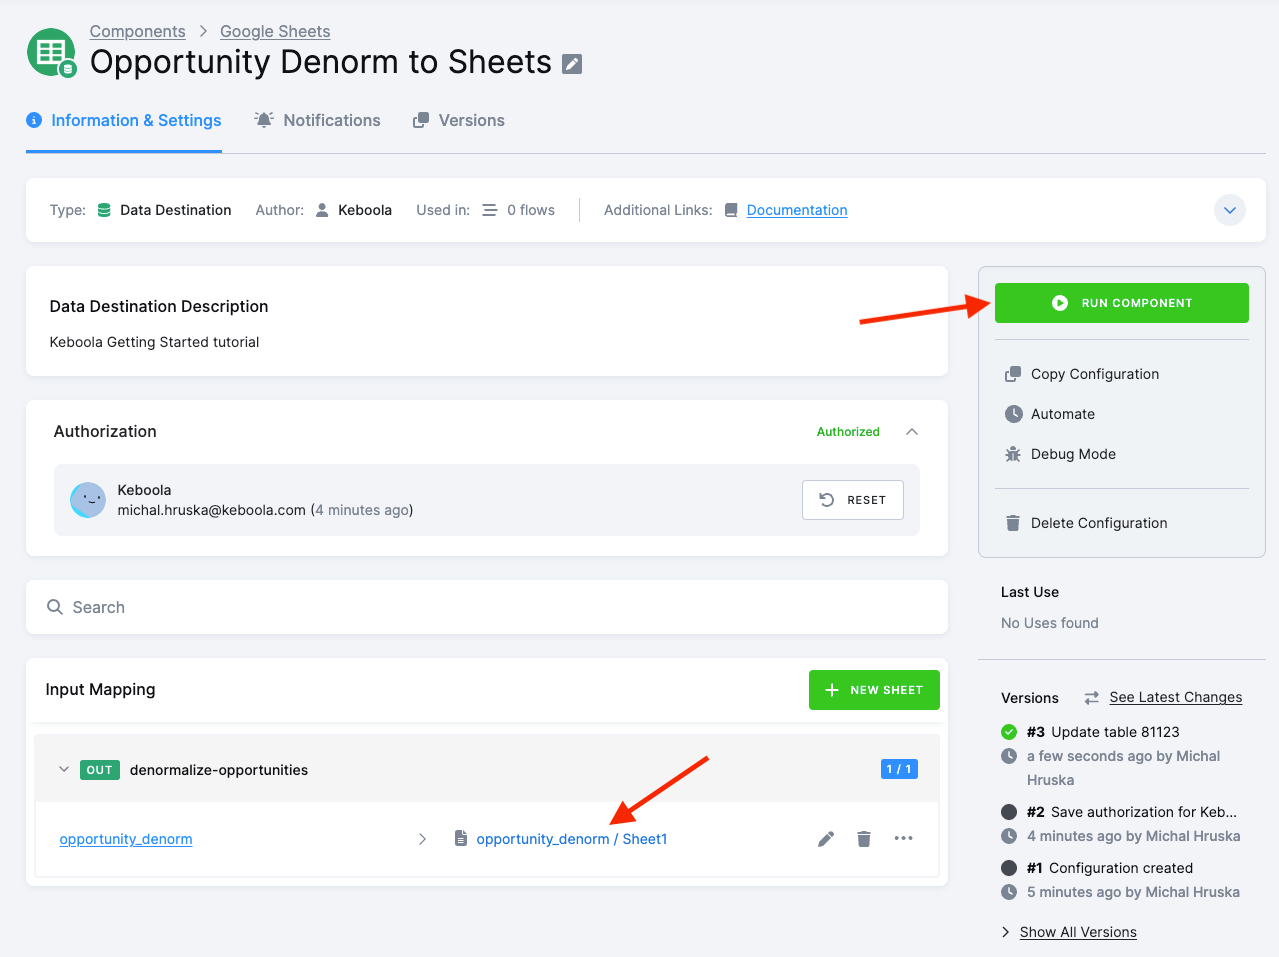
To load the data into the created spreadsheet, click the Run Component button.
-
After the job is executed, you can click the spreadsheet name to open the Google Drive spreadsheet (assuming you have access to the spreadsheet).
What’s Next
Section titled “What’s Next”Proceed to Flow Automation for the next step in the tutorial.
If You Need Help
Section titled “If You Need Help”Feel free to reach out to our support team if there’s anything we can help with.