Part 4: Flow Automation
So far, you have learned to use Keboola to
- load tables manually or using a data source connector,
- manipulate data in SQL, and
- write data into a Google Spreadsheet using a data destination connector.
While connecting various systems together alone makes Keboola a powerful and easy-to-use tool, the above steps must be done repeatedly to bring in the newest data available.
This is where our flows come in:
- Specify what tasks should be executed in what order (orchestrate tasks) and
- Configure the automatic execution (schedule flow tasks).
-
Navigate to the Flows section of Keboola.

-
Click Create Flow.
-
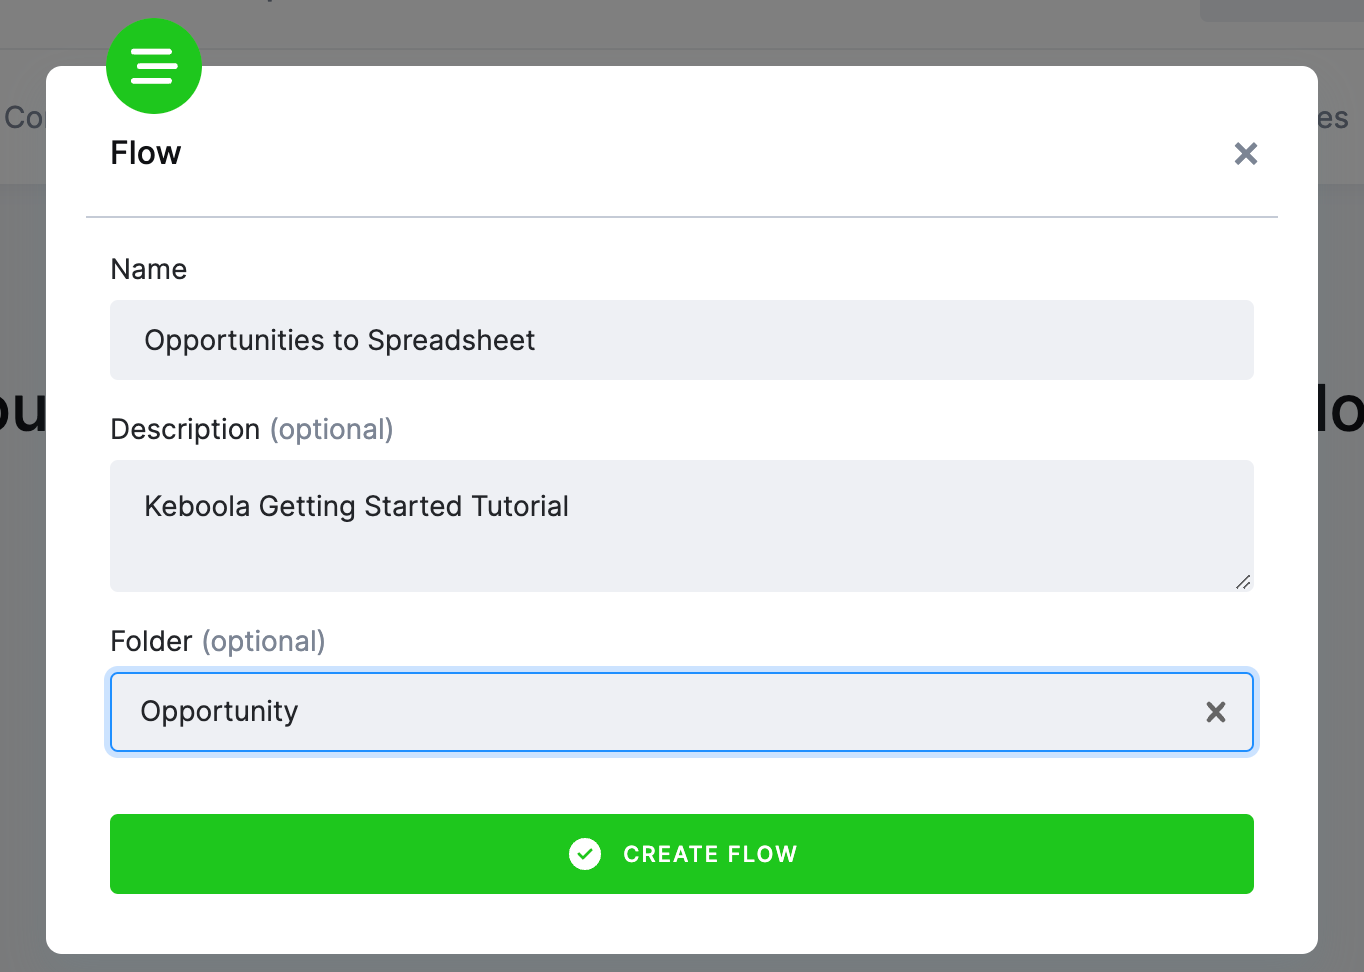
Enter a Name and Description for your flow. Similar to creating a transformation, you can organize flows into folders. You can specify the folder name when creating a flow or assign it under a folder later. Click Create Flow.
-
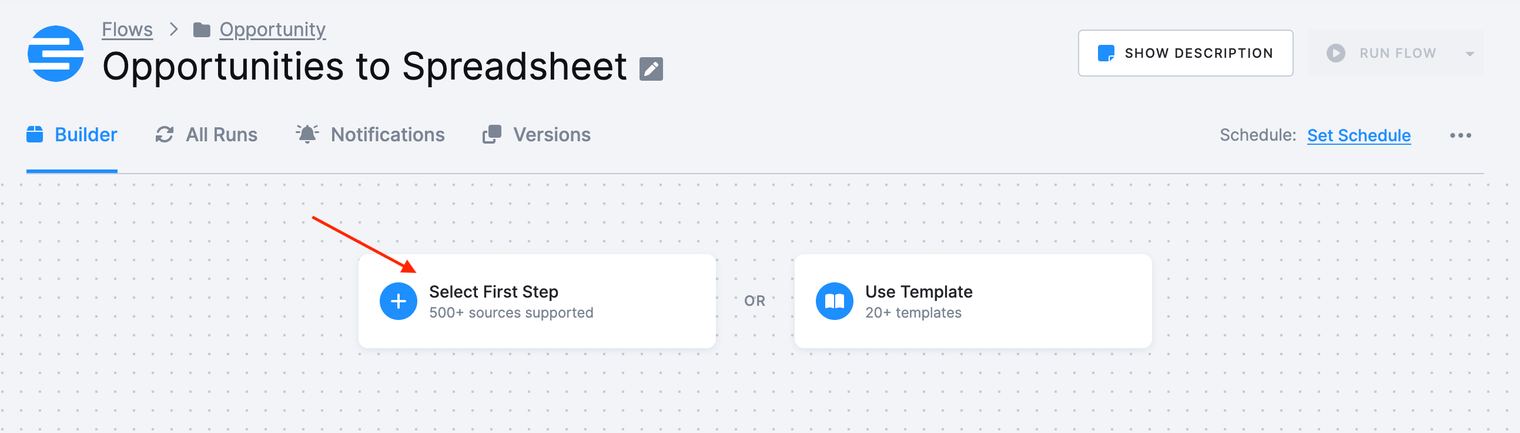
Click Select First Step.
-
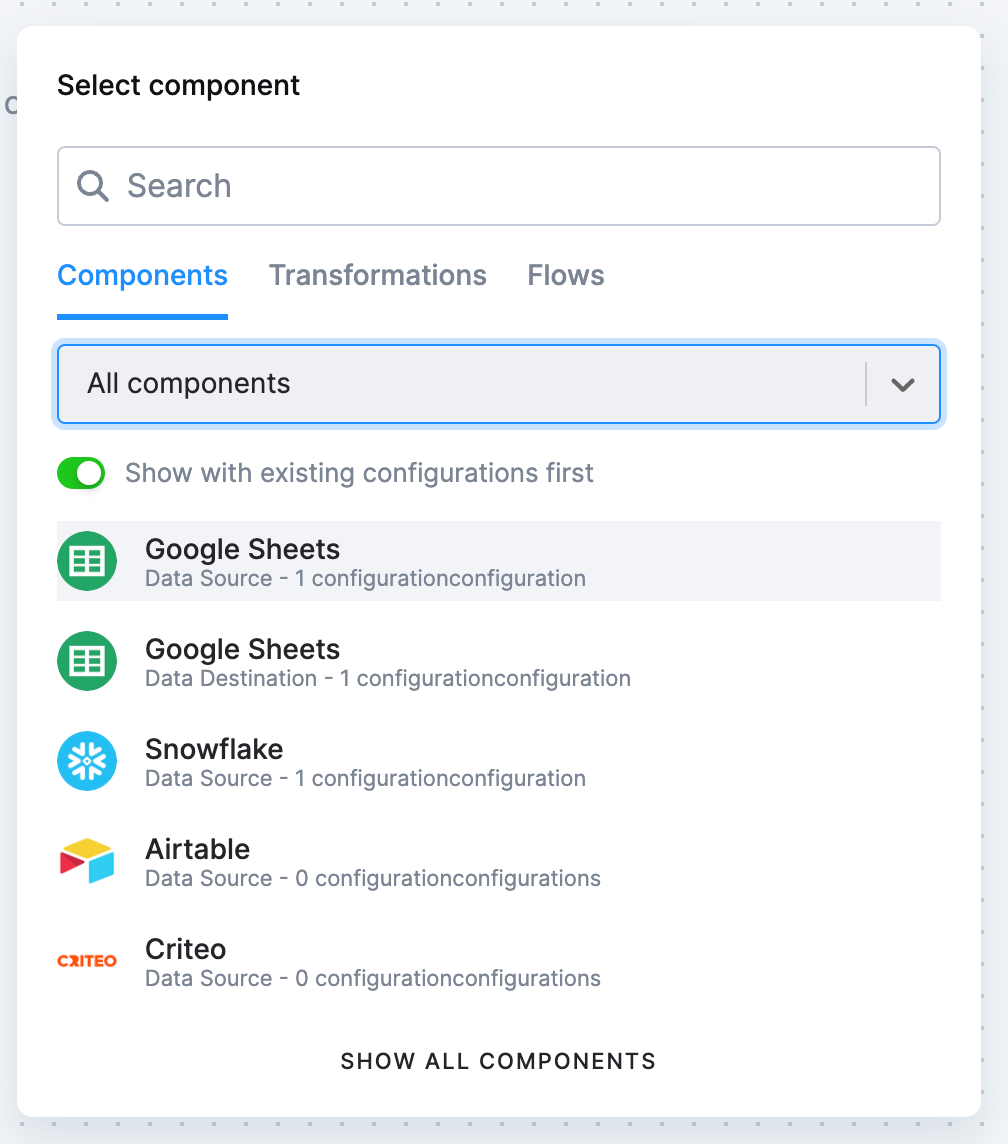
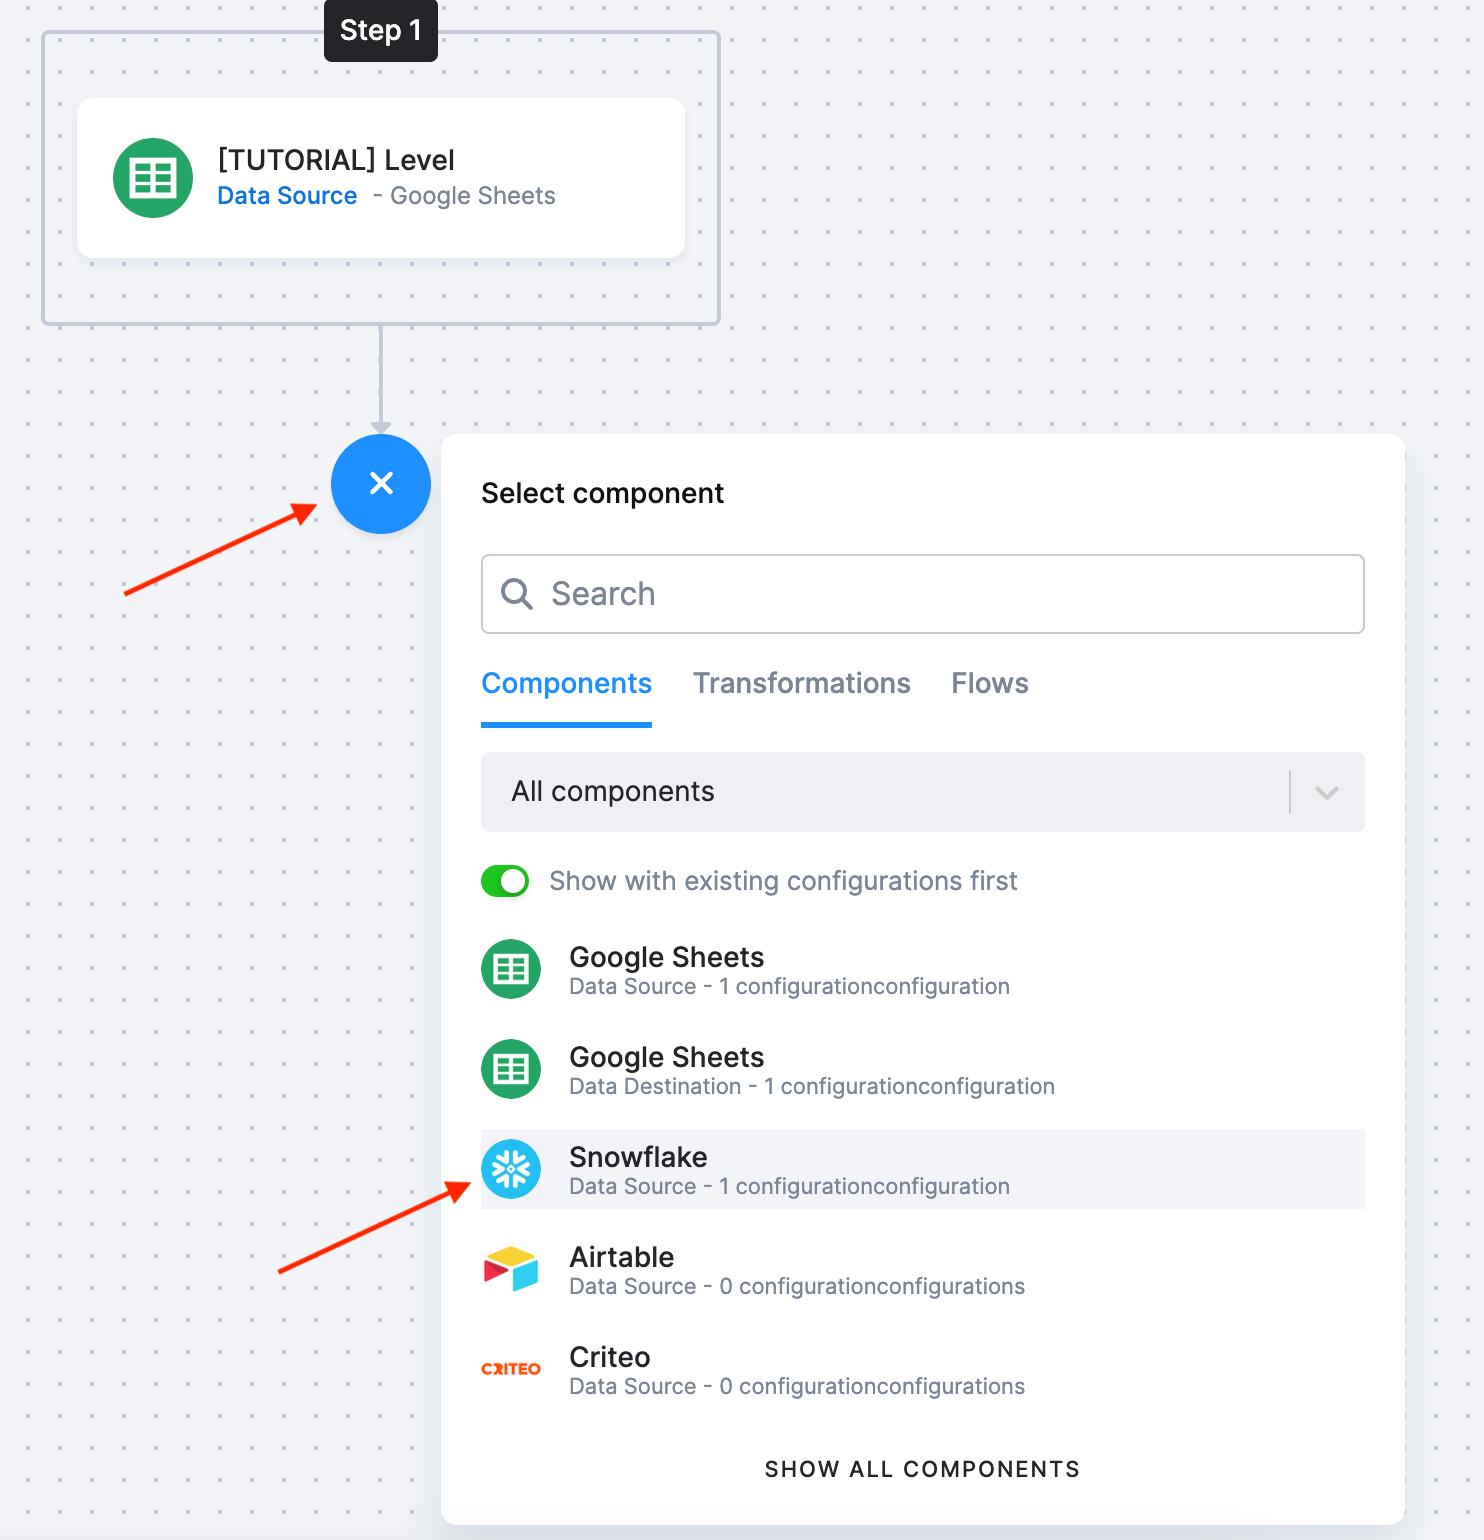
Click the Google Sheets Data Source component. We extracted the Levels table from this data source and we’ll want to extract this data automatically in our flow.
-
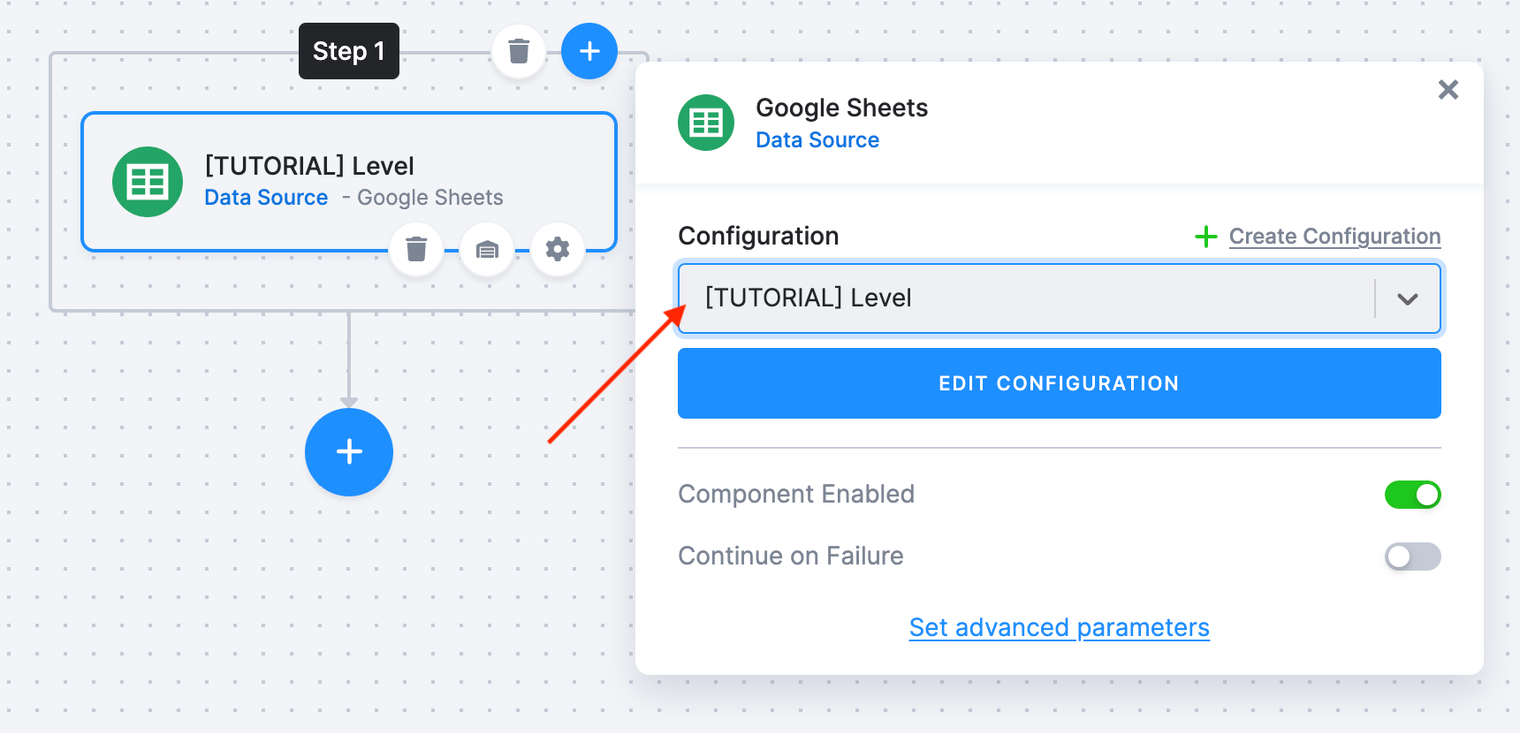
Use the drop down menu to select a particular configuration of this component.
-
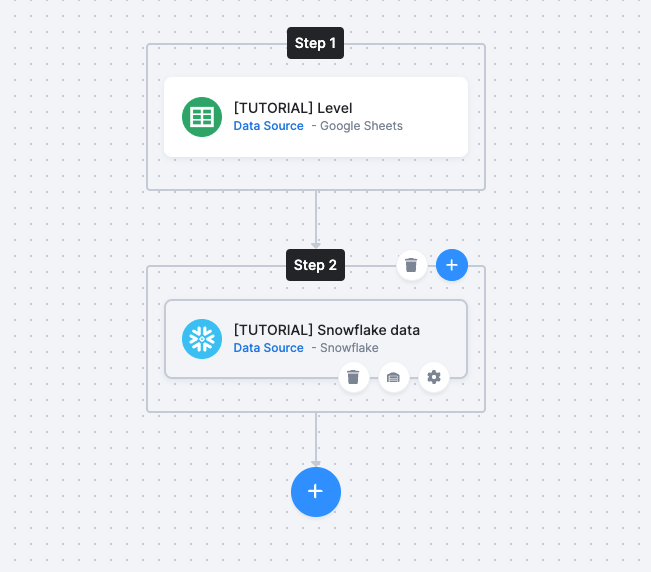
Now use the plus icon to add additional steps. Select the Snowflake data source component we used to extract the User, Opportunity, and Account tables. Then select the configuration we created.
-
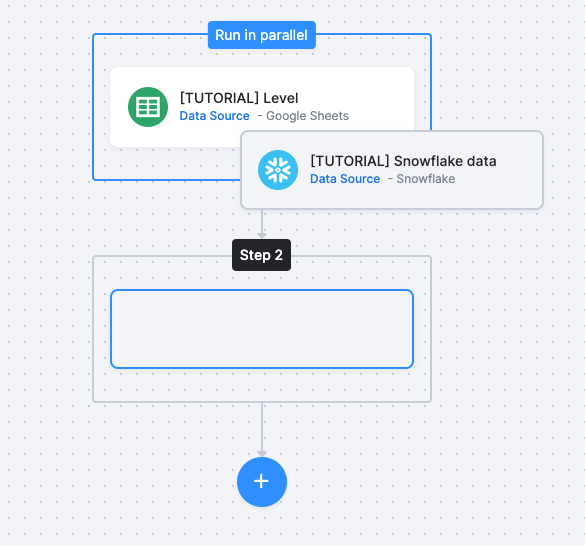
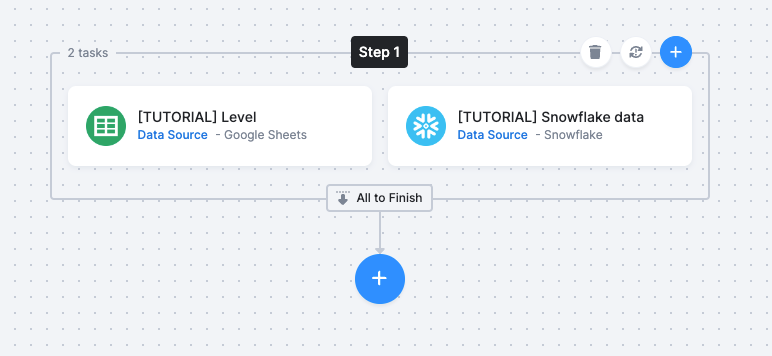
Extractions of the data are not dependent tasks and, thus, can be executed in parallel. You can accomplish this by simply dragging and dropping the second task into the Step 1 box.
-
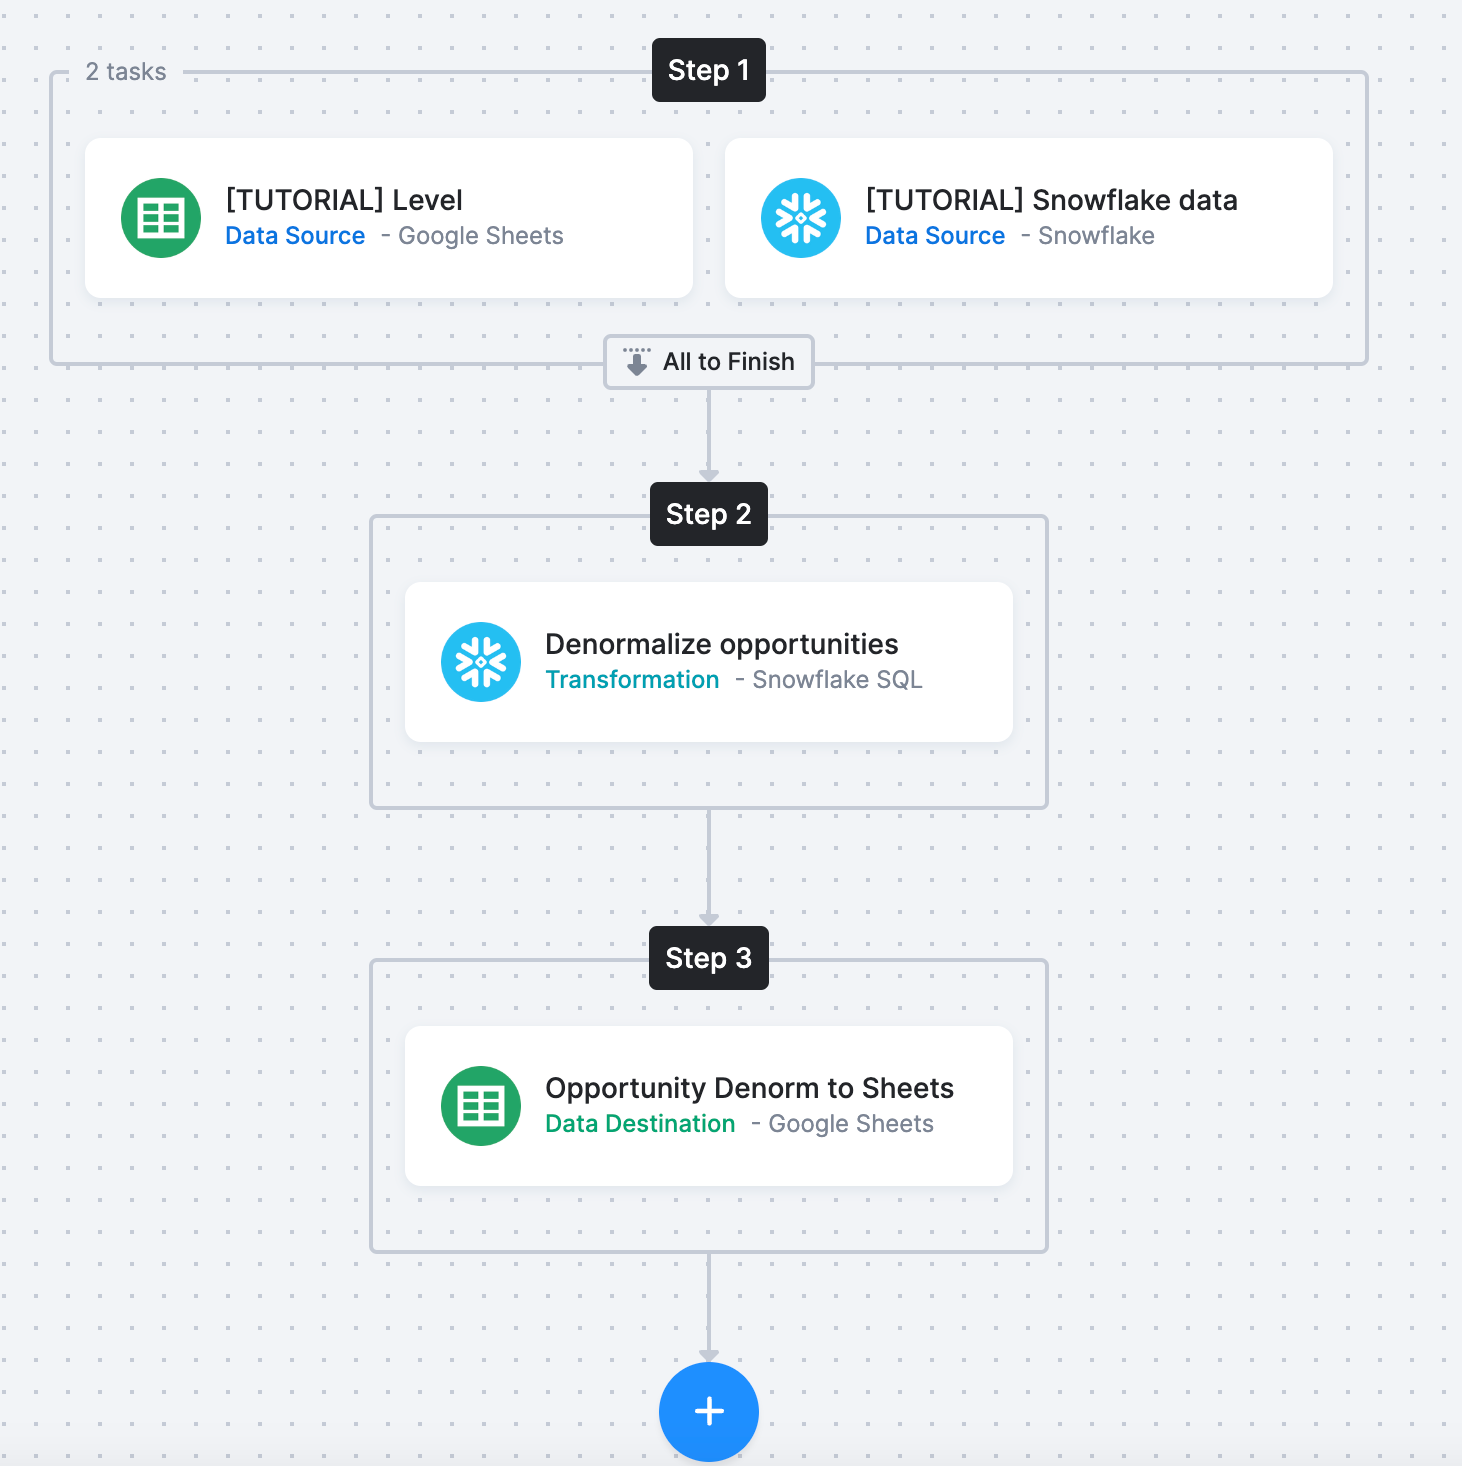
Continue to add the SQL Transformation step and the Google Sheets Data Destination steps. You should now have a flow looking like this
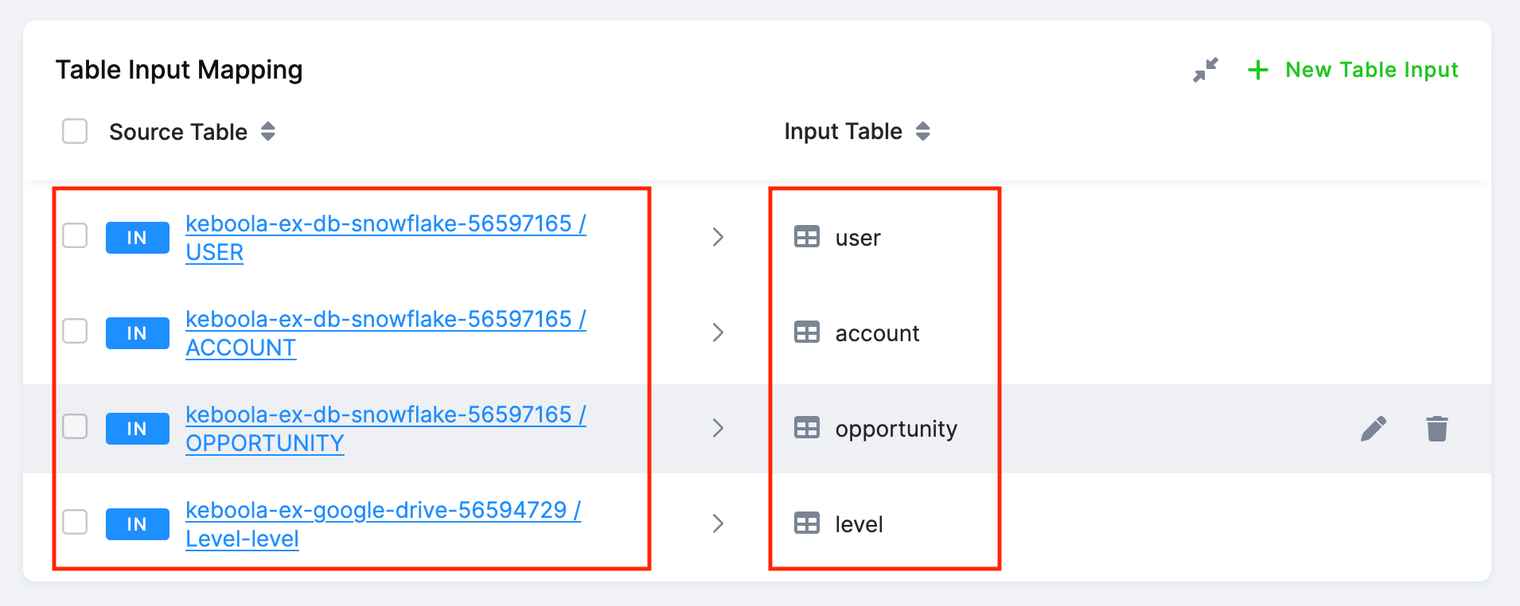
When configuring the transformation in the Data Manipulation step of this tutorial, we used the input tables we loaded manually into Keboola. Now, we need to adjust the input mapping of our transformation to use the tables extracted from Google Sheets and Snowflake data sources.
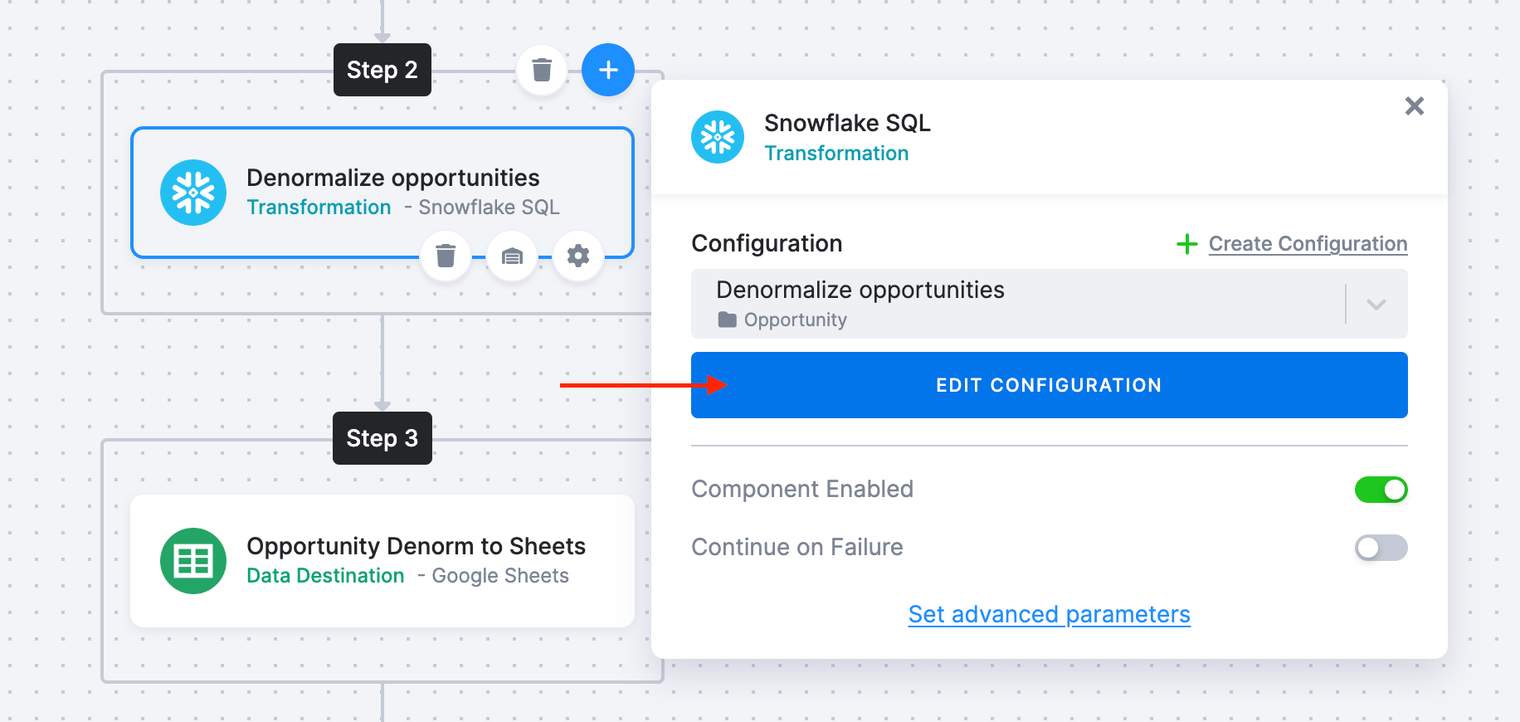
You can get to the configuration by selecting the step and clicking Edit Configuration.
Remove the current input mapping tables and add the ones from the Google Sheet and Snowflake data sources. Make sure you edit the Table name parameter because those are the names we use in our query to reference those tables.
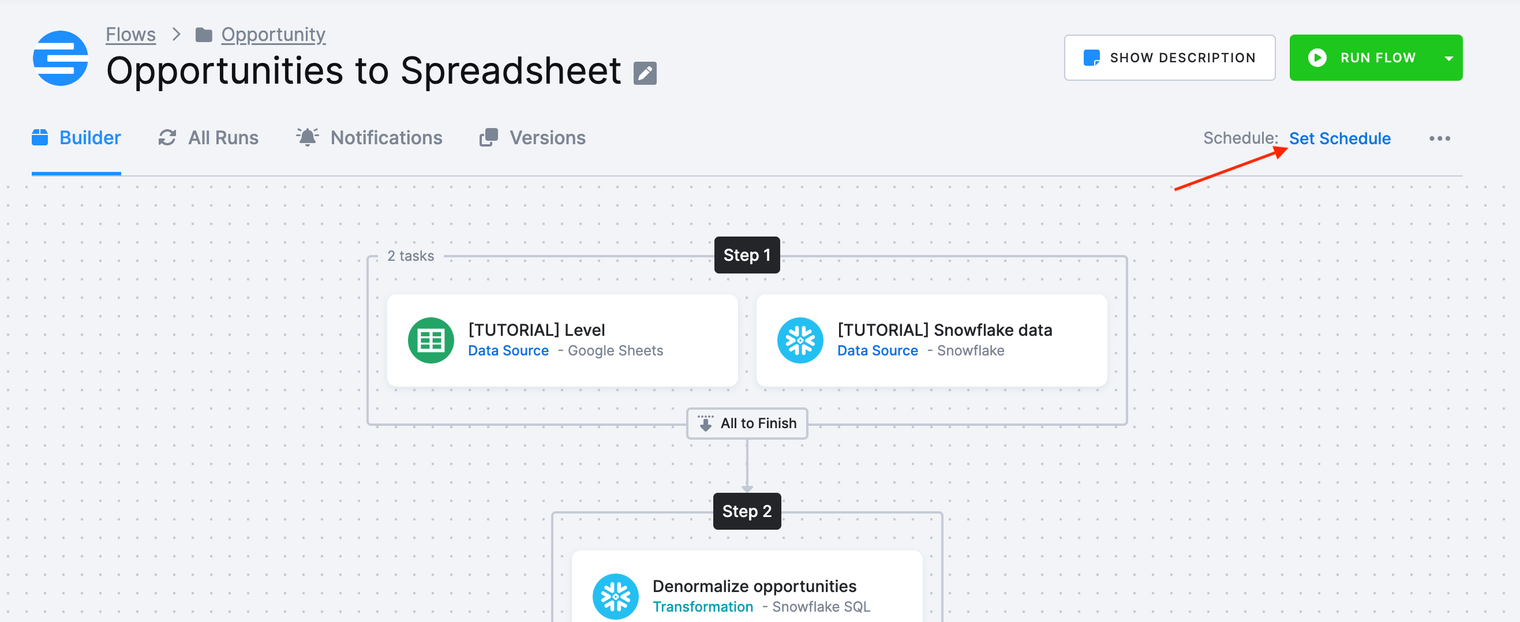
Set a Schedule
-
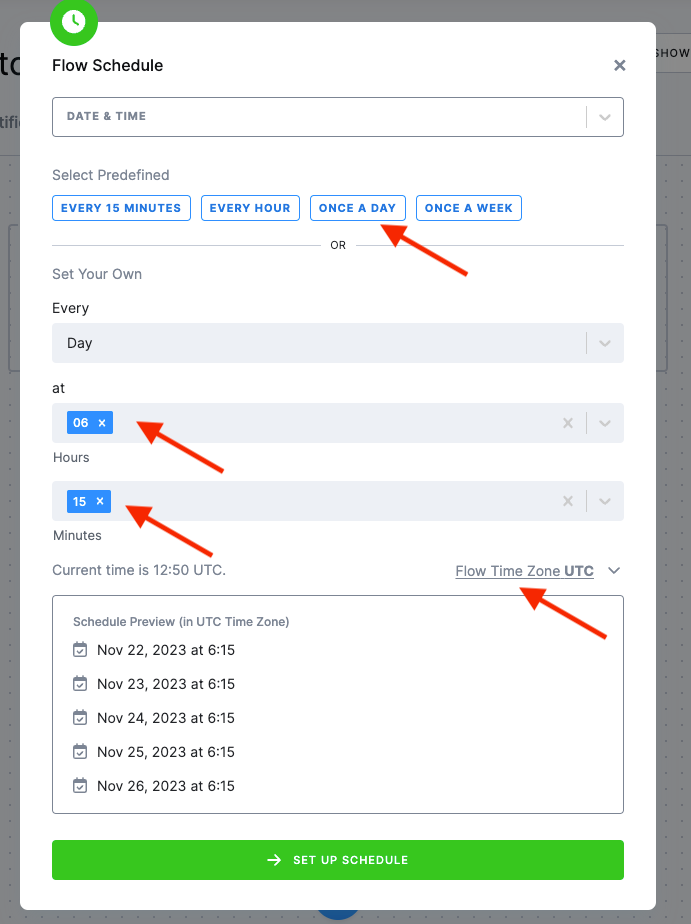
Click Set Schedule.
-
Set the schedule to 6:15am UTC daily execution and click Set Up Schedule.
Notifications
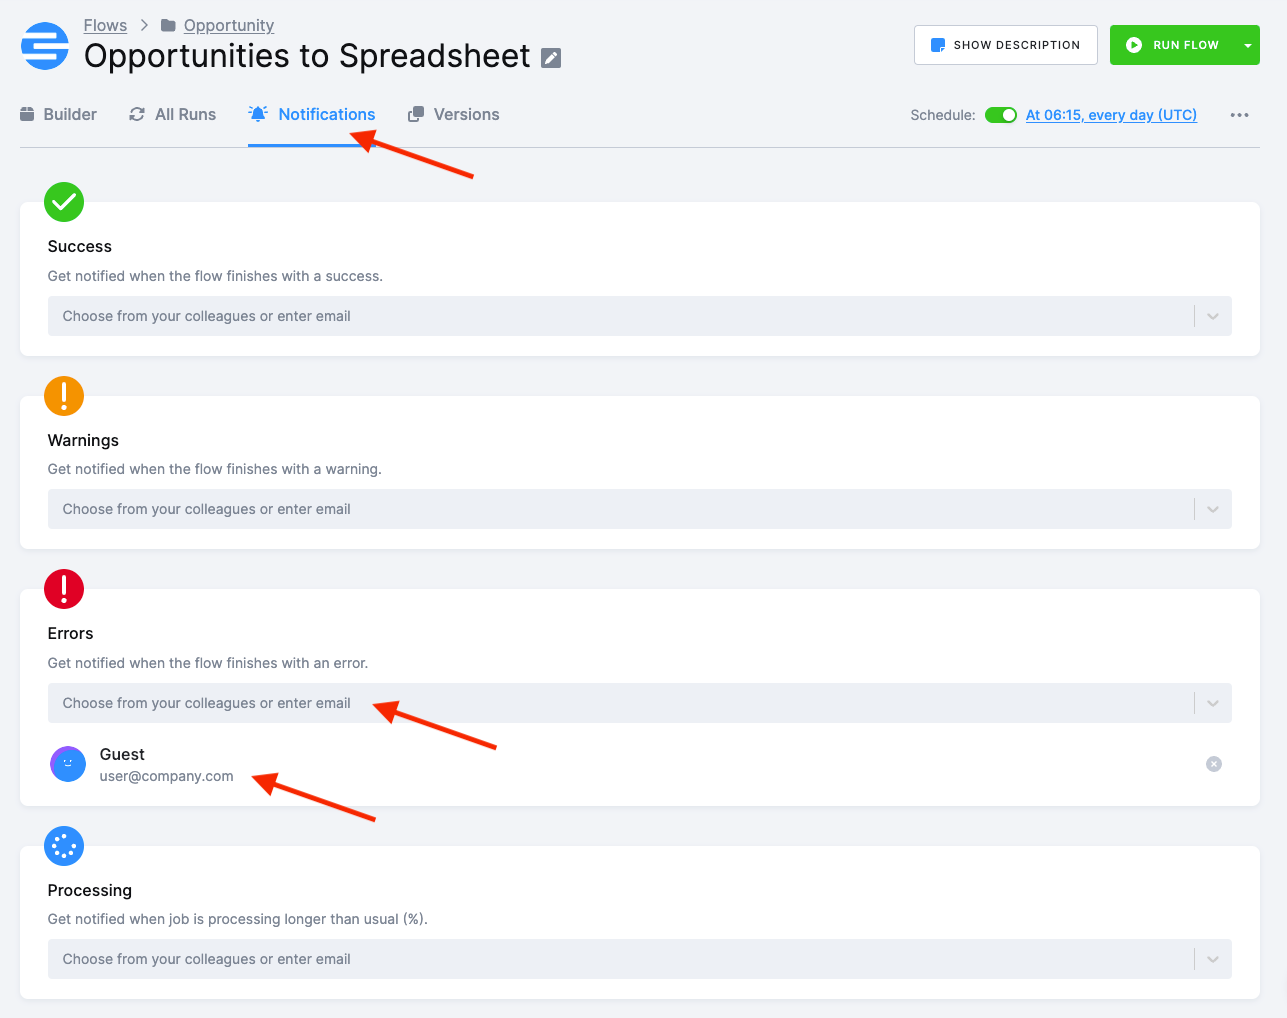
To ensure that responsible persons are notified when the flow fails or runs into warnings, it’s always a good idea to set up notifications.
Navigate to the Notifications tab and enter/select email addresses of those that should be notified on success/warning/error or processing.
What’s Next
Having mastered the automation process, you may proceed to the Development Branches part of the tutorial.
If You Need Help
Feel free to reach out to our support team if there’s anything we can help with.