API Tokens
- Master Tokens
- Working with Tokens
- Token Events
- Limited Tokens
- Limited Access to Components
- Refreshing Token
- Sharing Token
All operations in a Keboola project must be authorized. This is technically done using API tokens (also called Storage API tokens, SAPI tokens, and Storage tokens).
Keboola is built using the API-first approach; almost every operation done in Keboola is in fact an API call and uses an API token. A token is valid only within a single project (hence the name Storage API token).
Apart from API tokens, there are also management tokens, which are used to perform operations outside individual projects.
Normally, when you are using the user interface, your API token is exchanged automatically with the server backend. Therefore you need to work with tokens only when working with Keboola programmatically (or if you need to limit a user’s authorization to certain operations or data). To learn more about all the available programmatic approaches, please follow our developers documentation.
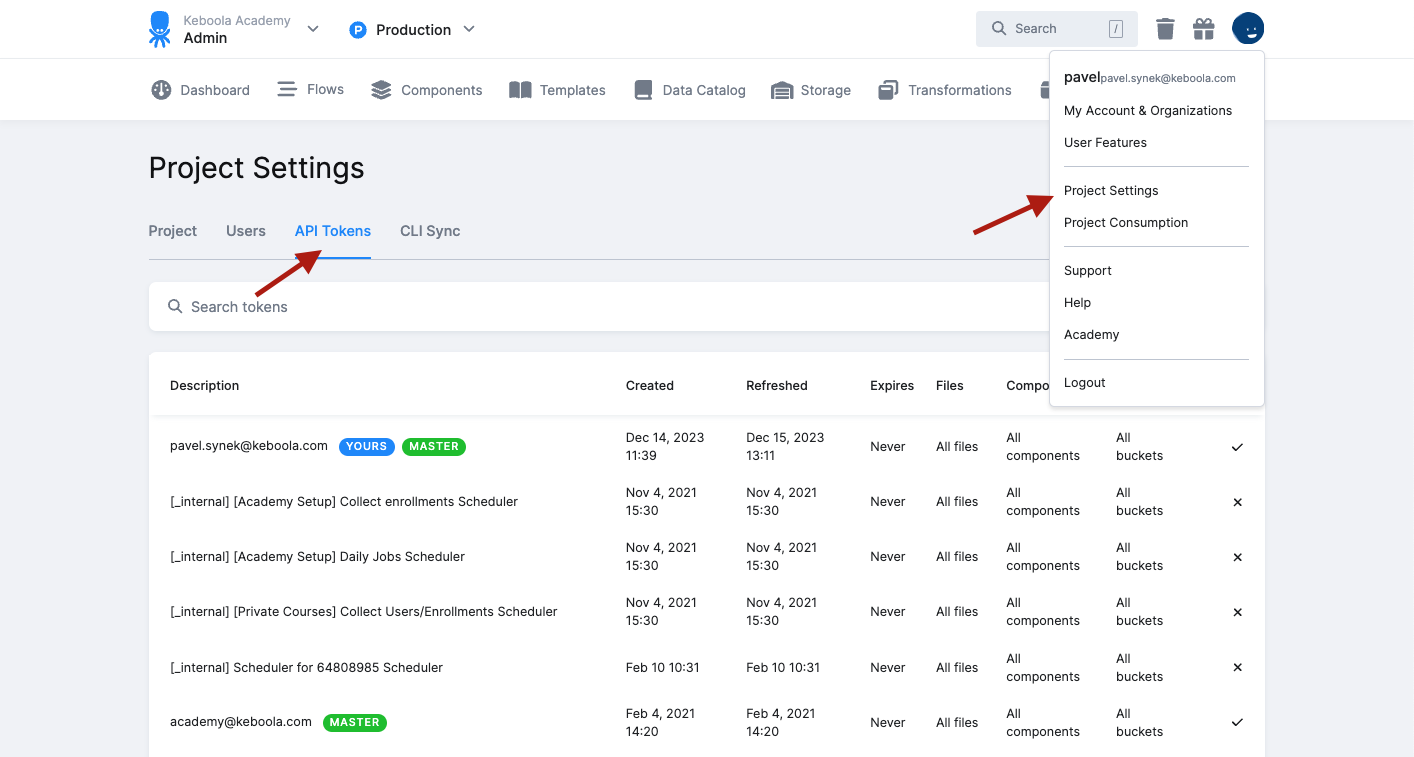
Tokens can be managed from the Project Settings > API Tokens page.
Master Tokens
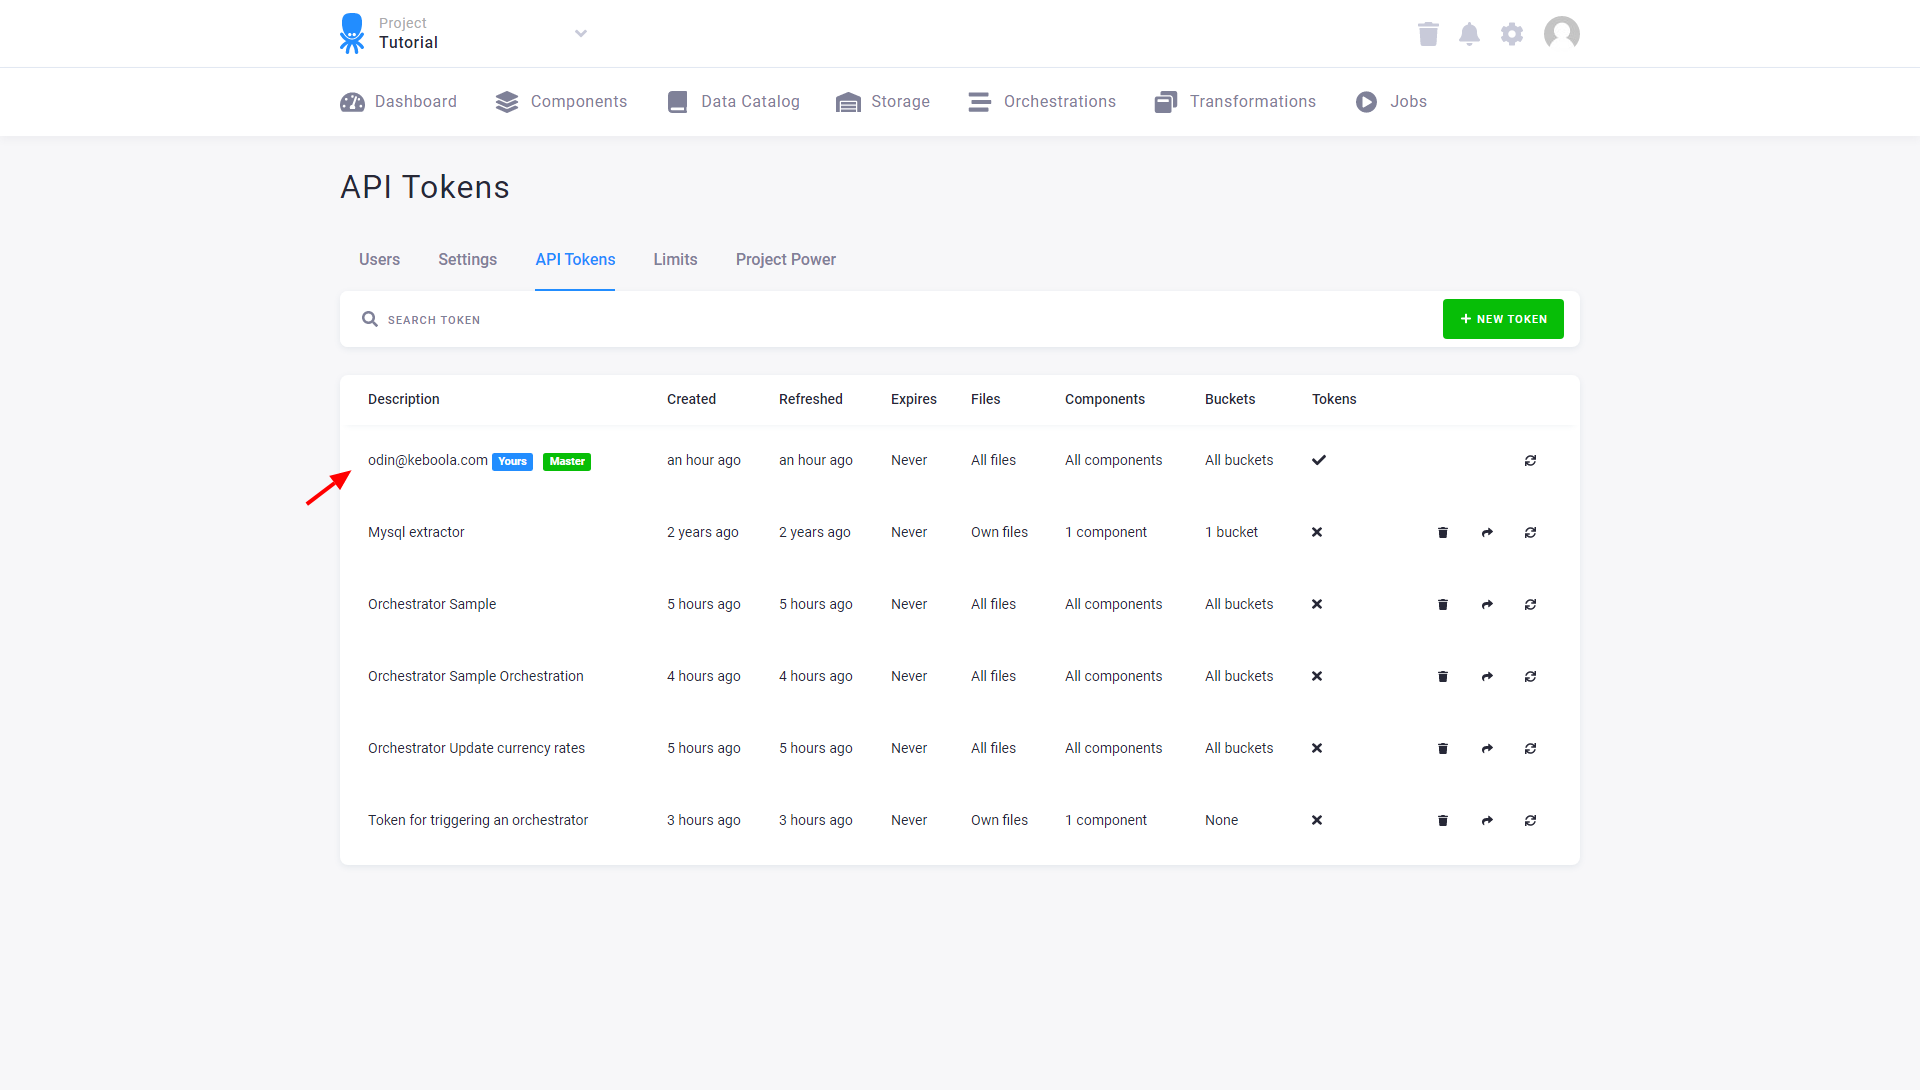
Tokens that belong to project administrators are called master tokens. Their description is the email of the user they belong to. Master tokens cannot be modified, shared or deleted. The only way to delete a master token is by removing the user from the project on the Project Settings > Users page.
A single user has only a single master token. In addition, master tokens are the only ones which can be used to create other tokens. A master token has always access to all components, so having it allows you to do everything that can be otherwise done via the Keboola administration user interface.
Working with Tokens
API tokens are created
- automatically when joining a project (master token).
- automatically when creating a new configuration of certain components (for example, orchestrations).
- automatically when running a JupyterLab workspace.
- automatically when using external OAuth authorization.
- manually when needed.
Automatically created tokens have the lowest possible permissions for their task and also set expiration if possible. These are the typical reasons to manually create a new API token:
- You want to use the APIs; this includes all of the Storage clients.
- You need to limit access to certain data (for example, share a single table) or components.
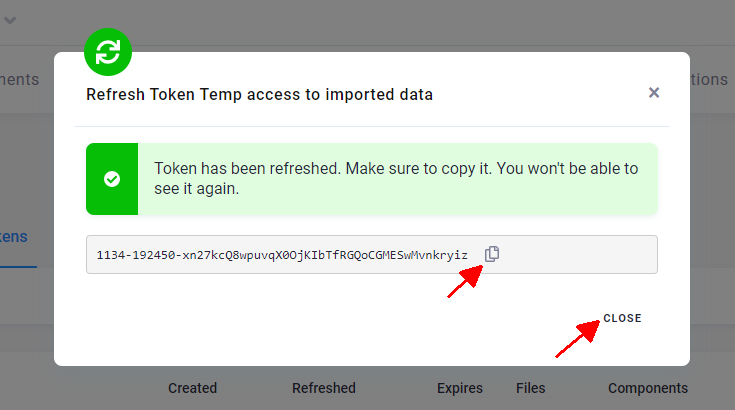
Although tokens cannot be used to directly log in to the Keboola user interface, they do allow executing almost all operations in a Keboola project. As such, they must be treated as secret. Therefore the token string is shown only when the token is created and it is not accessible later. You should immediately refresh a token in case there is a suspicion that the token string was revealed to unauthorized persons.
When creating a new token, the following rules apply:
- Tokens by default give no access to any of the Keboola component configurations.
- Token bearers can only access permitted Storage buckets via the Storage API or Storage console.
- Tokens cannot be used to run any actions in your project. However, they can trigger orchestrations.
- Tokens cannot be used to create other tokens (only a master token can be used to create new tokens).
You should never share the same token in multiple applications. The number of tokens is not limited in any way, and there are no charges associated with them. Therefore, every time you need to provide someone with a Keboola token, create a new one.
Token Events
Keboola also tracks all operations performed by each token. You can view the list of events from the token detail page. Click on the token you are interested in:
In the Events tab, you can see all operations performed by that token:

You can also see changes to the token itself (e.g., permission changes).
Note: The history of token operations is kept for 6 months. If you are interested in events associated with a particular storage object, view the events in Storage.
Limited Tokens
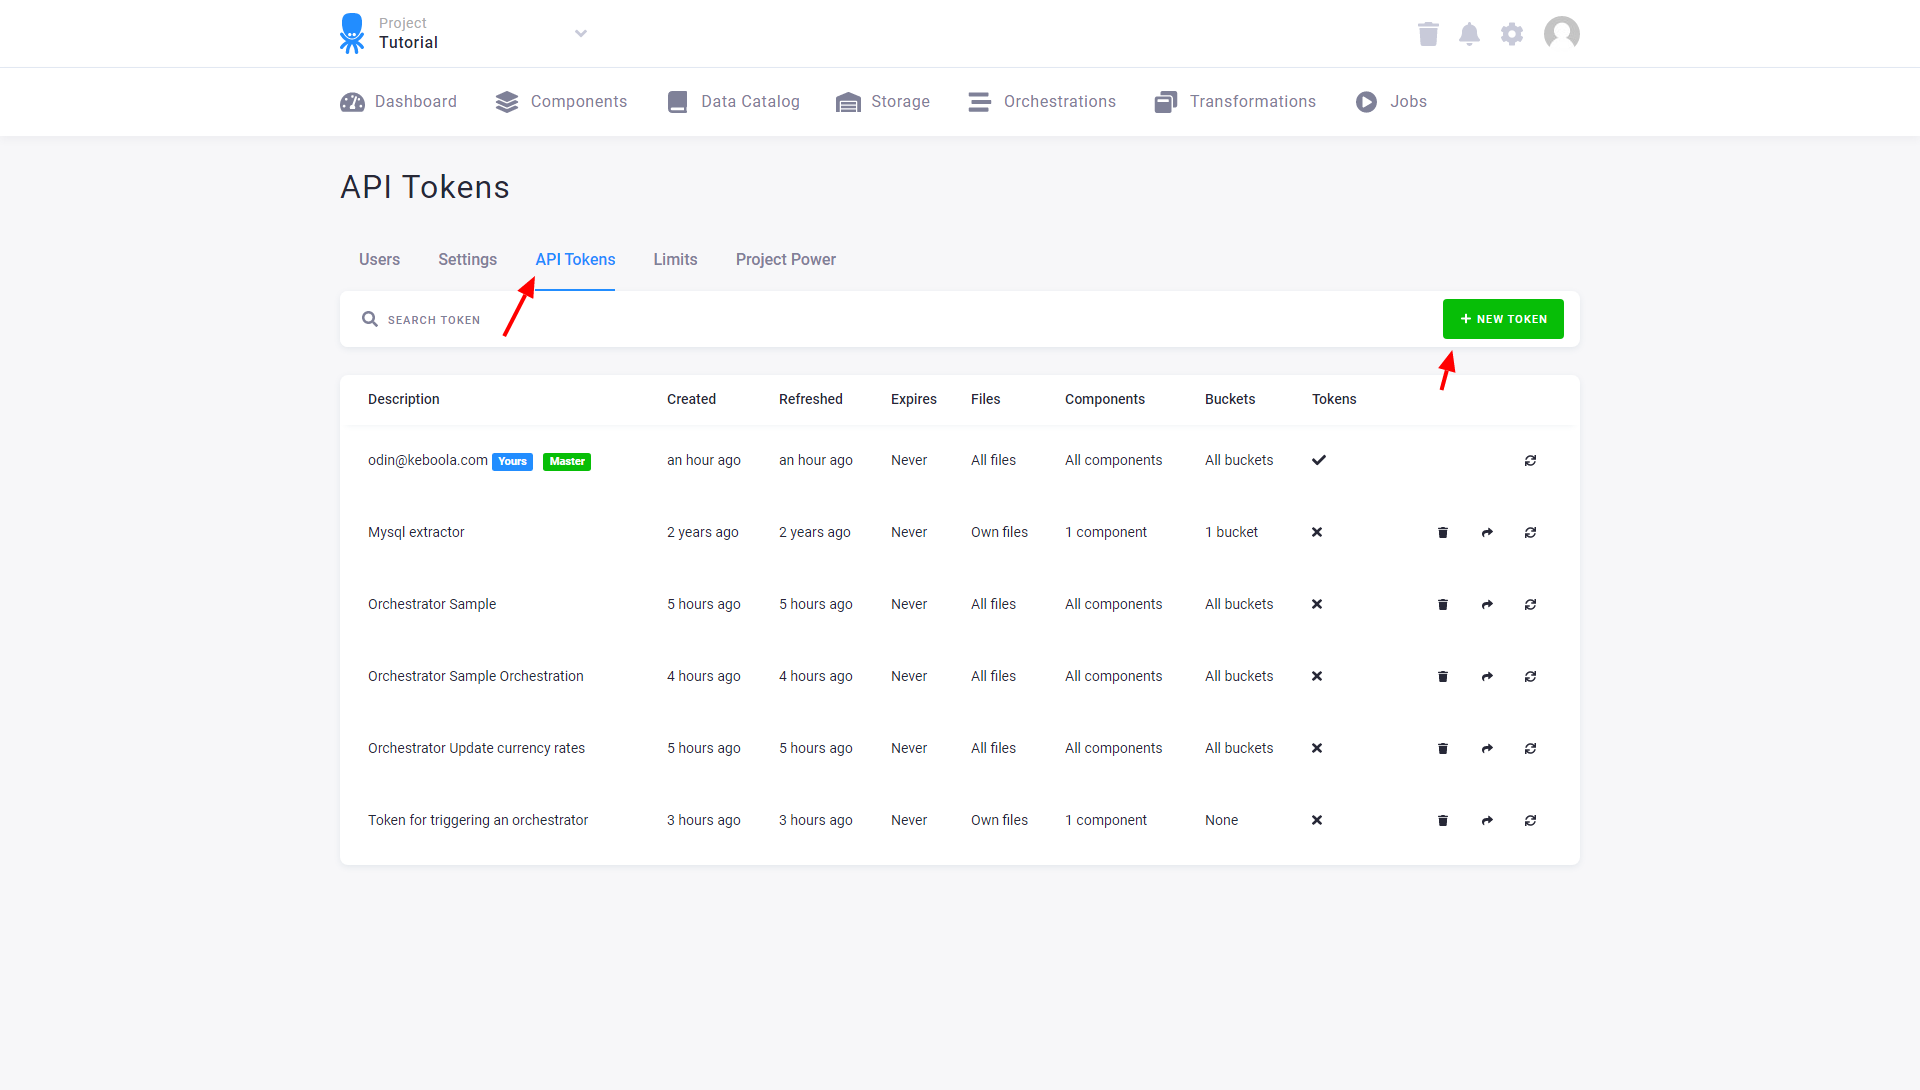
To add users with access limited to only some of your data, create a new token:
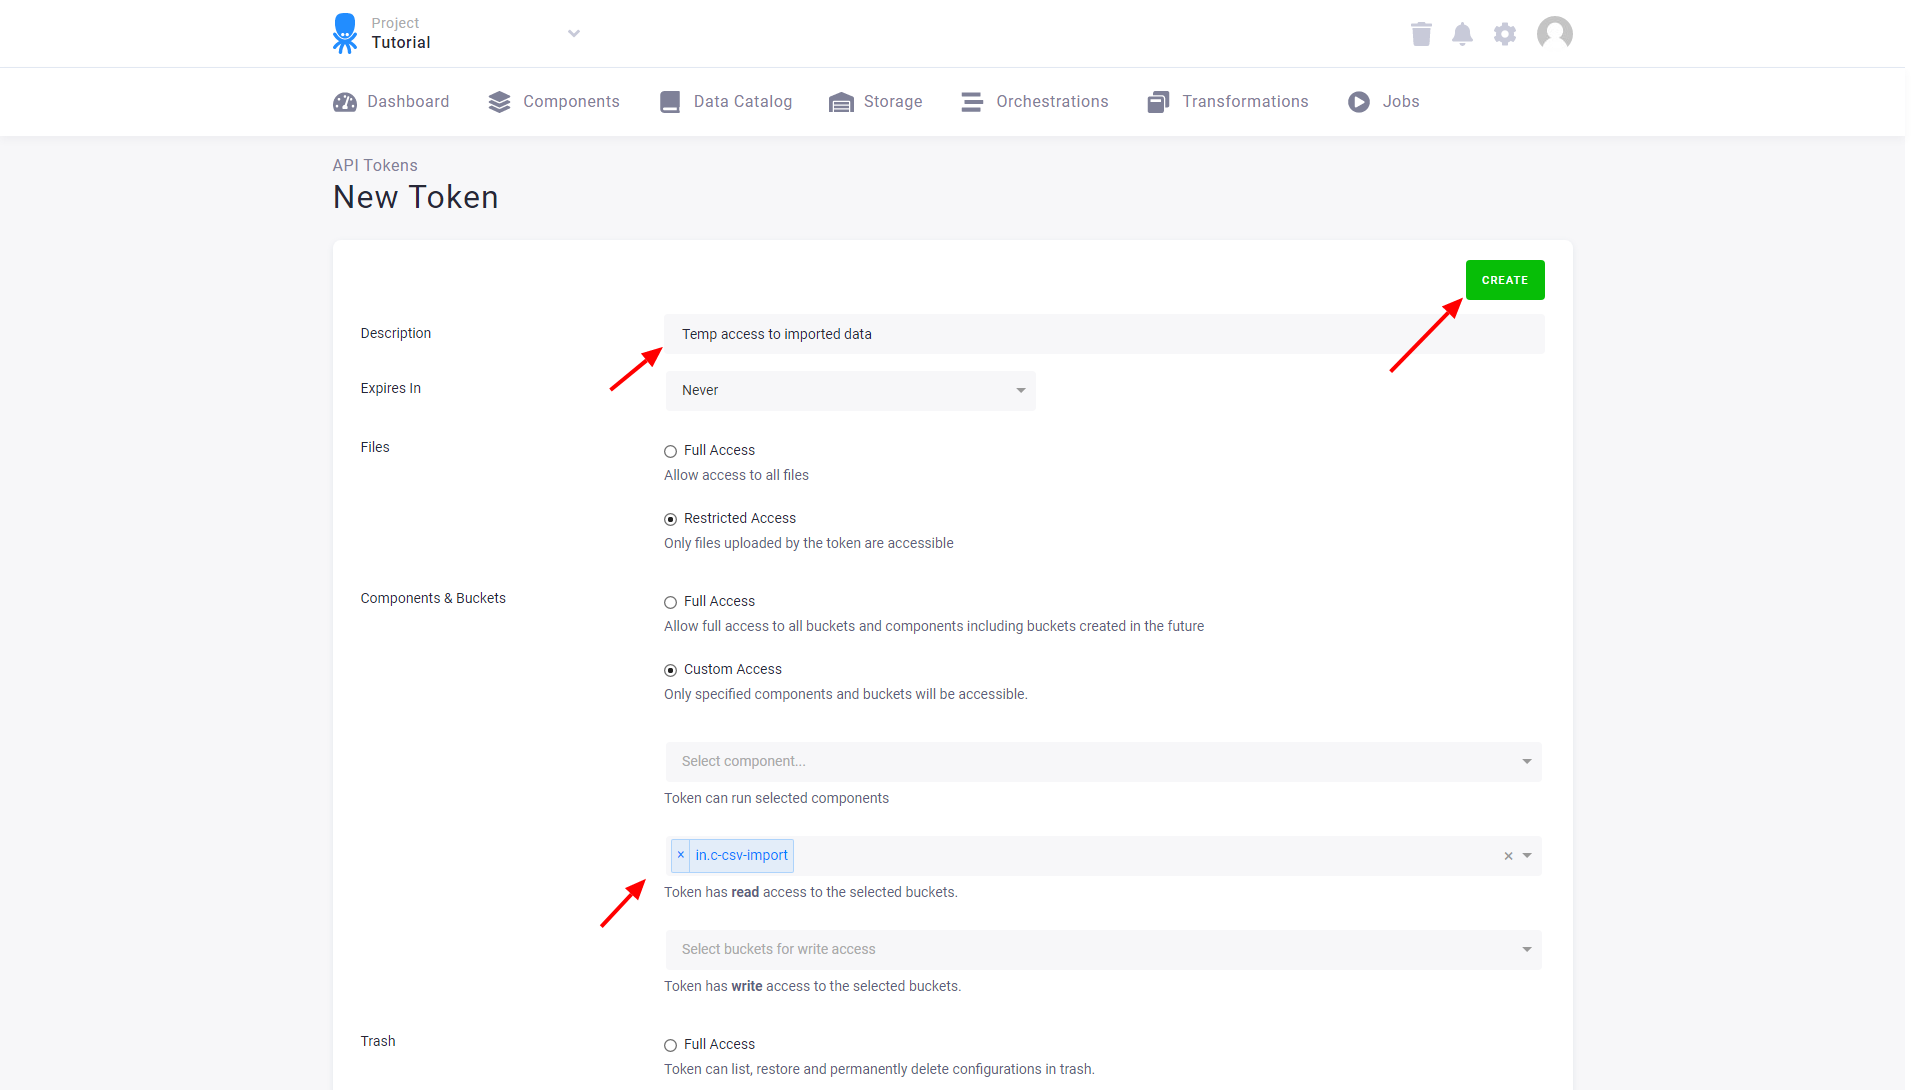
Limit access of that token to a single Storage bucket, for instance, in.c-csv-import.
You can also limit the token validity.
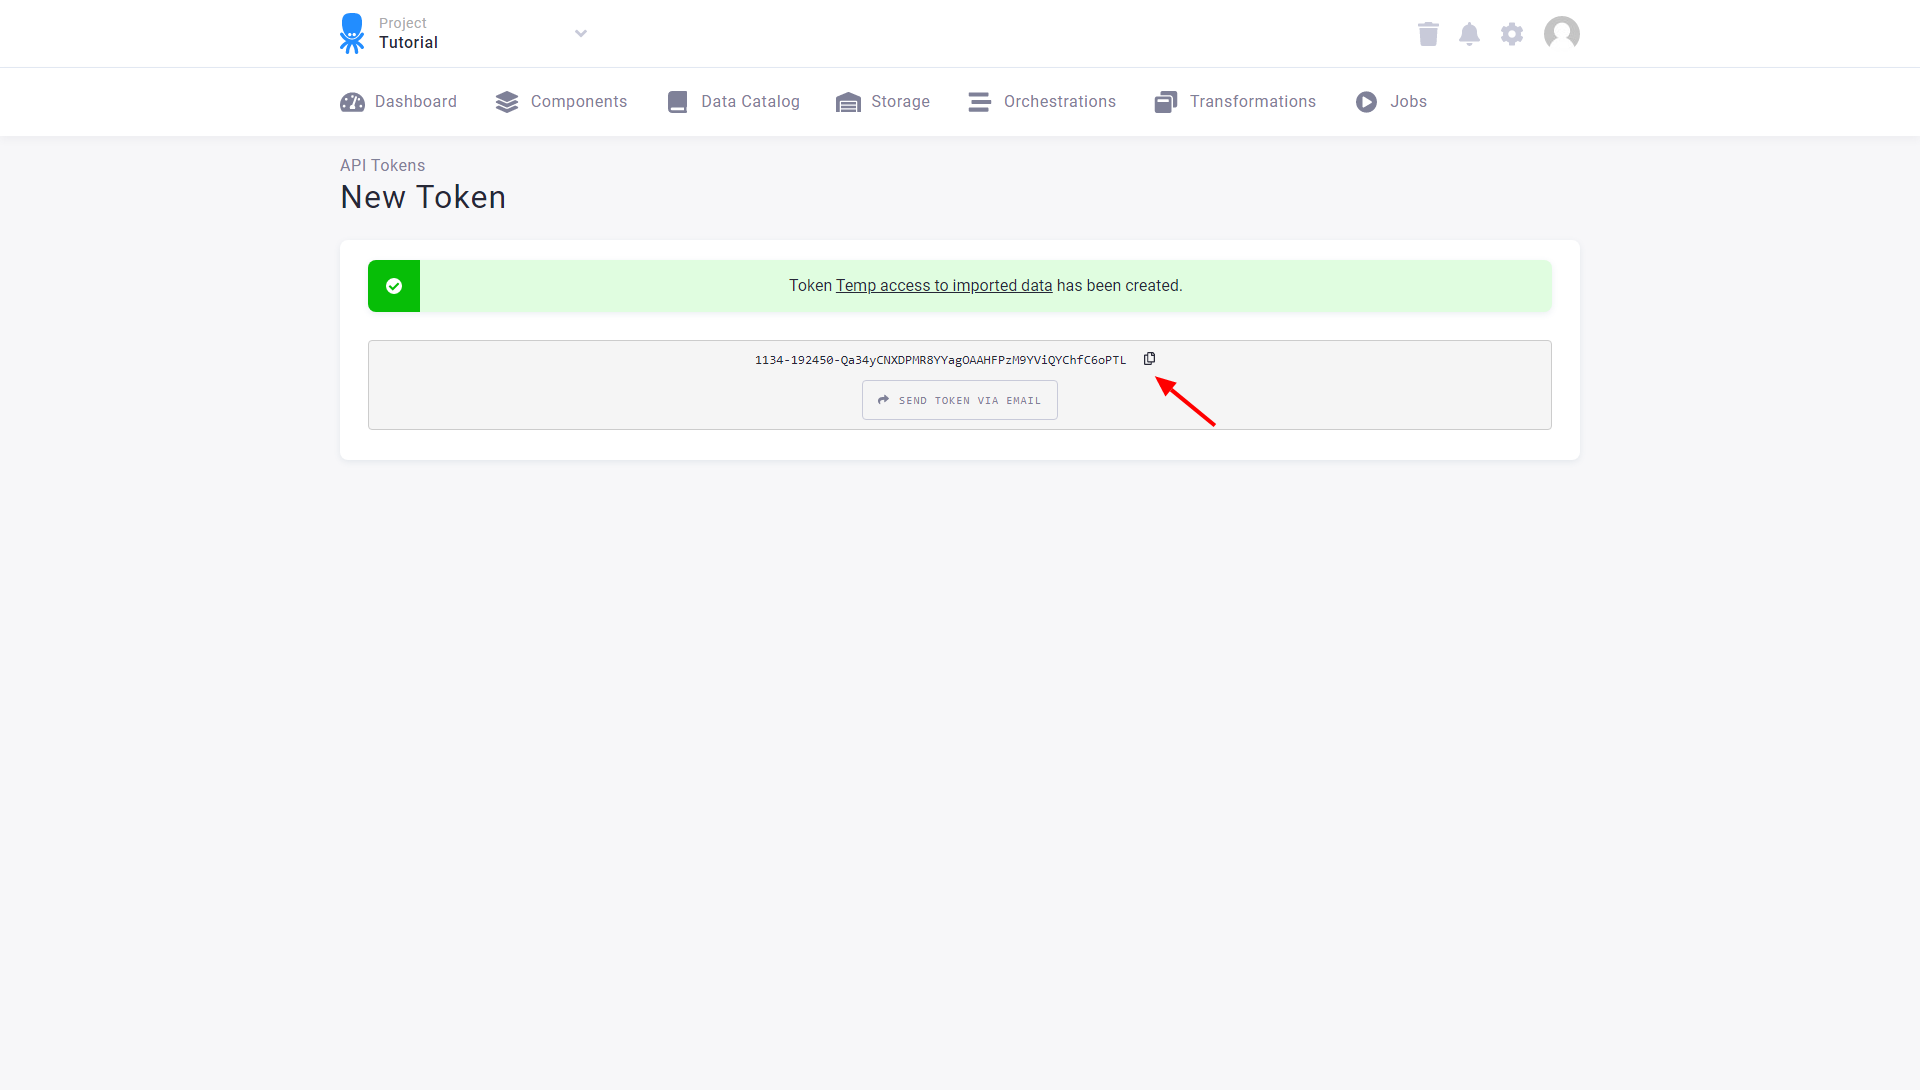
You can see and copy the token only once — right after it was created. If you need to access the token later, you can share it.
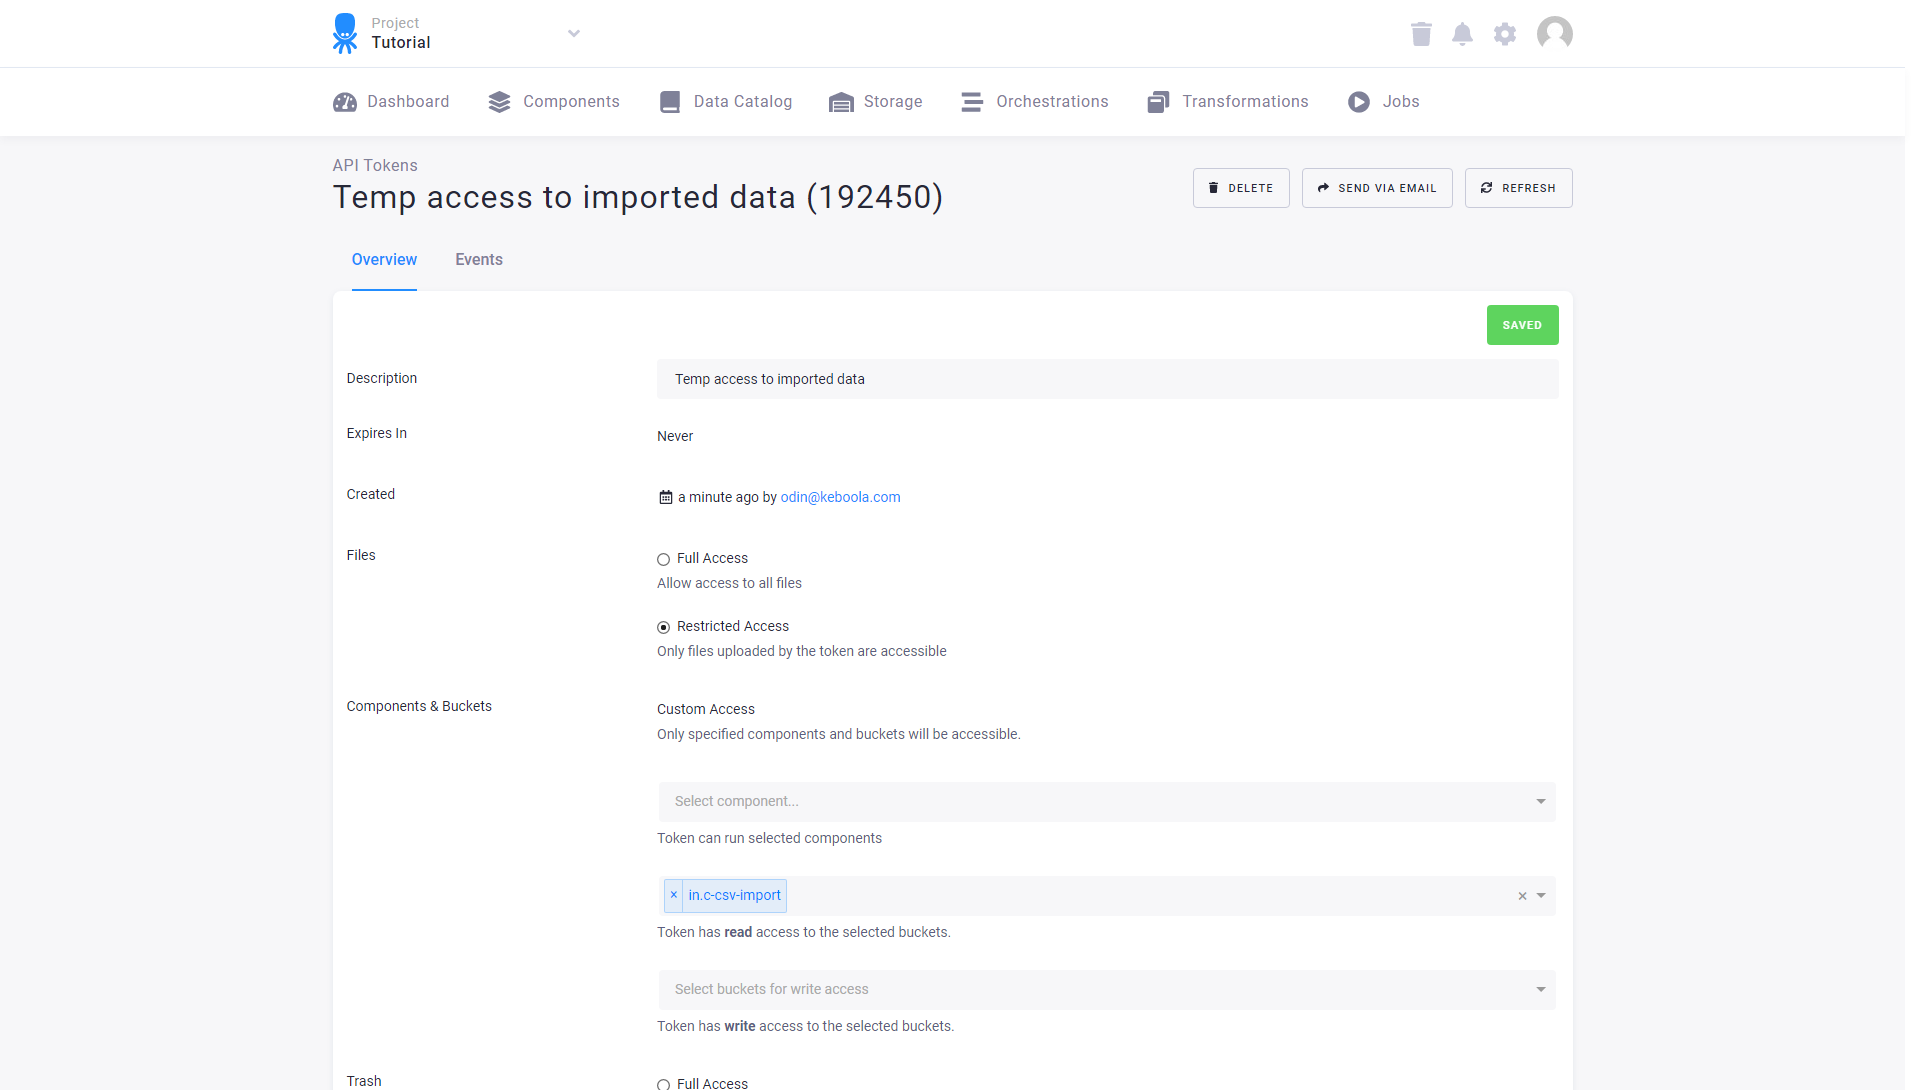
Token details can be accessed and updated on the token detail page anytime.
Limited Access to Components
For production use, it is recommended not to give away your master token but to create dedicated tokens for different uses. This also simplifies refreshing tokens as it is clear for what each token is used.
For example, suppose that you need to trigger data extraction from a MySQL database from within your own environment.
You would then create a token that is authorized for running the MySQL database source connector (keboola.ex-db-mysql component) and
write access to the in.c-csv-import bucket (which is used as a destination in the particular configuration you want to run).
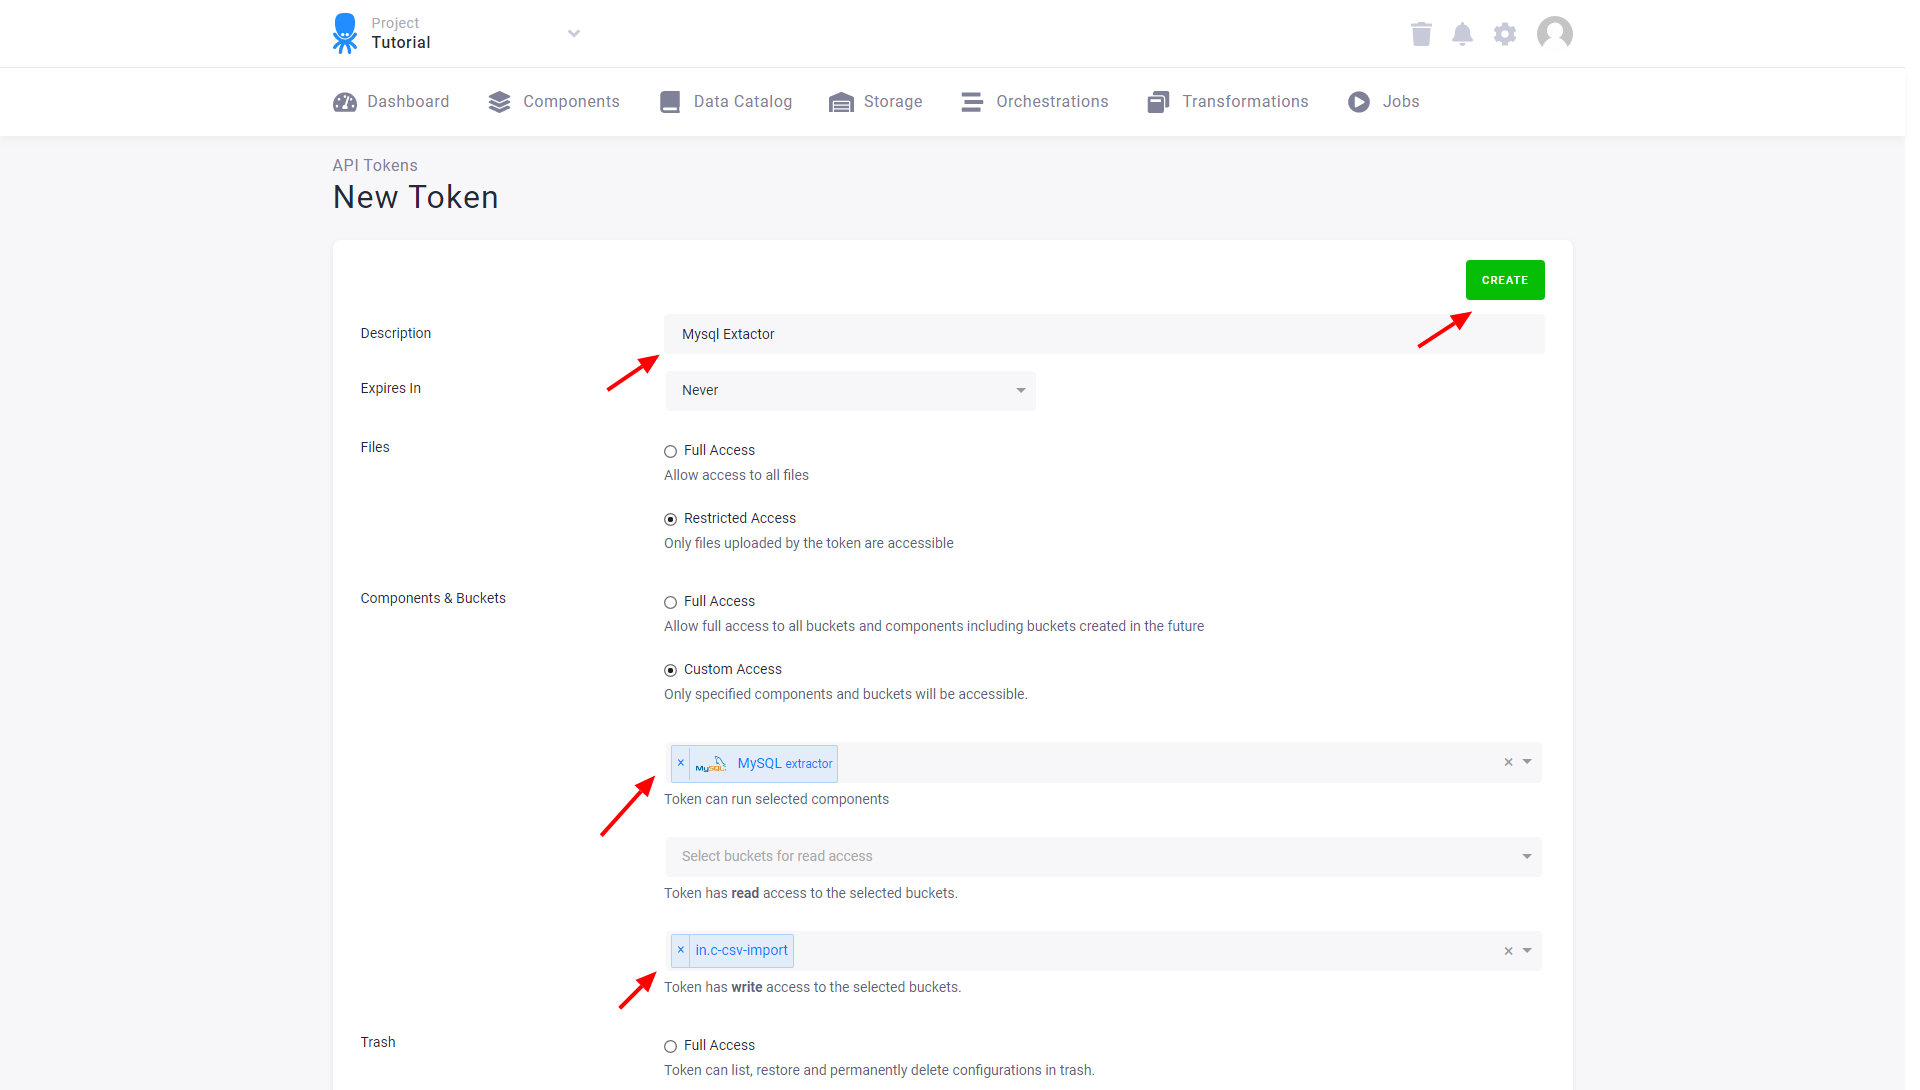
Note: For historical reasons, specifying the Orchestrator component in component permissions is optional. This means that the token will also work if it has access to no components.
You can then share the token to the person responsible for the database process and be sure that they can use only that particular component in that particular bucket. They will be even able to reconfigure it — e.g., update the extraction queries (but only via the API). Also, writing to a limited set of buckets is a good way of preventing accidentally overwriting data.
You can also specify if a token is allowed to delete configurations in Trash by selecting Full Access for Trash. This is rarely needed.
Refreshing Token
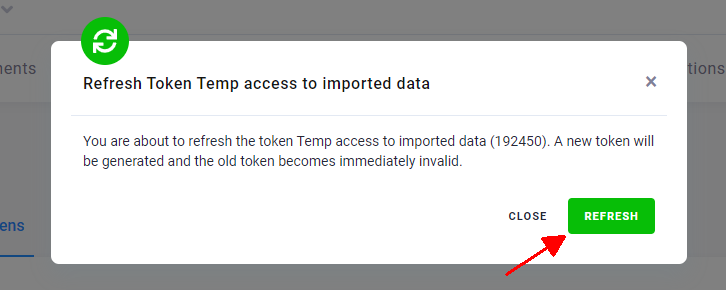
Every token can be refreshed: a new token value (token string) is generated, and the old token becomes immediately invalid. That means you have to update all places where the token was used.
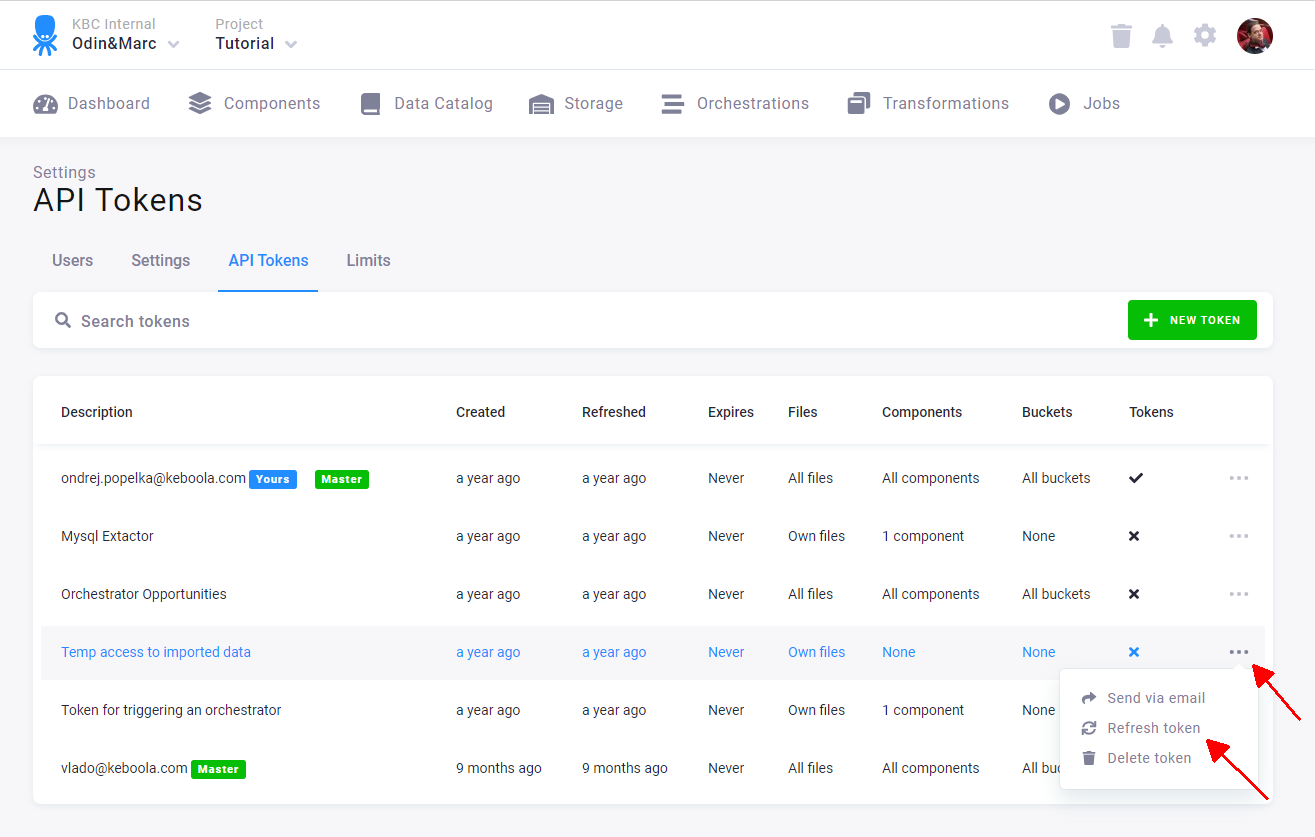
A confirmation dialog is displayed. When you click Refresh, the old token will become invalid.
A new token is generated. Now you can copy it or send it to someone.
Sharing Token
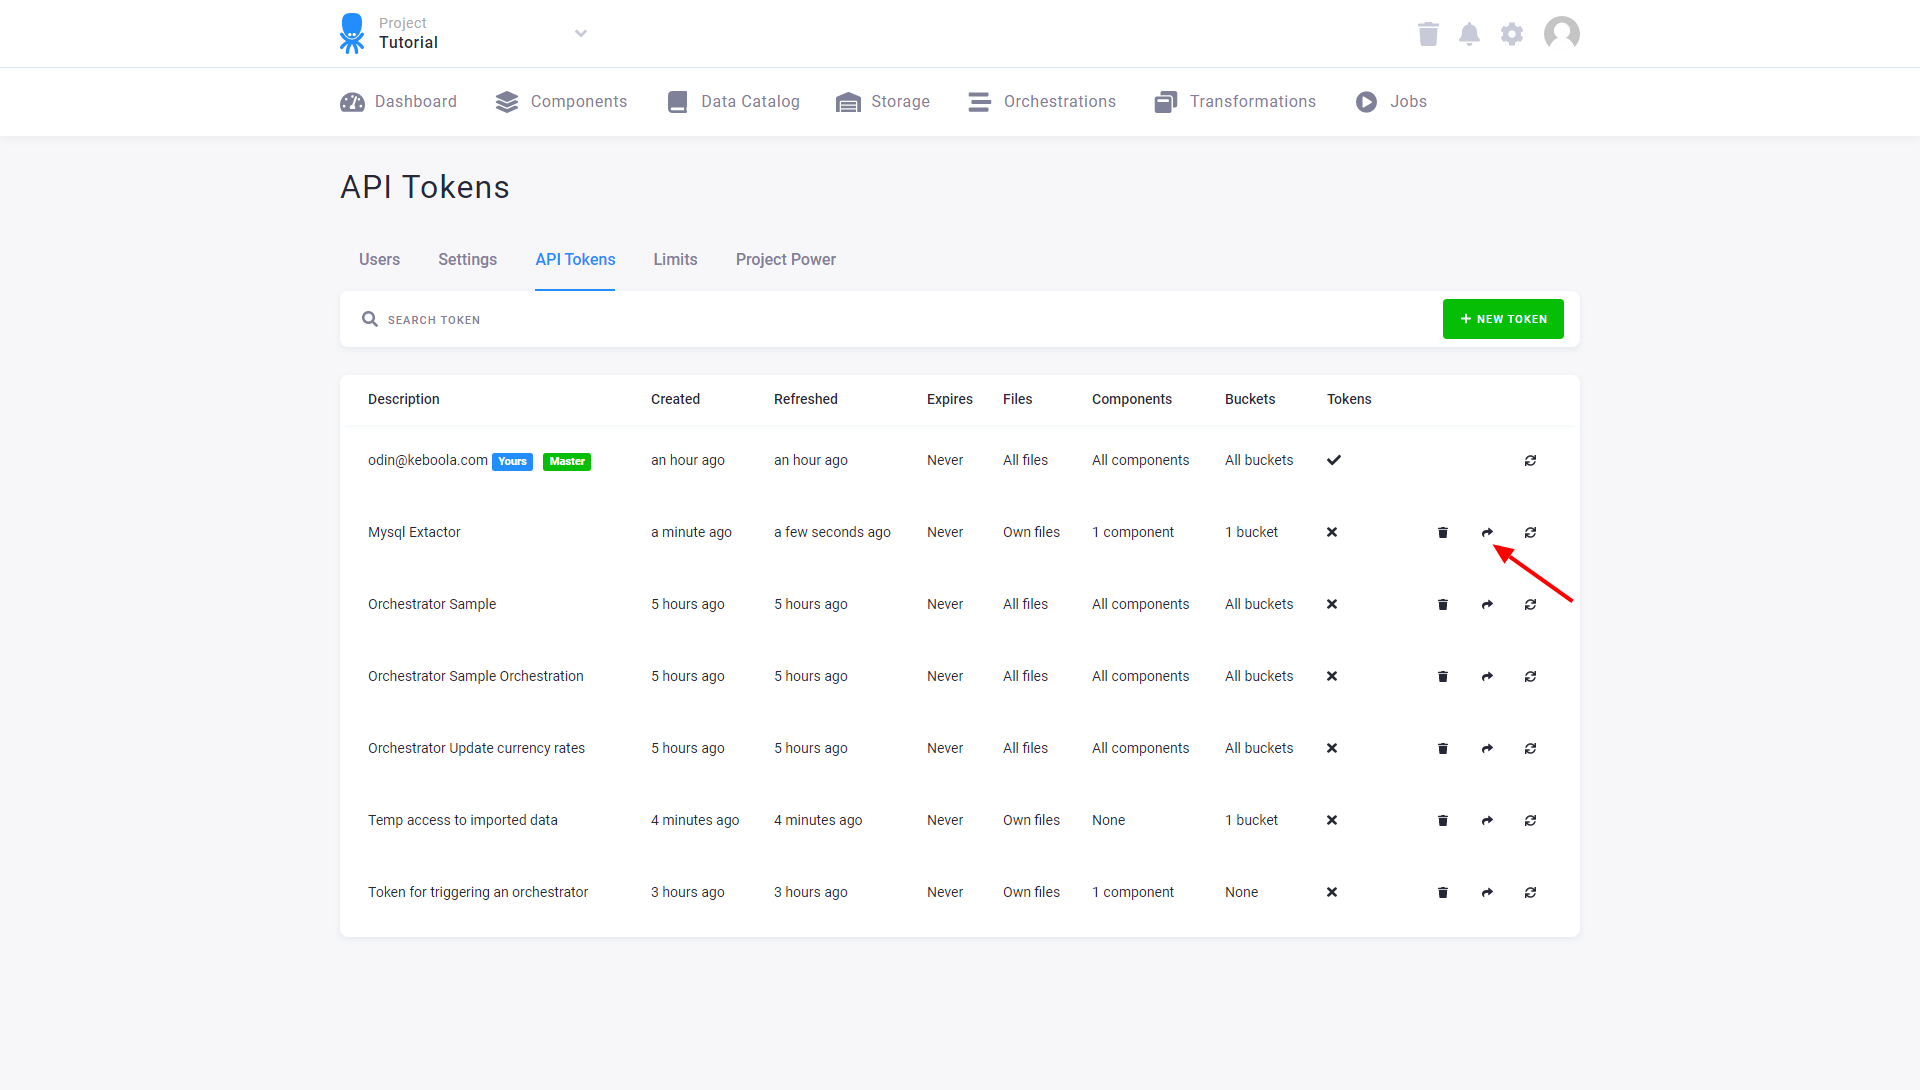
An existing token can be shared to an arbitrary email address (including yours). You can share a token by clicking the Send Token button. Note that master tokens cannot be shared.
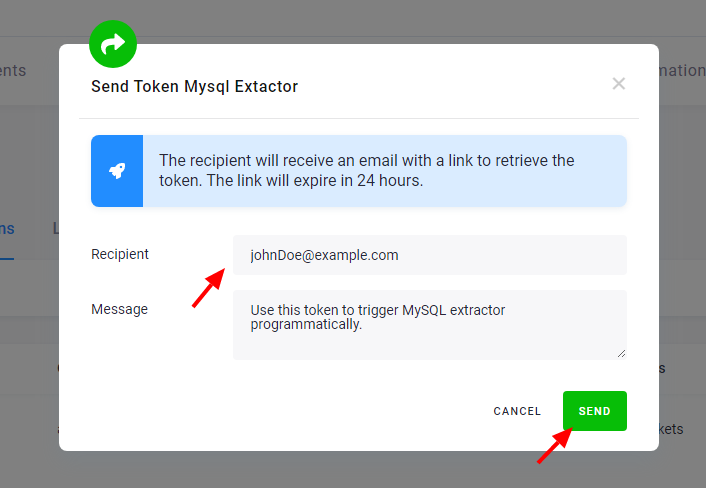
Important: Always use the Send Token feature instead of copying and sending the token yourself. This is more secure because it does not actually send the token, only a link to retrieve it.
A message can be added to the email.
The recipient will obtain an email with an invitation link leading to the following screen:
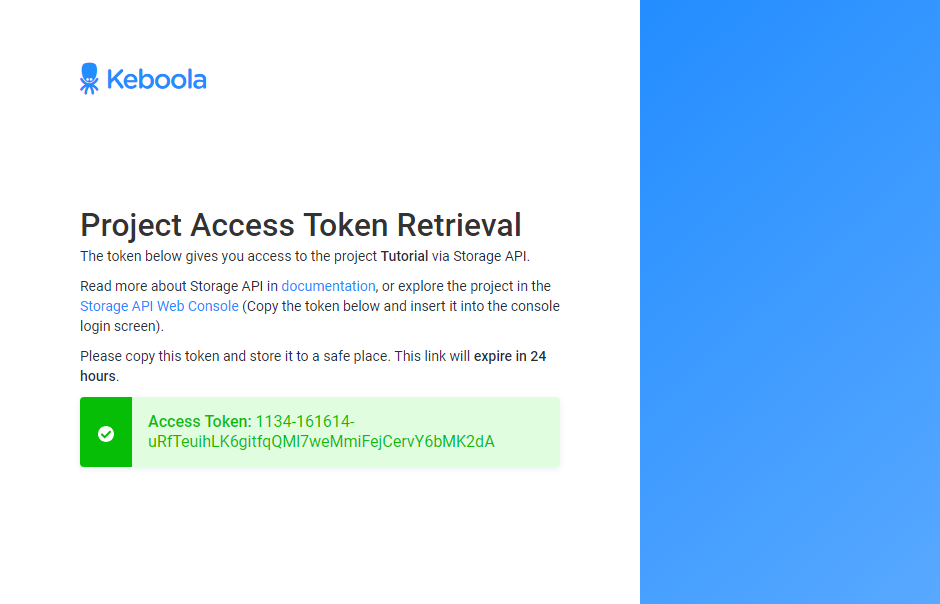
Only the buckets you made accessible will be accessible by the token. If you set the token to expire, it will get deleted automatically after the specified period. In addition to sharing sections of your data with selected users, the buckets can be also used for writing; people can send data directly to your Keboola project instead of struggling with FTP or e-mail attachments. To revoke the access, simply delete or refresh the token.
The token can then be used with the Storage API or other APIs.
Storage Console
Typical usecase of sharing a token with someone is giving them a partial access to your project storage. The project can be accessed via a Storage API Console. All that is needed to enter the console is a valid Token.
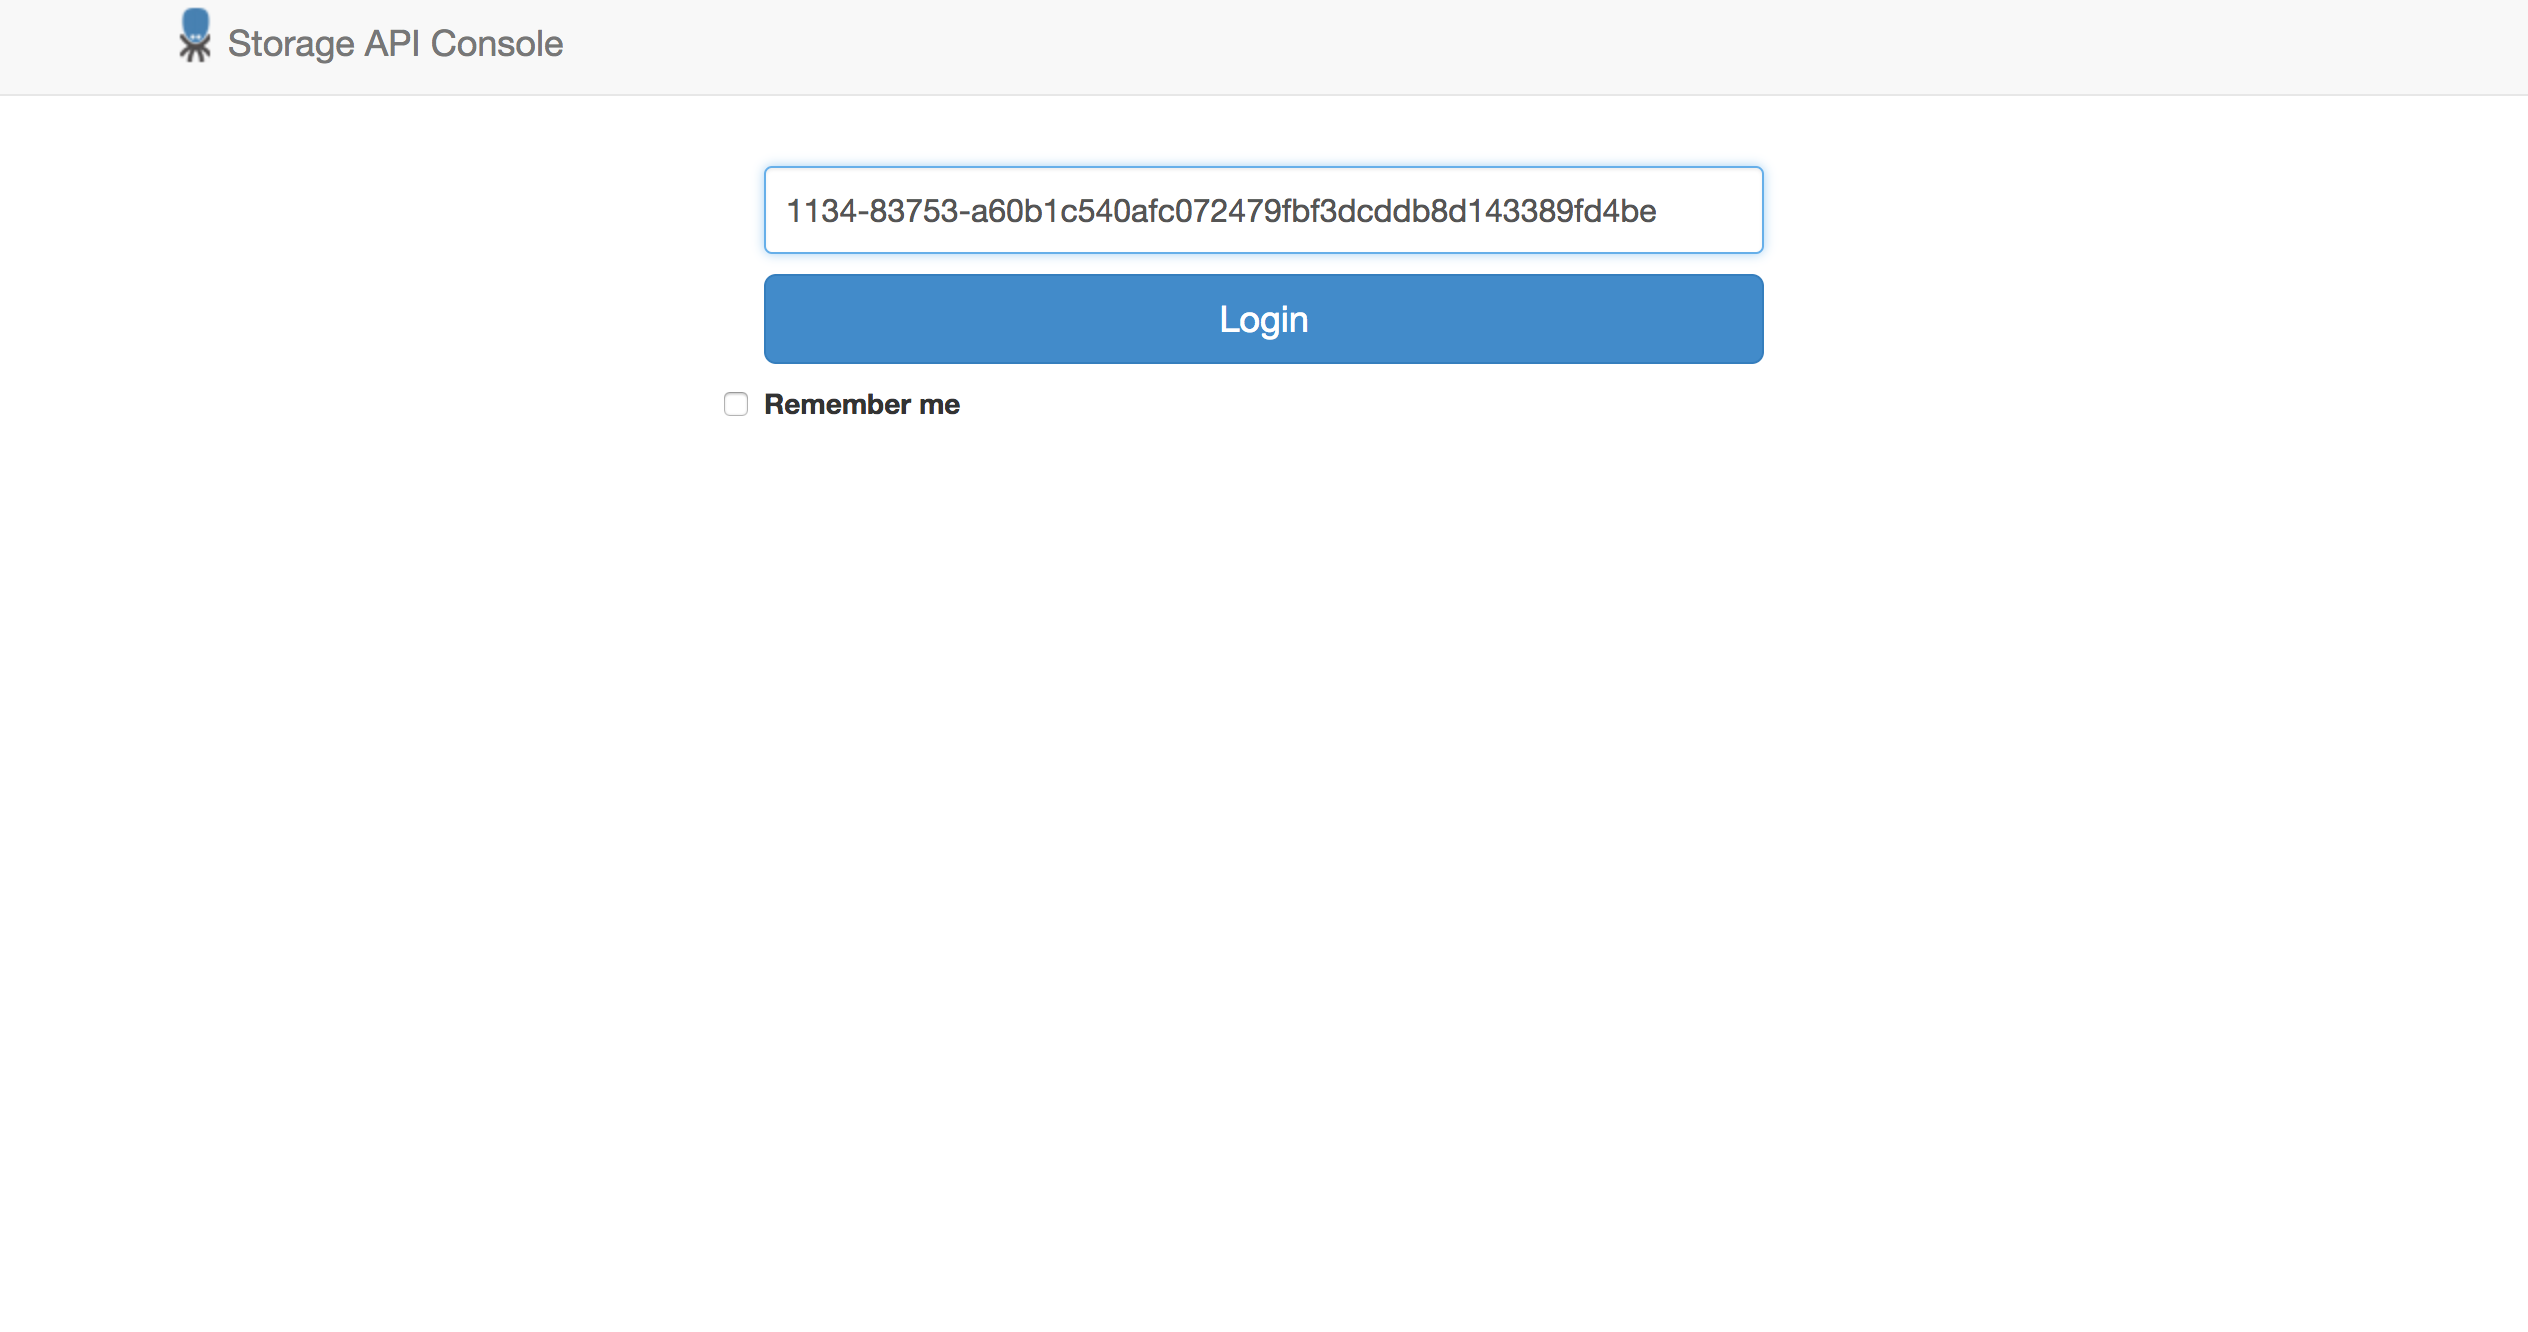
The Storage Console allows some basic operations with the project Storage such as table or file uploads and downloads.
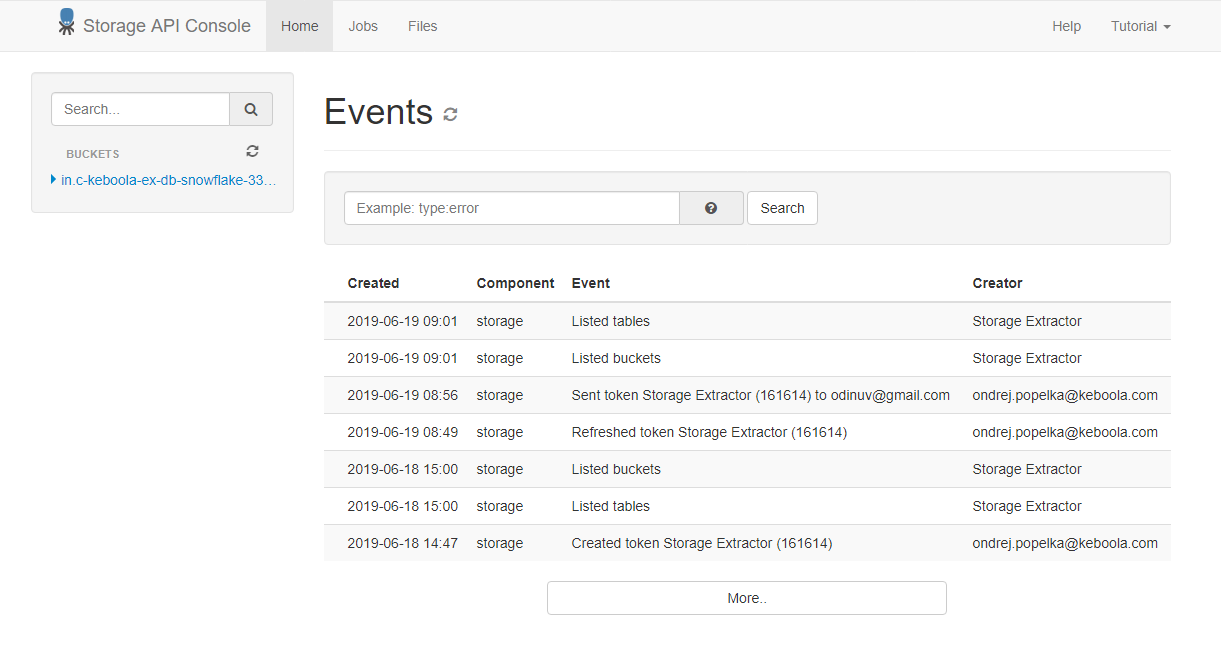
The link to the Storage API Console is available at the token retrieval page as it is different for each region:
