Data Gateway
- Configuration
- Load Data
- Clean Up Workspace
- Copy Configuration
- Additional Privileges Set Up for Dedicated Snowflake Accounts
This application allows you to share data in read-only mode with third-party BI and visualization tools.
Data Gateway utilizes Snowflake’s reader account technology, which creates a separate read-only account allowing users to directly access Snowflake tables without granting permissions to the original Snowflake database.
As the application uses Snowflake database backend, there are a couple of prerequisites to be met:
- The project must be using Snowflake database backend to support reader account creation.
- The tool accessing the data must support Snowflake as a data source.
- The tool accessing the data must support Key-pair authentication.
Configuration
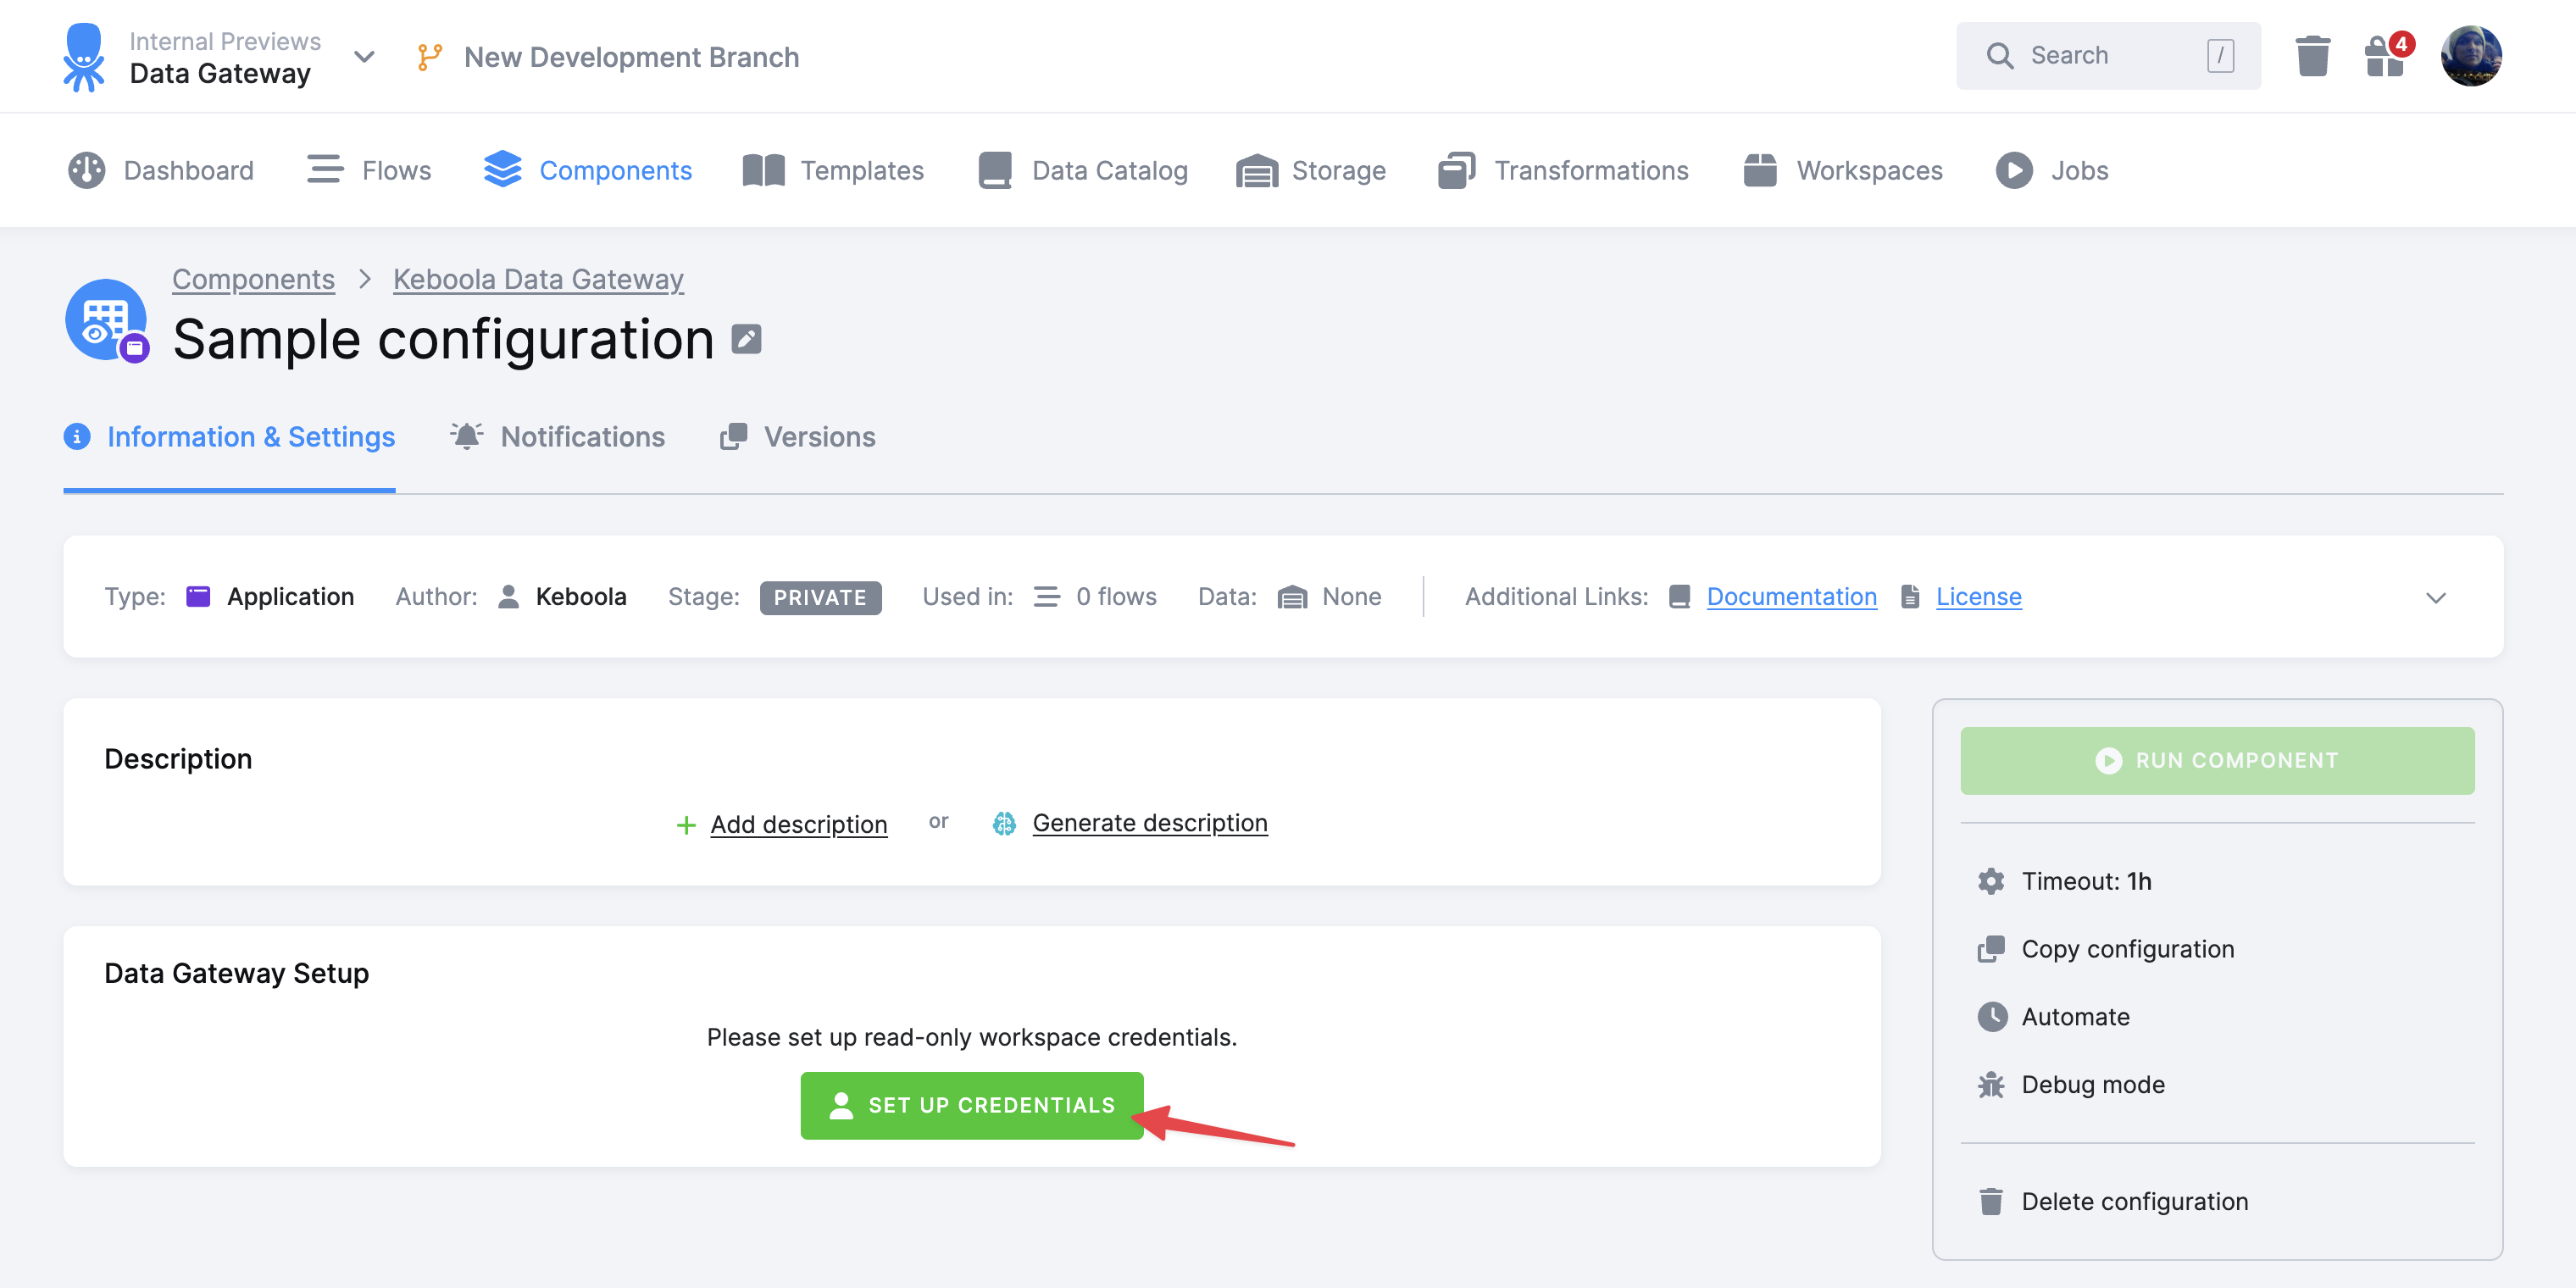
Create a new configuration of the Data Gateway application.
The first step is to set up a reader account workspace that will be used for sharing the data by clicking the Set Up Credentials button.
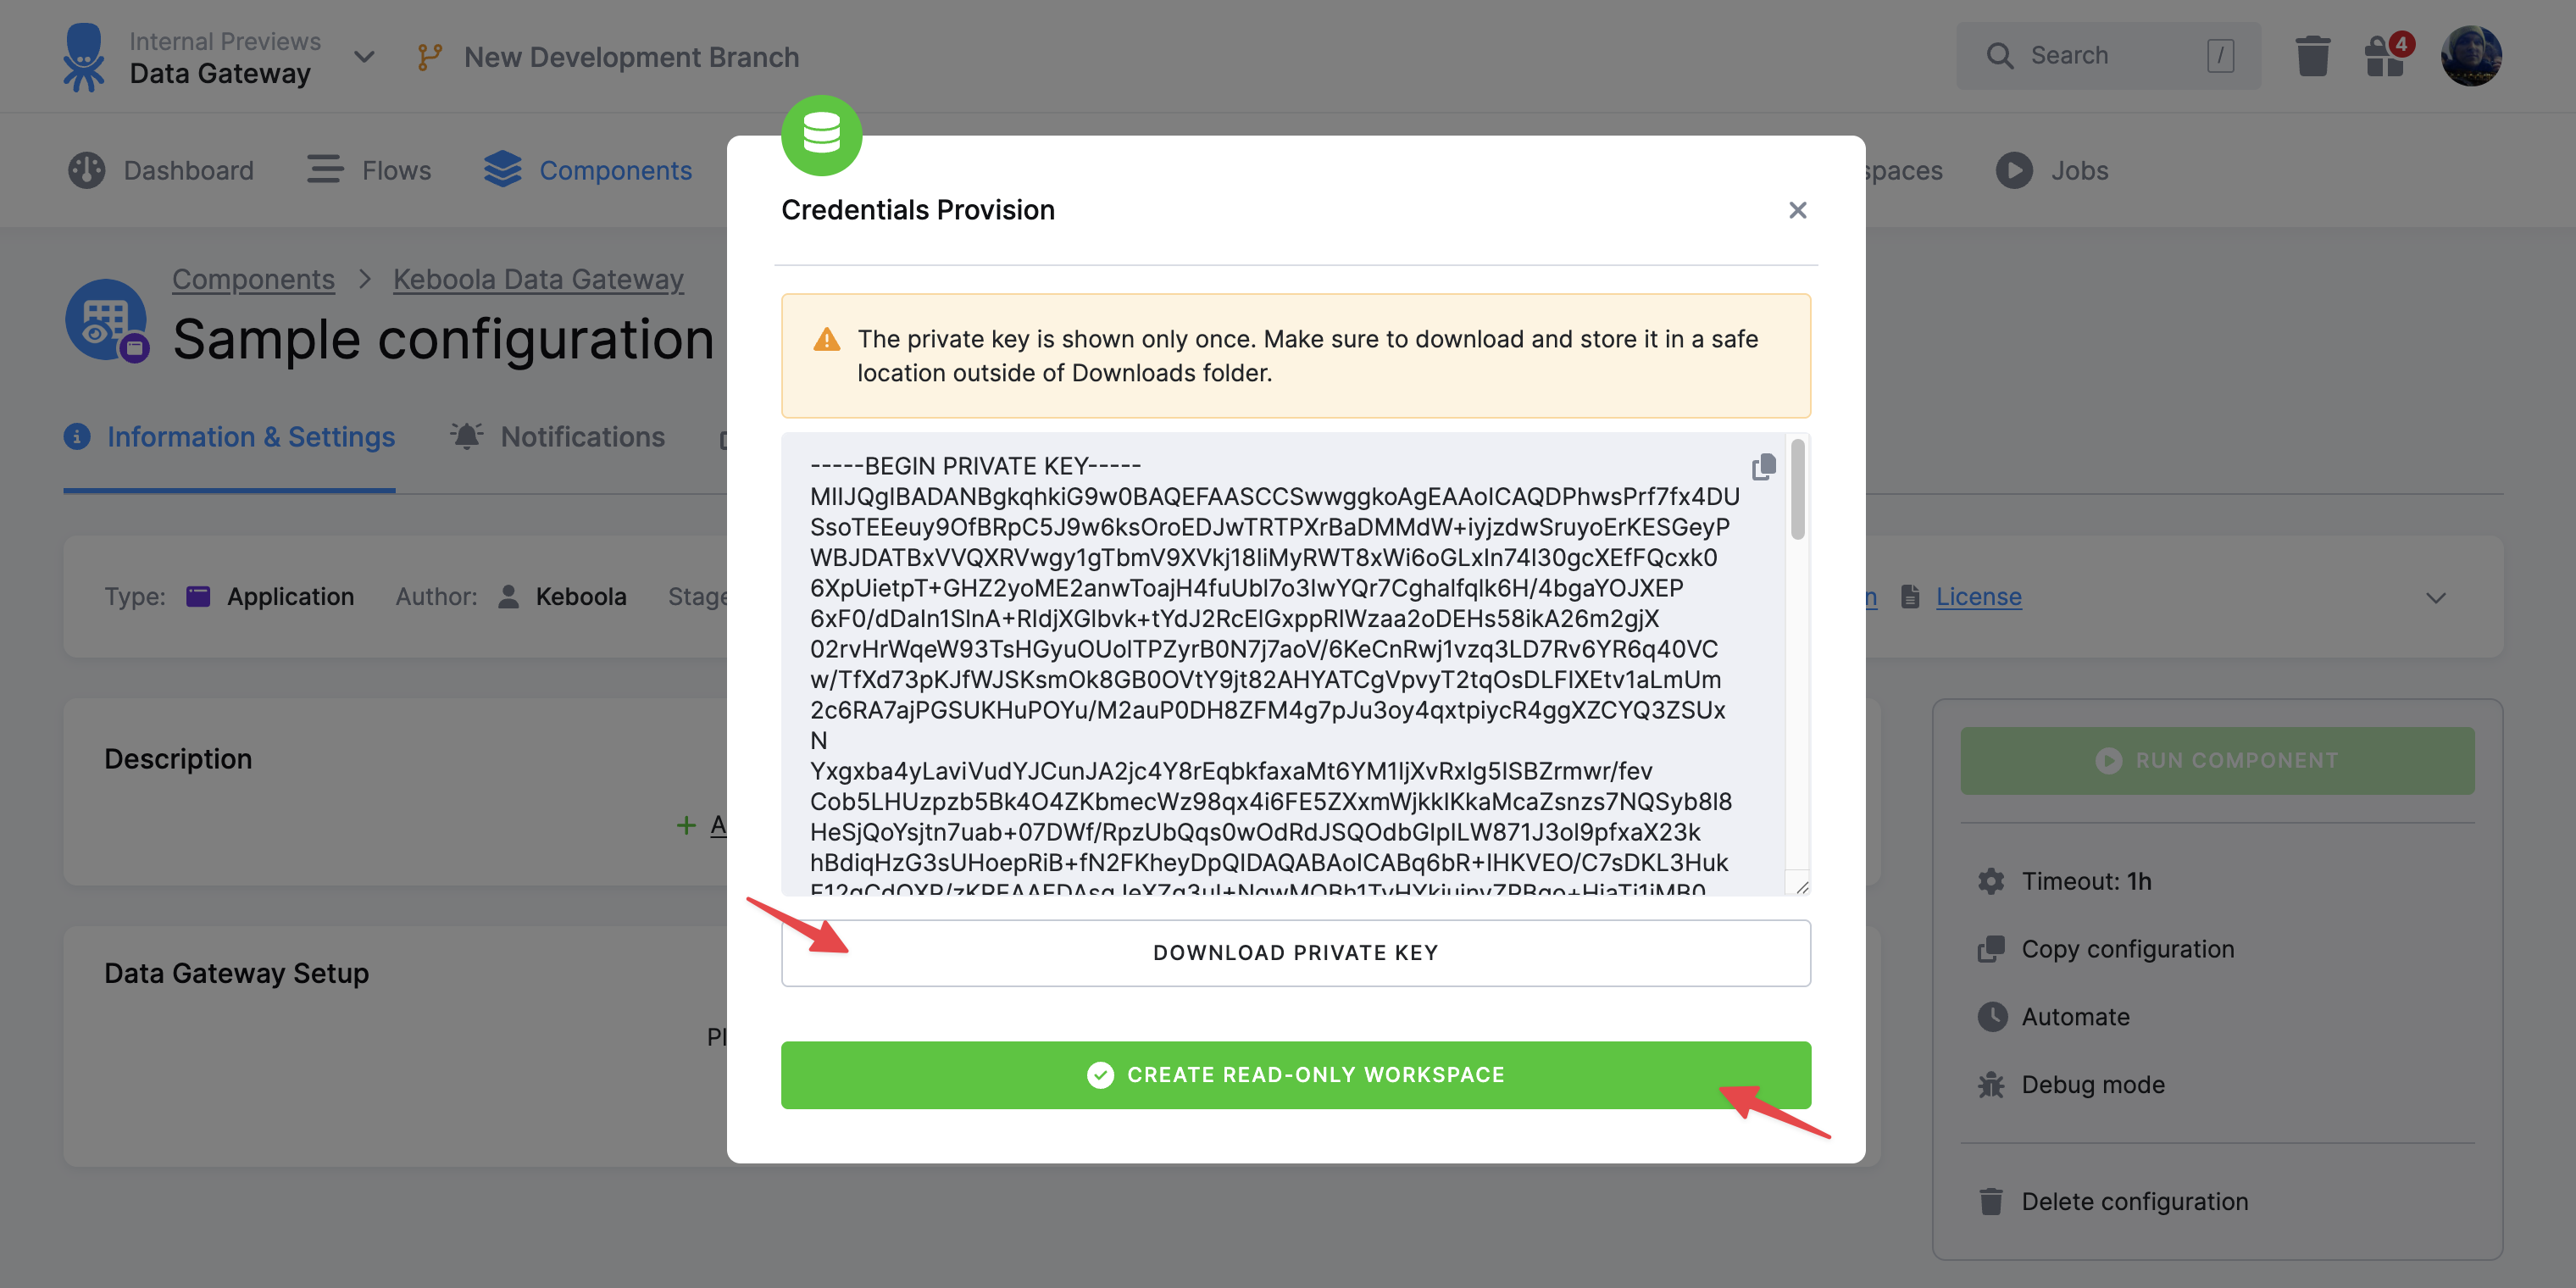
A new key-pair is immediately generated and displayed. It is important to download the private key and keep it in a safe place as it is shown only once.
After downloading the private key, click the Create Read-Only Workspace button to create the reader account workspace with the generated public key.
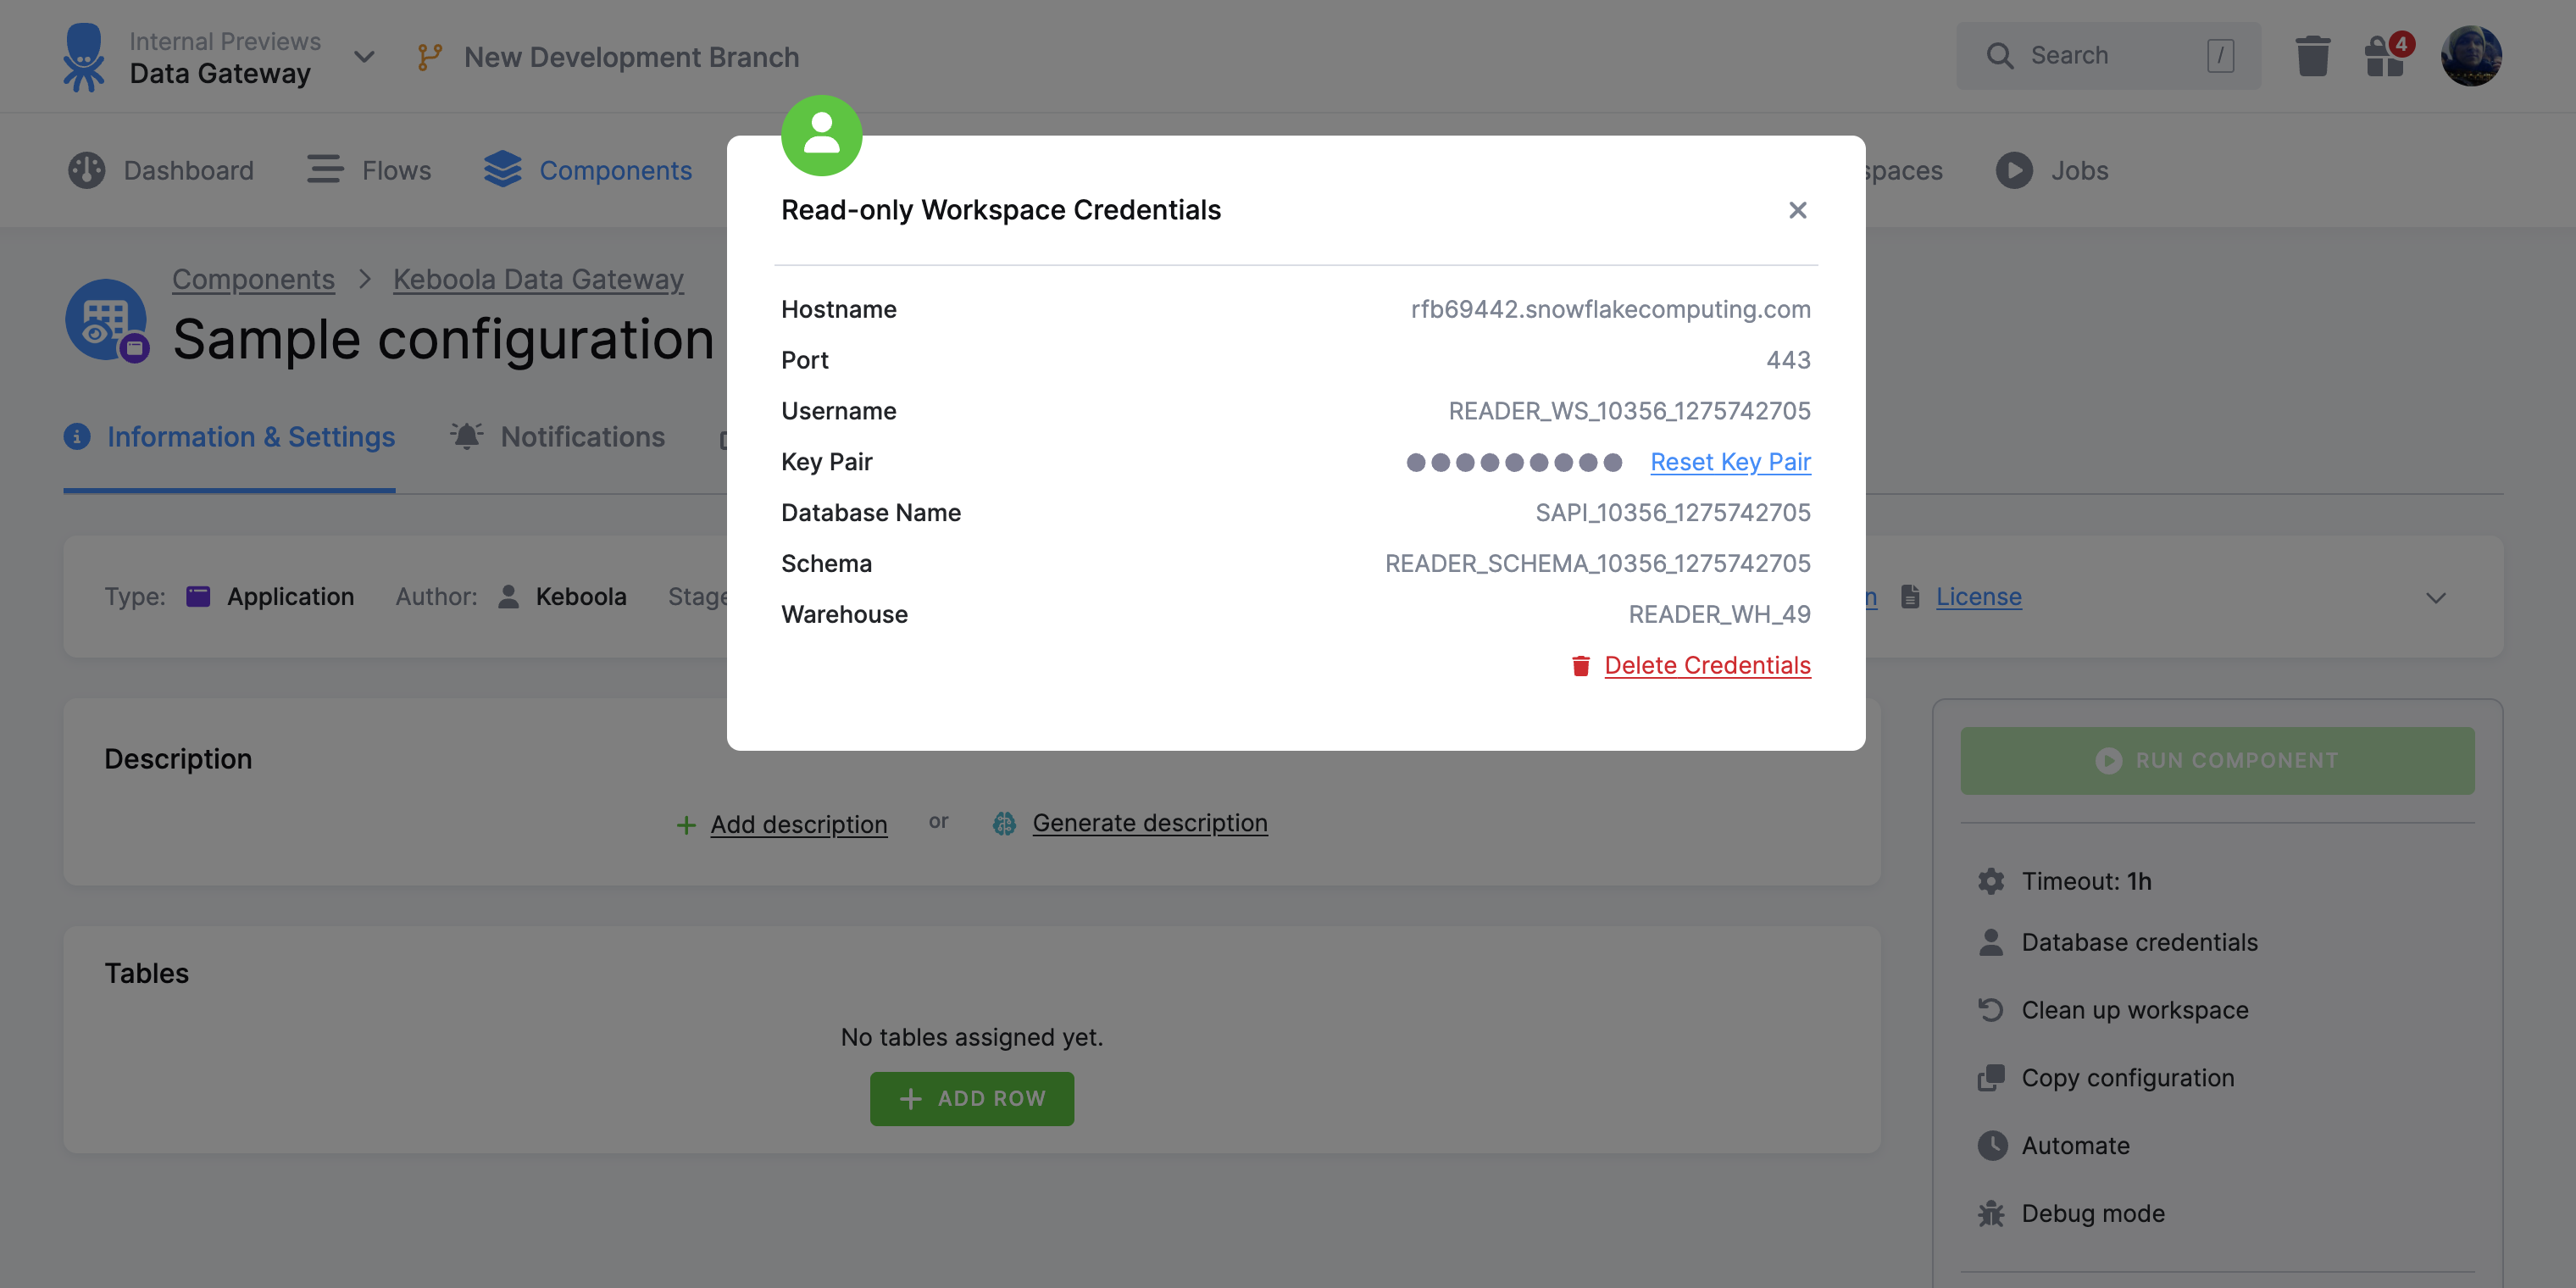
You are then presented with the credentials for the reader account workspace. You can access the credentials (excluding the private key) later on from the right side menu by clicking the Database Credentials menu item.
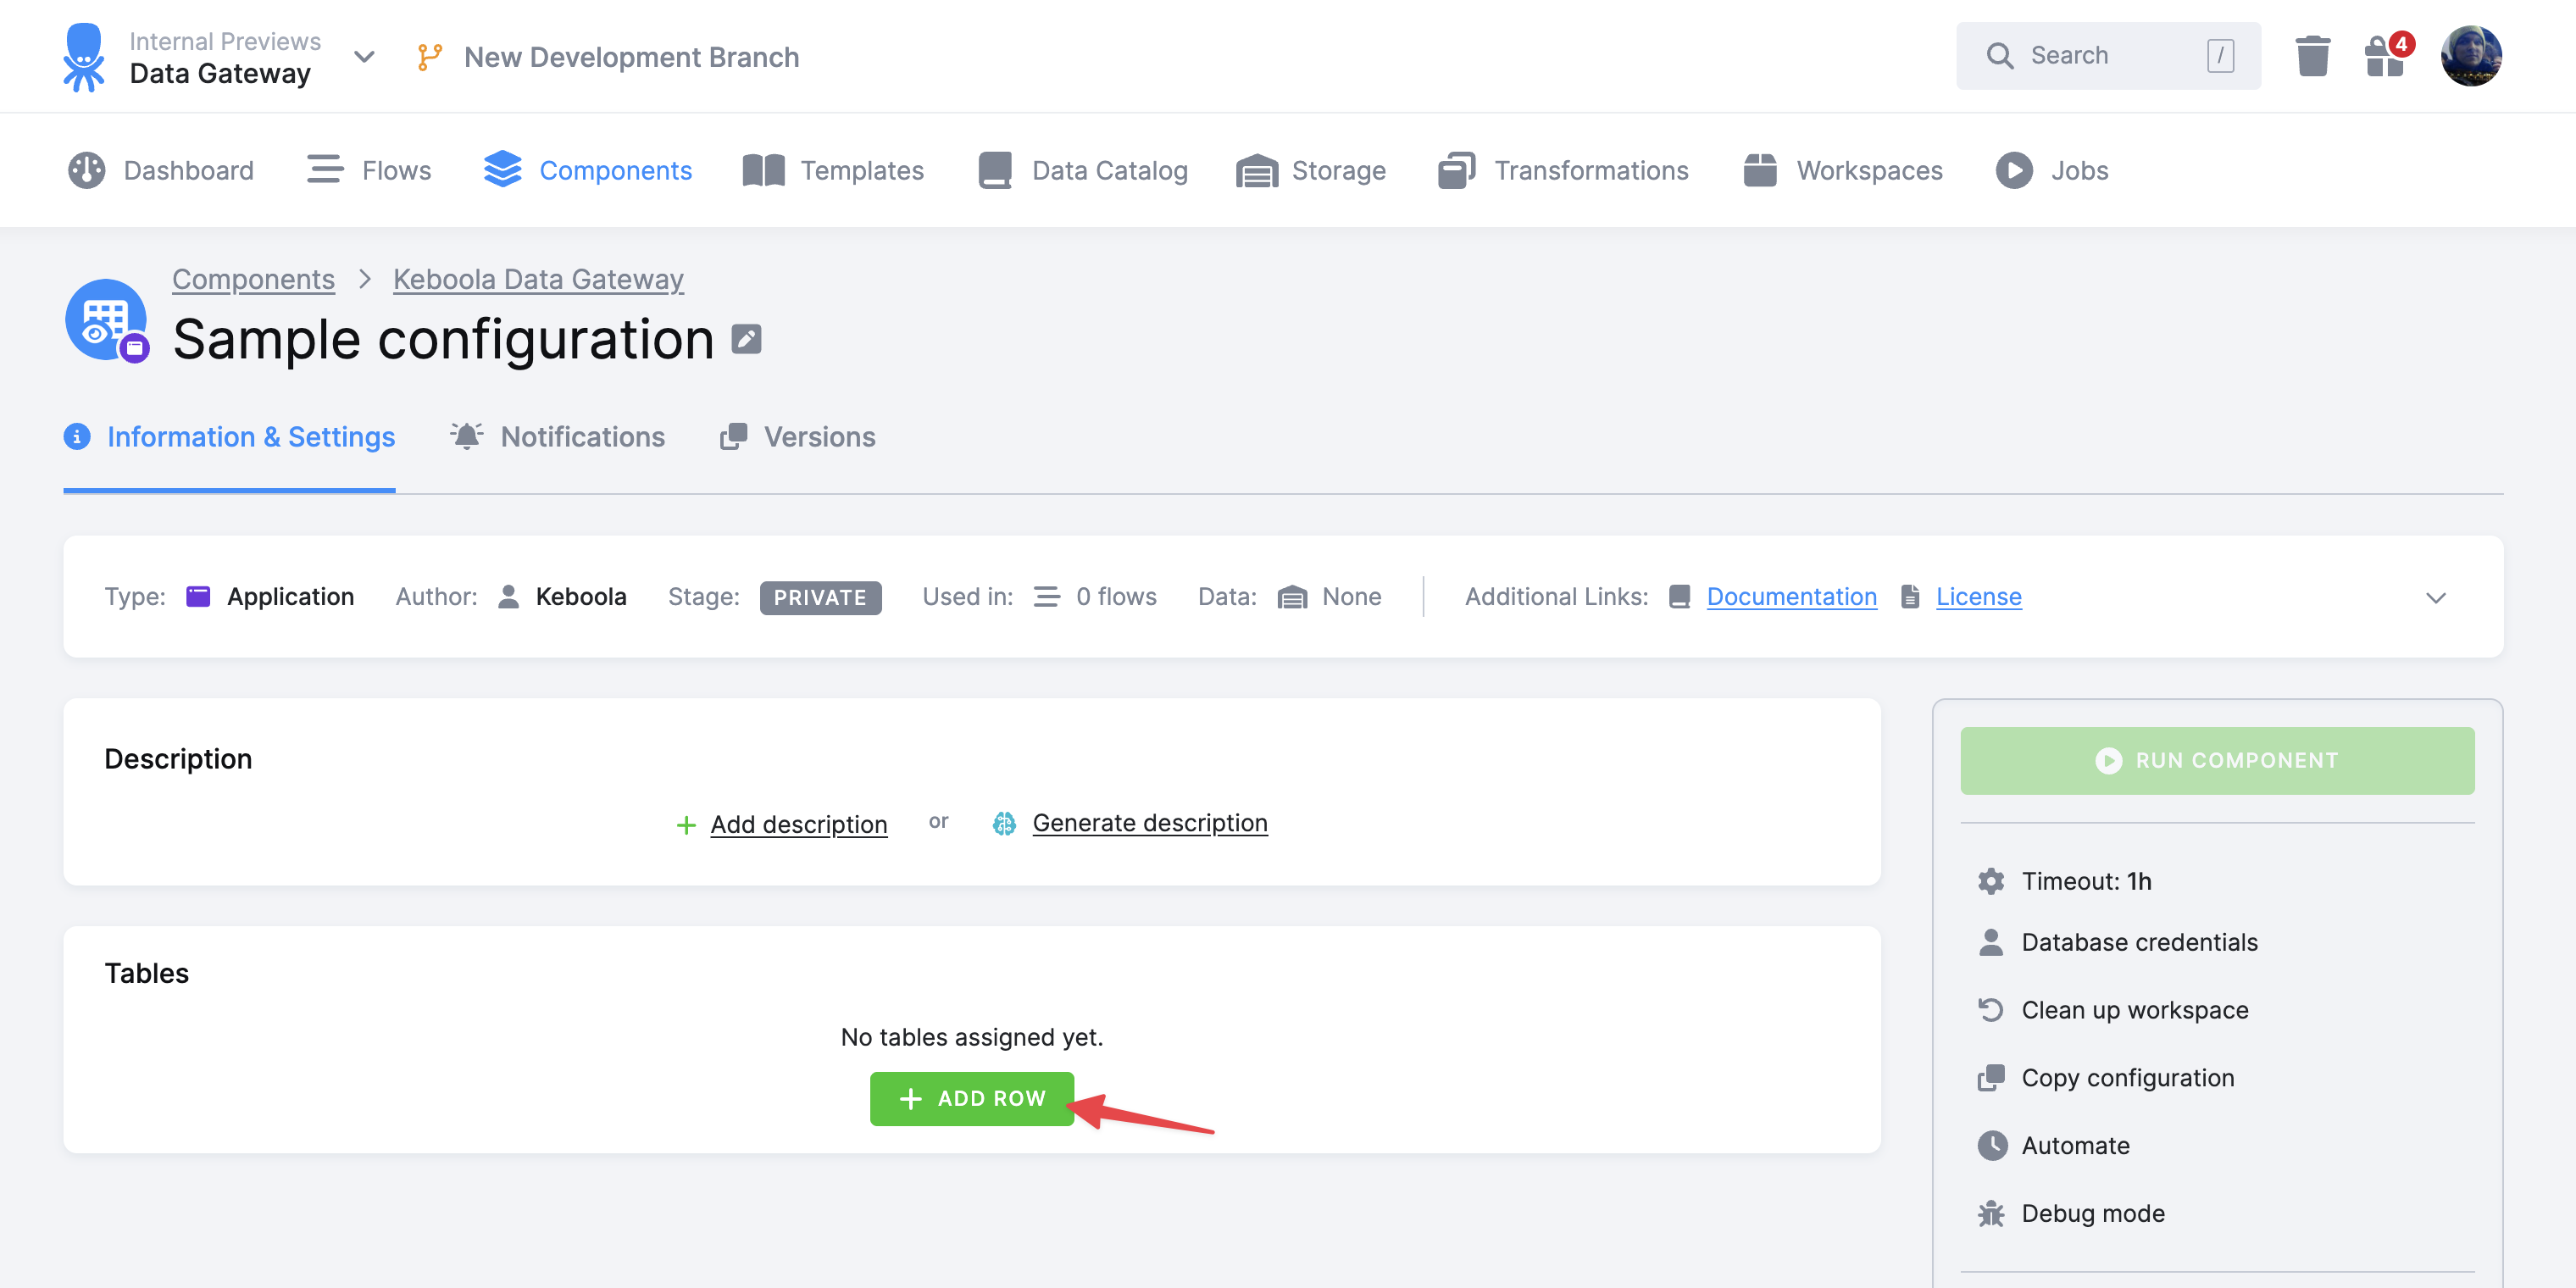
To add data to be shared by the Data Gateway, click the Add Table button.
Select the table you want to add and click the Create button.

You’ll be redirected to the table detail page. Here you can configure how the table will be shared by the Data Gateway.
- Database table name - the name of the table in the Snowflake database.
- Load type - the component supports four load types:
- Full load (Clone) - clones the entire table to the read-only workspace (including the data types).
- Full load (Copy) - replaces all existing table rows in the read-only workspace (allows changing the data types).
- Incremental load - inserts new rows into the table in the read-only workspace. If a primary key is defined on the table, the data are upserted. If no primary key is defined, the data are inserted.
- Manual - the data that has been added or updated in selected time period will be fetched.
- Automatic - the data that has been added or updated since the last run of the component will be fetched.
Following modifications are not available for Full load (Clone) load type.
- Data filter - you can filter the data to be loaded by adding a value filter on a column and/or by selecting only rows updated in a selected time period.
- Primary key - you can specify the primary key of the target table. Primary key is required for the incremental loads for deduplication, otherwise the data will be appended.
- Columns
- Column Name - the name of the column in the Snowflake database.
- Data Type - the data type of the column in the Snowflake database. If typed table is selected, you can use only the data type defined in Storage, or set the data type to IGNORE to exclude the column from loading.
- Nullable - whether the column is nullable.
- Default value - the default value of the column.
Changes to columns need to be confirmed by clicking the Save button.

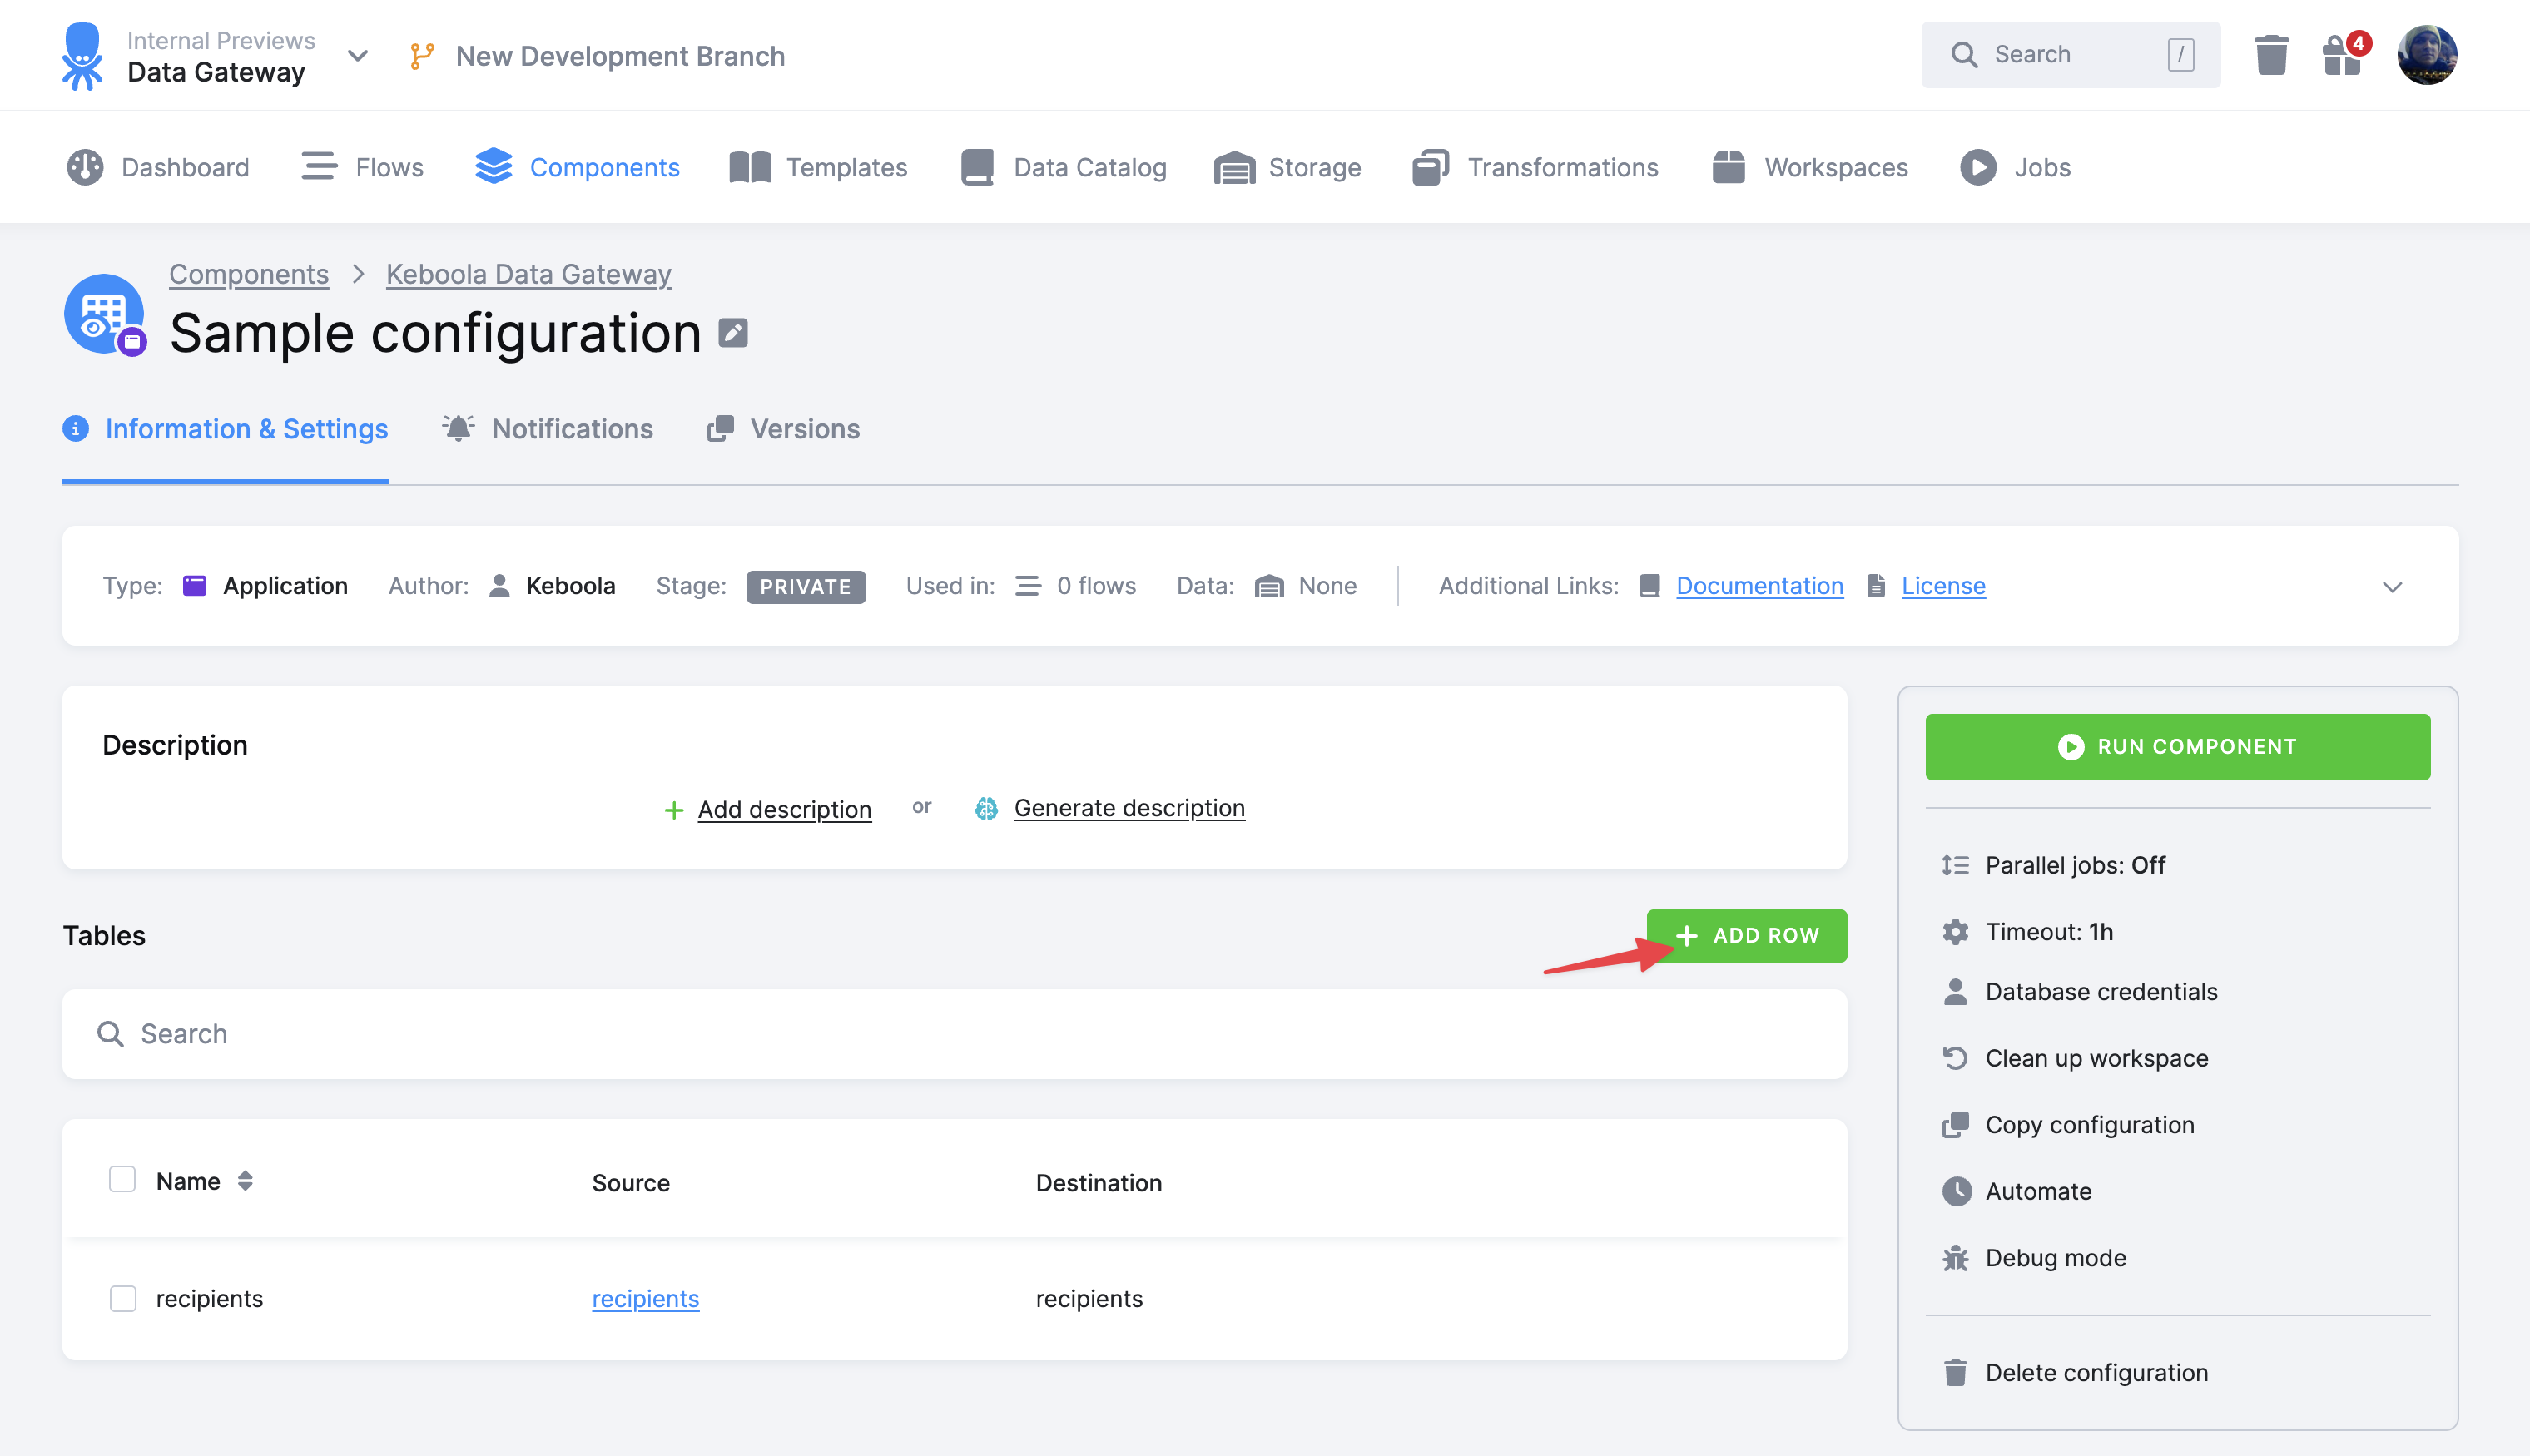
You can add additional tables to the Data Gateway by clicking the Add Table button from the main configuration page.
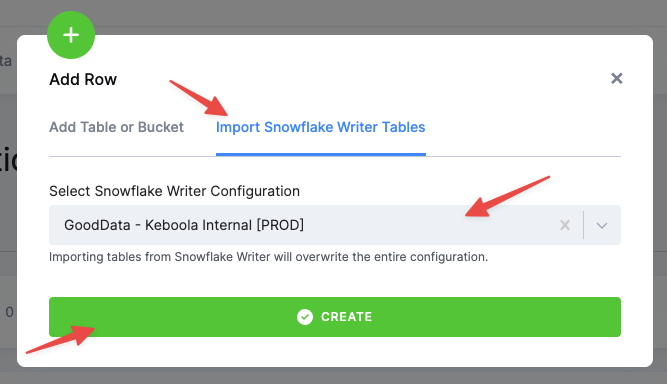
Alternatively, you can add all tables from existing Snowflake Writer configuration by selecting Import Snowflake Writer Tables tab, selecting the existing configuration from a dropdown and clicking the Create button.
This is especially helpful when you are migrating from Snowflake Writer to Data Gateway, as all the tables, columns and settings will be pre-filled.
Load Data
To load the selected tables and columns to the read-only workspace, click the Run Component button on the main configuration page.

You can load data only for a selected table if you click the Run Component button on the table detail page.
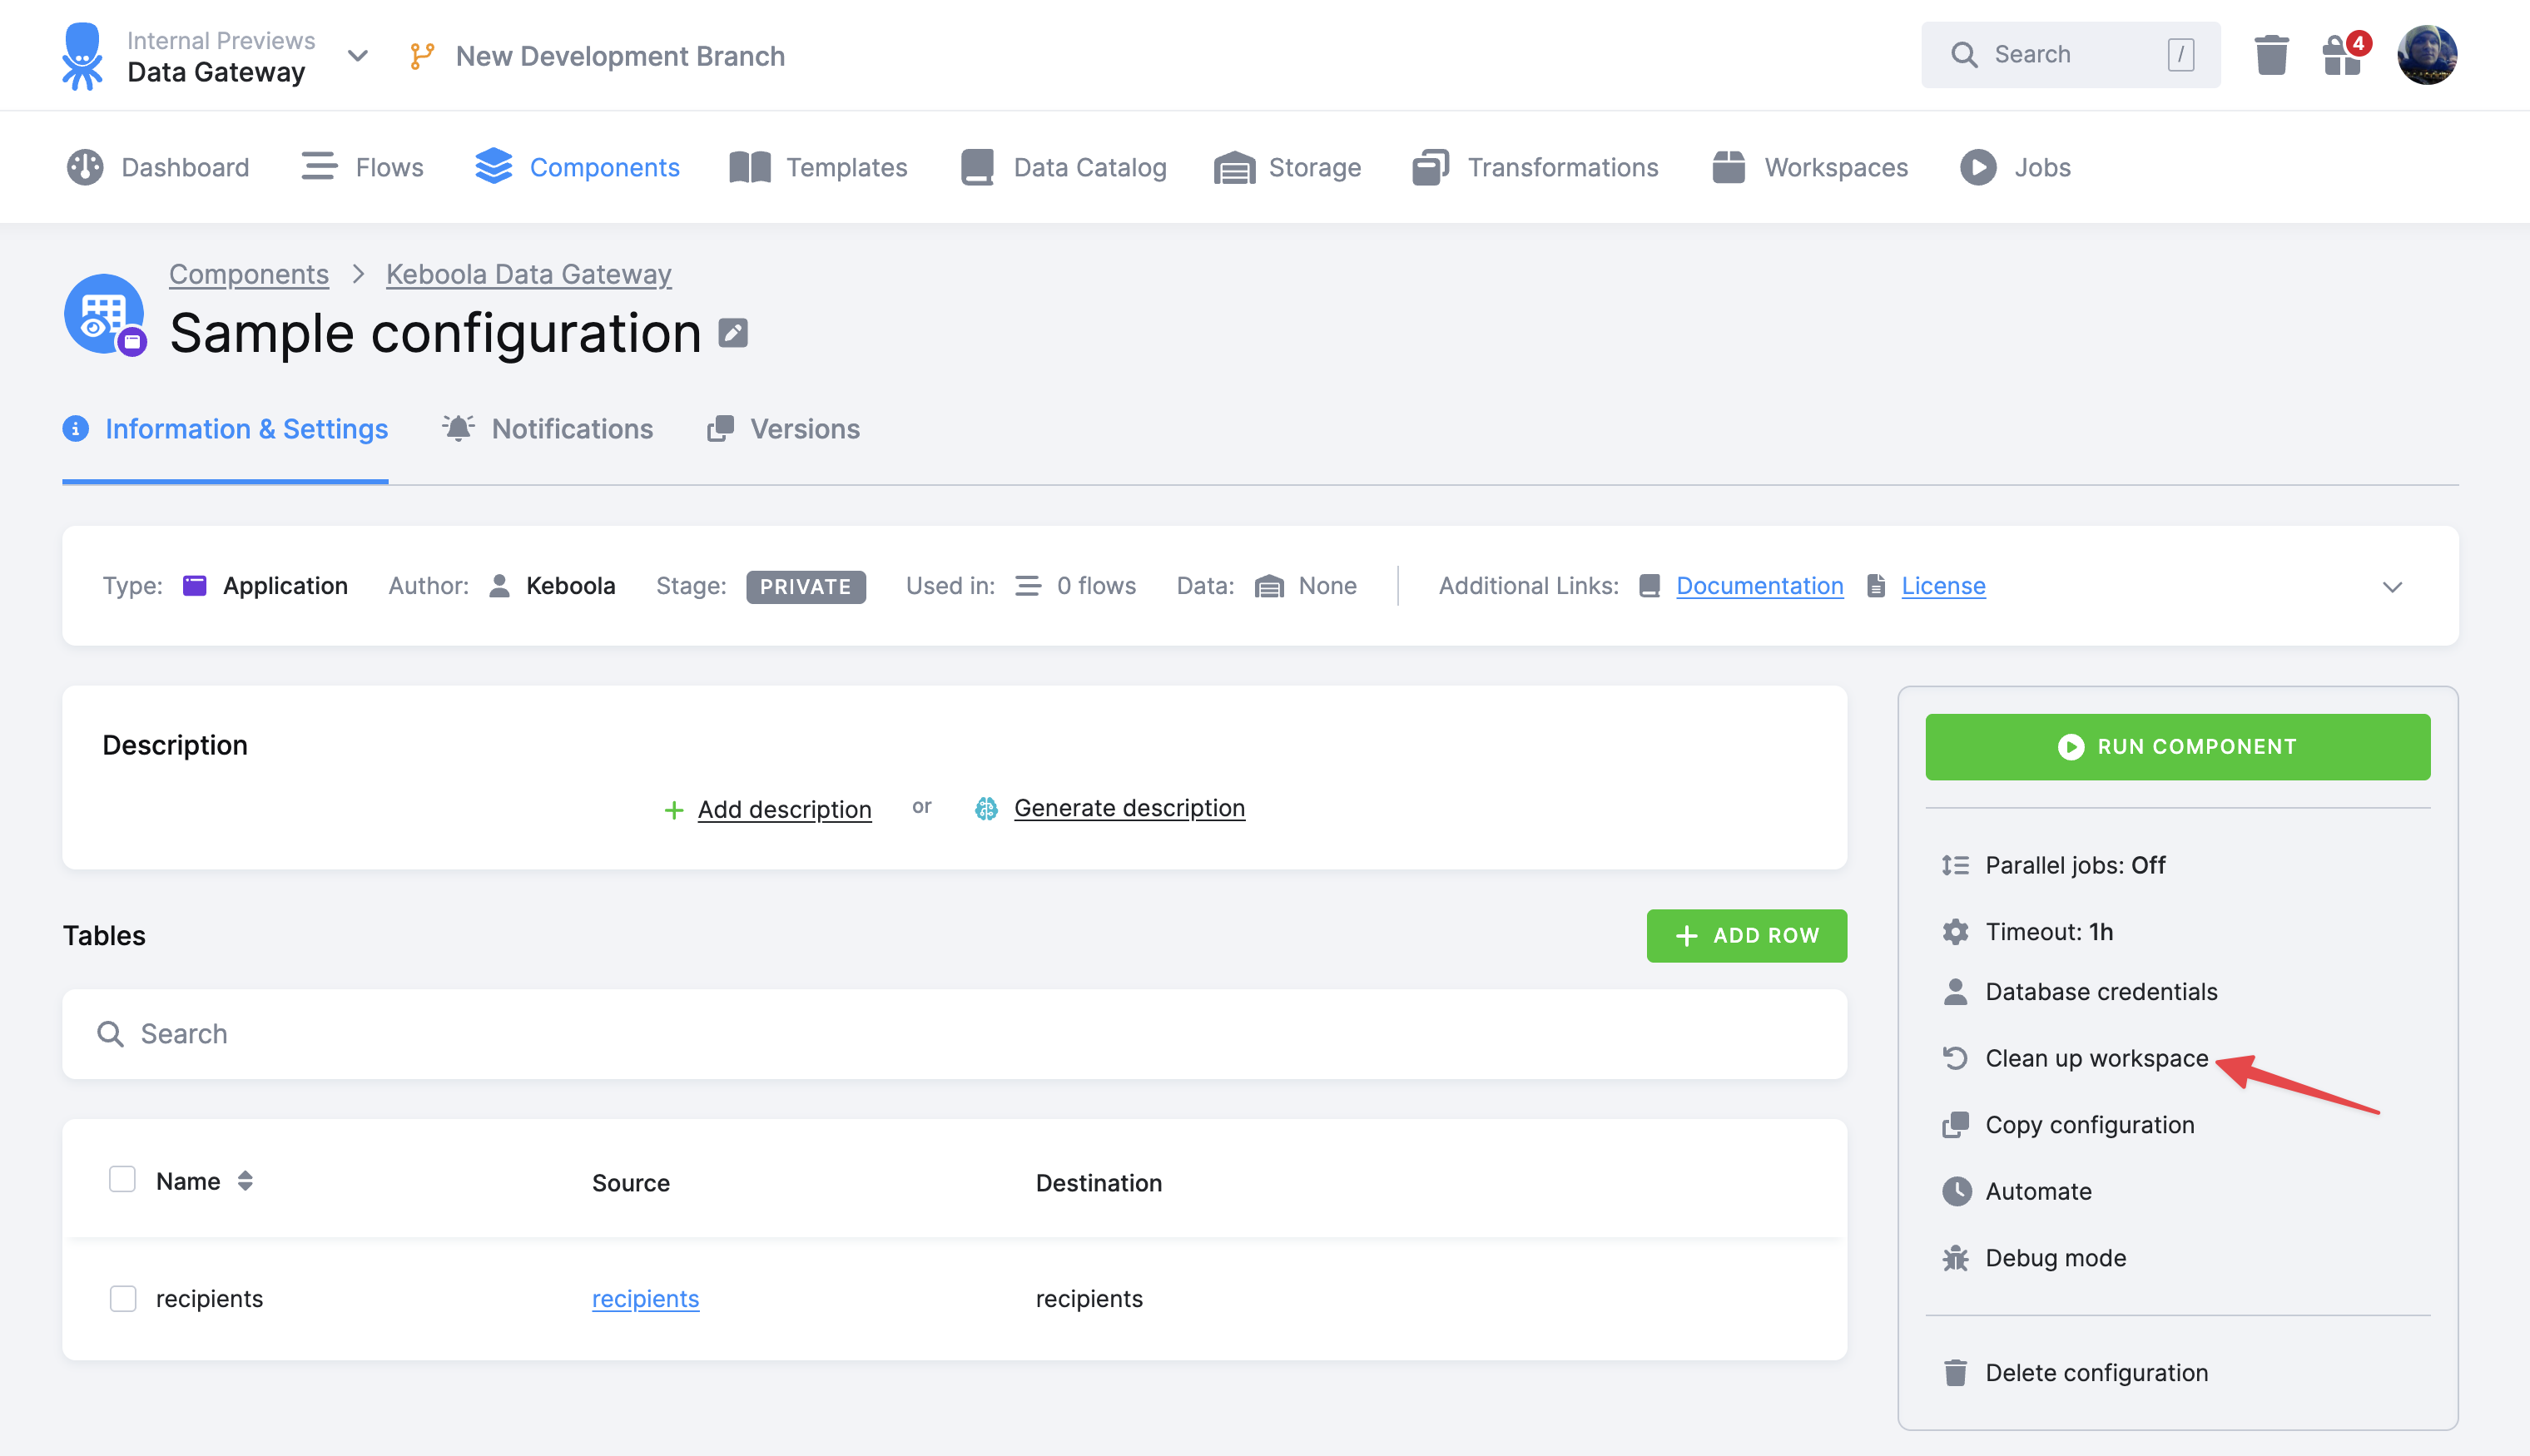
Clean Up Workspace
If you need to clean the workspace and remove previously loaded tables, you can do so by clicking the Clean up workspace menu item on the right side. This operation removes all tables and views from the workspace schema. However, stored procedures and user-defined functions (UDFs) are not removed and will persist. This is because Keboola does not create these objects, so it does not manage or remove them. If you need to remove these objects, you must drop them manually.
Copy Configuration
You can copy the configuration to create a new configuration with the same settings by clicking the Copy configuration button on the main configuration page.
The new configuration will be created with the same settings as the original configuration and will be using the same read-only workspace. That means that the new configuration will be loading data into the same workspace as the original configuration. And resetting the Key Pair Authentication will affect all configurations using the same reader account workspace (all will be sharing the same credentials).
Using multiple configurations with the same reader account workspace can be useful if you want to load different data into the same workspace in different frequencies.
Additional Privileges Set Up for Dedicated Snowflake Accounts
Before you can use Data Gateway with a dedicated Snowflake backend, the Keboola root user (typically named KEBOOLA_STORAGE) needs additional privileges. These privileges allow the root user to create reader accounts and share data into them.
Who Can Set Up These Privileges
- Bring-Your-Own-Database (BYODB) customers: You can set up the privileges yourself if you have access to the Snowflake
ACCOUNTADMINrole, or you can contact Keboola Support for assistance. - Keboola-Brings-Database (KBDB) customers: You must contact Keboola Support as you don’t have access to the
ACCOUNTADMINrole.
Required Privileges
A user with ACCOUNTADMIN permission needs to run the following SQL commands in your Snowflake account. Replace KEBOOLA_STORAGE with your actual Keboola root user name if it’s different:
GRANT CREATE SHARE ON ACCOUNT TO ROLE KEBOOLA_STORAGE WITH GRANT OPTION;
GRANT MANAGE SHARE TARGET ON ACCOUNT TO ROLE KEBOOLA_STORAGE WITH GRANT OPTION;
GRANT CREATE ACCOUNT ON ACCOUNT TO ROLE KEBOOLA_STORAGE;
How to Identify Missing Privileges
If you try to set up Data Gateway without these privileges, you’ll see an error message like this:
Insufficient privileges to create reader account for ROOT user "SAPI_PROD".
This error indicates that the required grants need to be applied before you can continue.
Reader Account Limits
Snowflake sets a default limit of 20 reader accounts per single Snowflake account. If you plan to create Data Gateway configurations in multiple organizations, you may want to request a higher limit from Snowflake support. Each organization uses one reader account.